
Can a lash artist have too many questions about lash mapping? No, definitely not. Can we answer them all for you? Well, we could definitely try. However, we will be happy to guide beginner lash techs through the basics and explain the essentiality of lash extension mapping. So, are you ready? Then let’s go, and learn how to map eyelash extensions and find out as many things as possible about lash mapping for beginners.
So what is lash mapping anyway? It’s a special technique to determine the right place for the right length, curl, and diameter of a lash extension so that your client looks fabulous and your lash set matches perfectly the personal features of your visitor.
So before you proceed with lash mapping styles, make sure that you assess your client’s features, like eye shape and natural lashes as well as take a pen, a pencil, eye pads, and a tray of lash extensions.
It’s always our duty to fulfill our clients’ desires. When we see that external gratitude on their faces we know that the lash business is truly an amazing thing. However, sometimes you have to negotiate the desired result and explain what will suit you better, considering your lashing experience. For example, you need to take into account the eye size (large, small), shape (round, almond, etc.), and whether they are upturned or downturned, or close-set/wide-set. Always take into account that there is lash mapping for different eye shapes, so diversity is a plus.
Before you proceed with volume lashes mapping, determine if the client’s natural lashes are strong enough for this. Additionally, it’s good to determine a suitable lash curl at this step.
Once the following steps of a procedure are discussed and agreed upon, let the magic begin.
How to map eyelash extensions
Apply the eye pads on a client properly. Remember to keep them 1-2 mm from the waterline and make sure that they are set and show no movement.
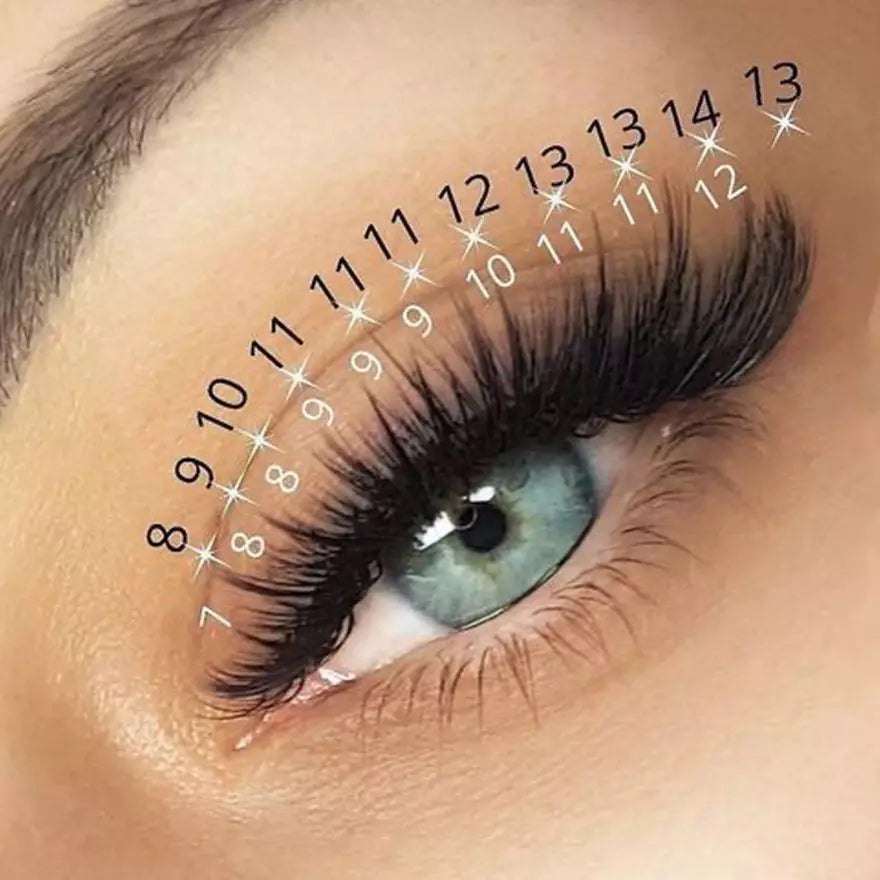
Then divide your client’s eye into 5-8 even parts by drawing lines and adding the length you chose for the particular client. In order to save some time and gain confidence, you can try to decide on length and style before the appointment by asking for a photo of the client’s eyes.
In order to determine the eye shape, draw an imaginary line that goes straight and horizontally through the center of both client’s eyes. If the outer corners are above that line, then the eyes are upturned. And if the corners are below - the eyes are downturned. Note that your customer has monolid eyes if there is no crease. Almond eyes are oval-shaped with narrow corners. Round eyes are more open than almond. Also, we recommend measuring the gap between the client’s eyes to determine if they are wide-set or close-set. If the gap between the eyes is larger than one eye length then it’s a wide set, and vice versa.
Lash Mapping Styles to Choose from
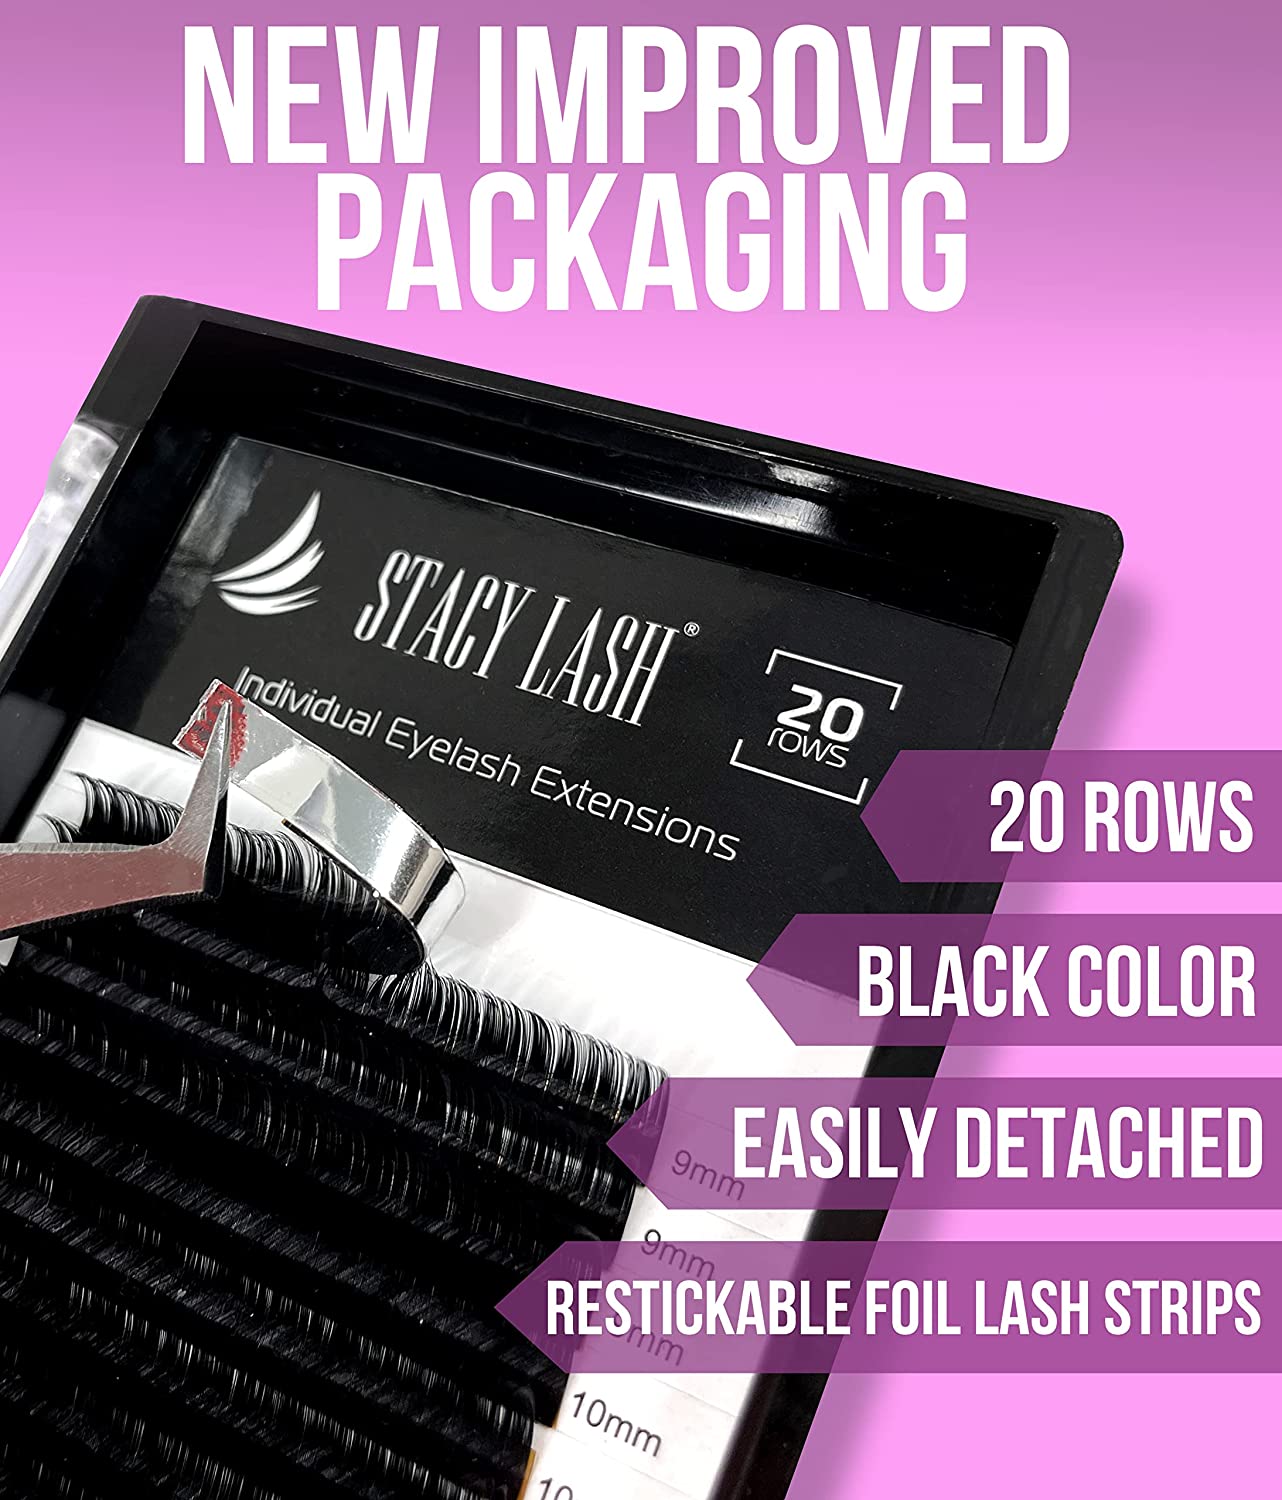
Now, when everything is ready, it’s time to pick the lash mapping style. We prepared some of them for you to choose from in our lash supply store. Already-mapped inserts can be found in the Stacy Lash eye pads product package.
Cat Eye lash mapping
This is the most popular lash style. Starts with the shortest lashes at the inner corners of the eyes and gets longer to the outer corner. Such a look extends the eye, making it longer and sexier. A lash style called Kitten Eye is another version of a Cat Eye style. Recommended for round and close-set shape. Suitable curls: L, C, CC, and D
Open eye lash map
Apply the longest lash extensions in the middle of an eye to make it wider and more open. Almond shape is perfect for this style, as well as wide-set eyes.
Squirrel eyelash mapping
The classic version of the squirrel style features maximum extension length in the second third of the eyelid, which is approximately between the middle of the eye and its outer corner. Suitable eye shapes are round and close-set. D curl will be your top choice for this.
Doll eye lash map
It’s longest above the center of an eye and gets shorter at the inner and outer corner, making the client’s eyes significantly bigger. Looks good with almond and wide-set eyes.
Kim-K Eye
This style gains popularity every year. You may know it also as a “wispy lash look”. It’s made by alternating longer and shorter extensions. Both round and almond shapes fit perfectly for this.
Lash map for downturned eyes
This may be a good idea to make something between a squirrel and open eye style, using D curl.
Lash map for upturned eyes
Recommended lash placement style is a natural eye, squirrel, or cat eye, using B or C curls.
Lash map for hooded eyes
For such an eye shape you can choose either an open eye or doll eye with a D curl.
You can choose the curl considering the lash growth direction. C curl suits best for lashes growing upwards. CC curl is recommended for the lashes that grow forward. And D curl is suitable for lashes growing straight down.
Eyebrow position is also very important, they can be set either low or high to the eyes. When you deal with low-set eyebrows, make sure that the length of lash extensions is not more than 1 mm longer than the natural lashes.
Conclusion
For better or worse, you won’t find a universal solution that will spare you from the additional work. Lash mapping is an art and every client that enters your doors is a muse that inspires you to create something individually beautiful.
Now you know about the essentiality of lash extension mapping for perfecting and mastering your skill as a lash artist.
*For more tips and useful information we collected lots of educational content in Stacy Lash EBOOK, as well as a lash mapping guide that you can easily get via our Instagram page.