

Artículo: Fairy Lash Extensions: How to Create the Perfect Ethereal Lash Look
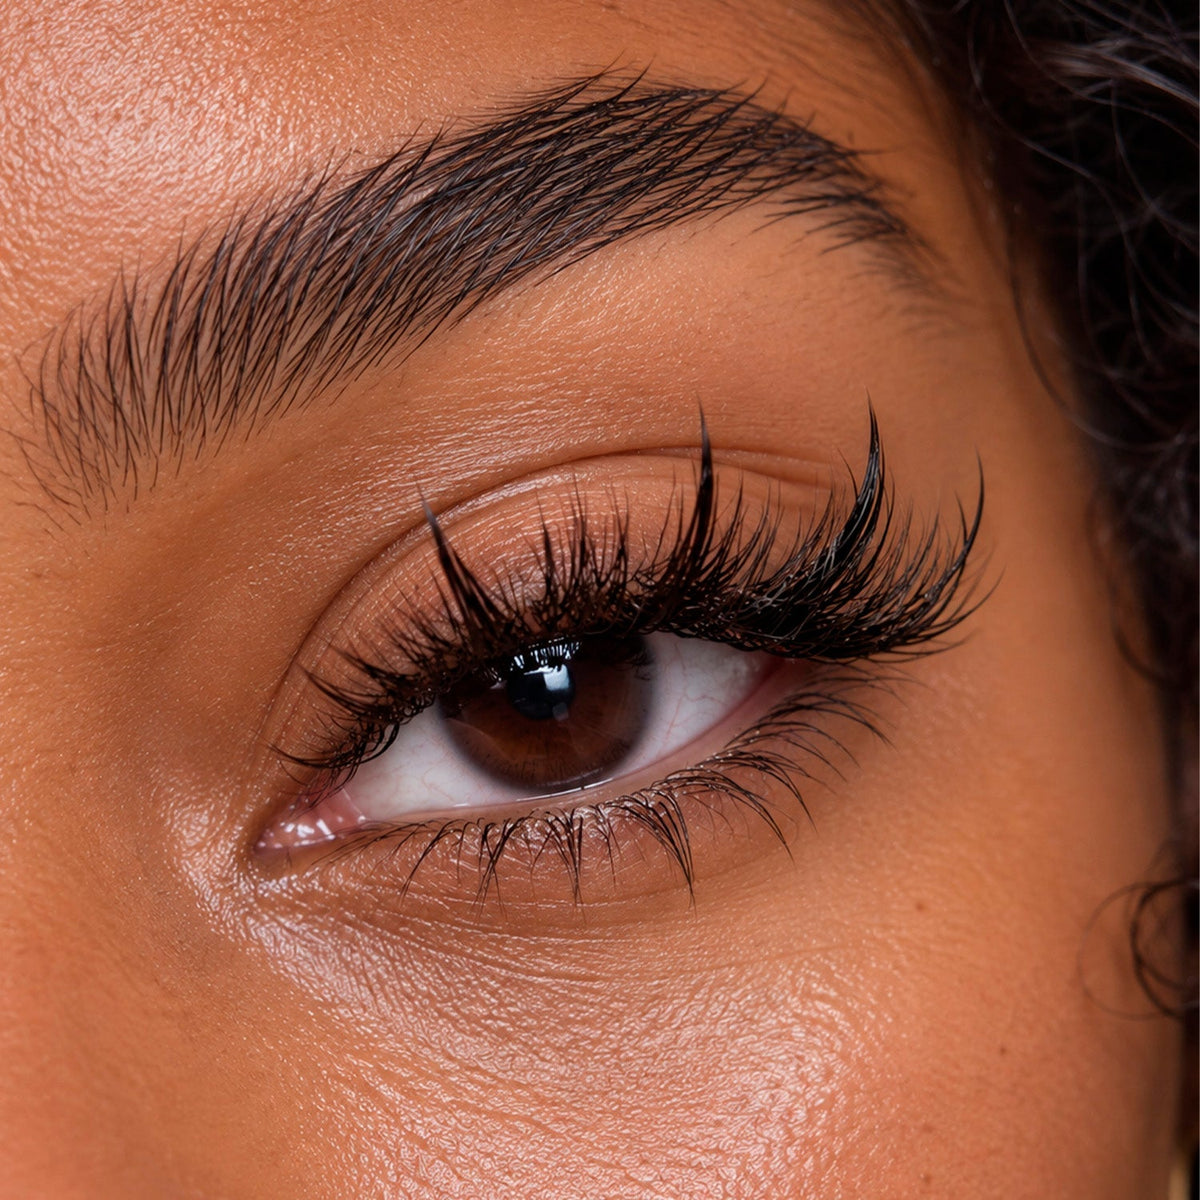
Fairy Lash Extensions: How to Create the Perfect Ethereal Lash Look
Some lash sets walk into a room. Fairy lashes float into it.
They’re soft, airy, a little mischievous. Just textured enough to look intentionally undone, as if a woodland fairy woke up late, grabbed her lash tweezers, and somehow still looked editorial.
Today, we’re talking about fairy lash extensions. This style has been popping up all over TikTok and Instagram, and it’s easy to see why. Beauty trends have been obsessed with that aesthetic for a while now, glazed skin, barely-there makeup, messy buns that somehow took 45 minutes to create, and fairy lashes fit right into the fantasy.
But here’s the catch: fairy lashes are not simply random wispy extensions. That’s where things can go from enchanted forest to murky woods. The magic is in the structure.
You need intentional spikes, carefully chosen lengths, lightweight texture, and a mapping strategy.
What Are Fairy Lash Extensions?
Fairy eyelash extensions serve as the softer, airier cousin of more dramatic textured sets. The defining feature is texture. Instead of creating one solid wall of density across the lash line, fairy lashes use a mixture of lengths and strategically placed longer pieces to create those delicate, fluttery spikes.
The result is slightly whimsical. Very “main character wandering through a field at golden hour.” But unlike a super-clean classic set, fairy lashes aren’t trying to make every lash look perfectly identical.
There’s a little movement. A little unpredictability. That’s precisely what makes the style so addictive.
Why did fairy lashes suddenly become everywhere?
TikTok and Instagram have basically turned lash styling into its own visual language. A client can scroll for ten minutes and suddenly know the difference between wispy, anime, wet-look, doll-eye, fox-eye, and fairy styles, despite having absolutely no idea what any of those terms meant six months ago.
And fairy lashes fit beautifully into the current obsession with soft, romantic beauty. They photograph extremely well, too. The little spikes catch the light. The mixed lengths create dimension. And because the texture isn't completely uniform, the eyes can look expressive without looking heavily made up.
The Key Features of a Fairy Lash Set
So what separates fairy lashes from regular lash extensions with a few random longer pieces? A lot, actually.
Wispy spikes
This is the star of the show. Fairy lashes typically feature deliberate spikes that peek above the softer base. But, and this is important, you don't want every spike screaming for attention. A good fairy set has peaks and valleys. Some spikes are more noticeable, while others melt into the overall design.
Mixed lash lengths
Uniform length is not exactly the fairy aesthetic. You’ll usually work with several lengths to create that fluttery, dimensional effect. The longer pieces become your visual accents, while shorter and medium lengths create the softer base underneath.
Lightweight texture
Fairy lashes should never feel like they're wearing a tiny backpack on every natural lash. The style depends on delicacy. That means choosing lightweight fibers and appropriate diameters so you can build texture without overloading the natural lashes.
The set should look full enough to be interesting but light enough to feel believable.
Soft volume instead of dense fullness
This is not the moment to channel a Las Vegas showgirl. Fairy lashes are about strategically placed volume. The negative space between some of the textured sections is part of the design. If you fill every tiny gap, you lose the airy effect that makes fairy lashes, well… fairy lashes.
Natural-looking separation
Even though the style is intentionally textured, the lashes shouldn't look clumpy. You want separation between those beautiful little spikes. The finished set should make someone think that subtlety is actually golden.
Fairy Lash Mapping Step by Step
Now for the part where the fairy dust gets replaced by actual technique. Fairy lash mapping is where this style either becomes gorgeous or a complete mess.
Start with your base lengths
Before you start creating spikes, establish the underlying shape. Your base lengths should follow the client's natural lash line and eye shape rather than forcing every client into the exact same map.
You might build gradually toward the center for a more open appearance, or place more length toward the outer area for a softer elongated effect. The client's natural lashes are your starting point. The Pinterest photo is not.
Place your longer spikes strategically
Instead of placing long spikes at identical intervals like you're measuring tiles on a bathroom floor, create deliberate variation. You can place your longest spikes at selected points and use shorter lengths between them. The result should have rhythm. One spike catches your eye, then another, then another.
Choose your curl
CC and D curls are popular choices when you want that lifted, fluttery appearance. A D curl can give you more drama and lift, while CC can create a softer curve. L curls can also be interesting, particularly for certain eye shapes where you want lift without pushing the curl too far into the brow area. But don't choose a curl simply because someone on TikTok used it. Your client's natural lashes, eyelid space, and desired result should make the final call.
Choose your diameter carefully
Lightweight fibers are your best friend here. Fairy lashes depend on texture and movement, not brute force. The exact diameter will depend on the technique you're using, the natural lashes, and whether you're creating classic pieces, volume fans, or a combination.
Keep the symmetry, but don't make it sterile
This is one of the trickiest parts of lash mapping for fairy lashes. The eyes need to look balanced, but the lashes shouldn't look mechanically identical. That means your overall architecture should be symmetrical while the tiny details can have some organic variation.
Best Lash Products for Creating Fairy Lashes
Your products matter more than you might think.
Individual lashes
You'll want a good range of lengths so you can build that layered effect. Having several lengths available makes it much easier to create a map that actually has dimension rather than pretending one length can do everything. Spoiler: it can't.
Lash tweezers
Your tweezers are basically an extension of your hand. For fairy sets, precision matters because you're constantly switching between creating texture, isolating natural lashes, placing spikes, and maintaining separation. A tweezer that feels good in your hand can make a surprisingly big difference when you're working through a detailed textured map.
Lash adhesive
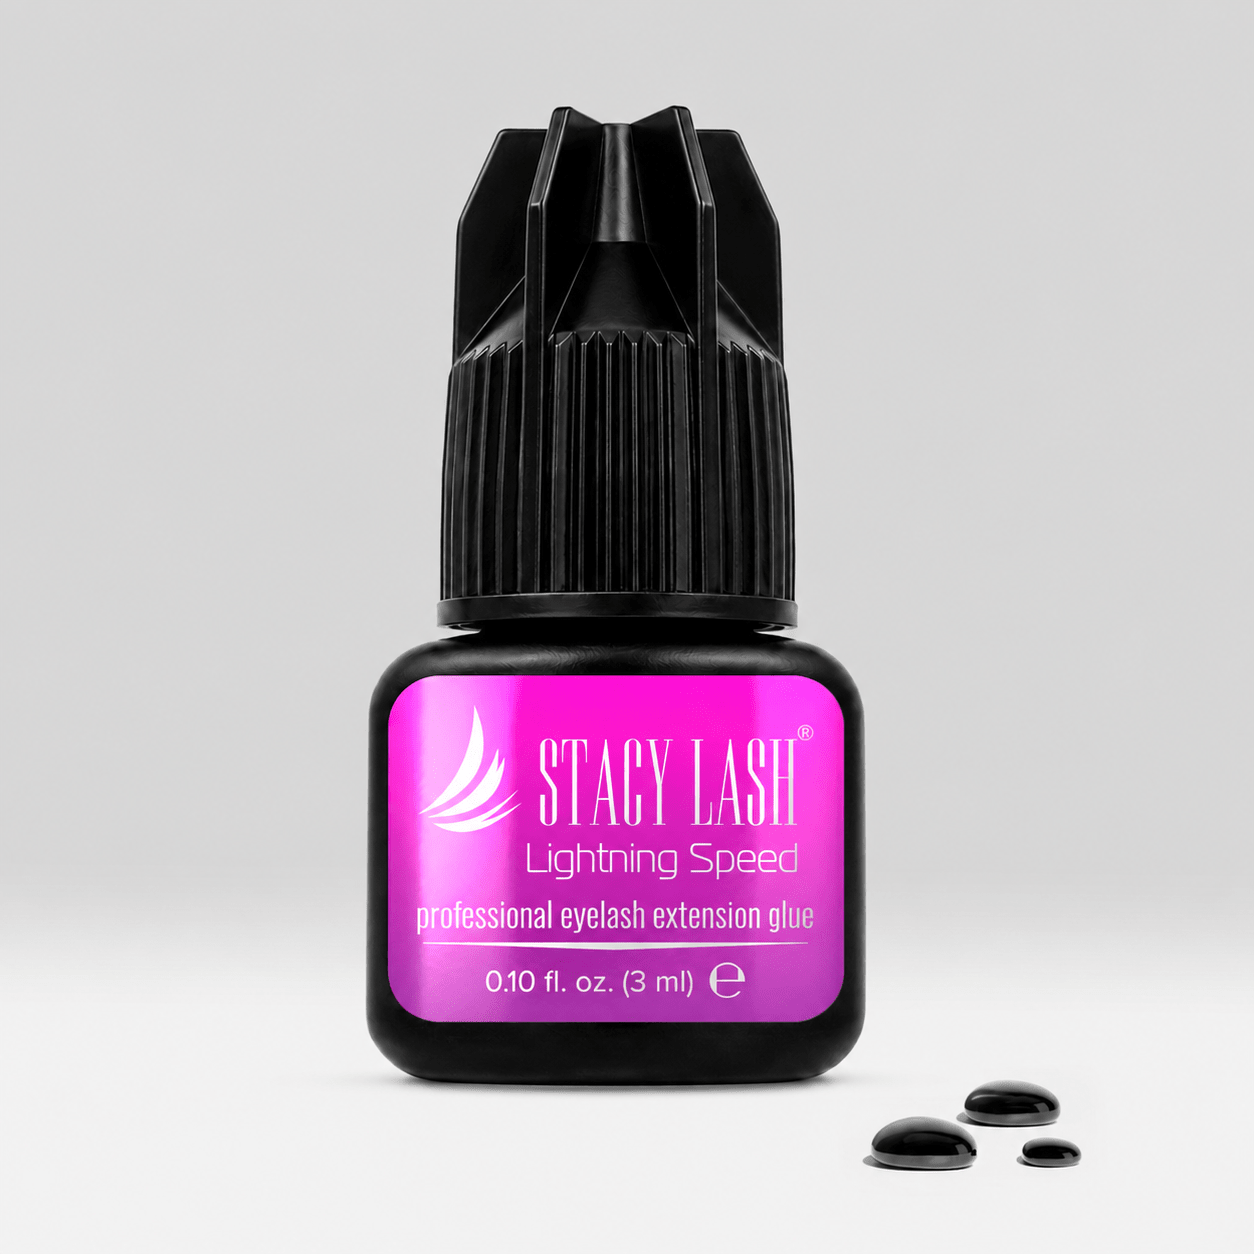
A reliable adhesive gives you consistency while you're working through those little spikes and textured sections. And because fairy sets rely on deliberate placement, you don't want your adhesive behaving like it has its own agenda.Humidity, temperature, adhesive speed, and your working technique all matter.
If your glue is drying before you've finished placing a spike, fairy magic turns into a race against the clock. Nobody asked for that.
Premade vs. handmade fans
Both can work. Premade fans can save time and create consistency, while handmade fans give you more control over the exact texture and density.
If you're chasing a very customized fairy effect, handmade fans give you more freedom to adjust the look from client to client. But don't underestimate premades, either. The best choice is the one that lets you maintain the lightweight, airy finish without sacrificing your technique.
Why lightweight fibers work best
Because fairy lashes are all about illusion. You want the eye to look more textured and dimensional without actually piling on unnecessary weight. Lightweight fibers let you create volume and spikes while keeping the set comfortable and appropriate for the natural lashes.
More isn't always more.
Fairy Lashes vs. Wispy Lashes vs. Anime Lashes
Okay, let's settle the family reunion. These styles can look similar in photos, but they're not interchangeable.
Fairy lashes
Soft, airy, romantic, textured. The spikes are noticeable but usually integrated into a delicate overall design.
Wispy lashes
Wispy lash extensions also use mixed lengths and texture, but the overall appearance can range from incredibly natural to quite dramatic. They're more of a broad category. Fairy lashes can be considered a specific aesthetic within the larger world of wispy, textured styling.
Anime lashes
Anime-inspired lashes tend to have more obvious, graphic spikes and a stronger doll-like appearance. The spikes are often the main event.
So which creates the softest effect?
Usually, fairy lashes. They're designed to create texture without making the texture feel too graphic. But, and this is a big but, the mapping matters more than the label.
You can absolutely create a heavy-looking fairy set if you use too much volume or overly dramatic spikes. The name doesn't save the technique.
Who Are Fairy Lash Extensions Best For?
A lot of people. But the map should change depending on the eye.
Almond eyes
Lucky you. Almond-shaped eyes tend to work beautifully with textured lash styles because you already have a naturally balanced shape to play with. You can experiment with different spike placements and length transitions.
Hooded eyes
Fairy lashes can be gorgeous on hooded eyes, but placement matters. You may want to focus on creating lift and ensuring your longest pieces remain visible rather than disappearing beneath the hooded area. The goal is to open up the eye, not let your carefully designed spikes vanish into the eyelid Bermuda Triangle.
Round eyes
For round eyes, be thoughtful about where you place your longest lengths. A customized map can help create a more elongated appearance rather than emphasizing roundness even further.
Deep-set eyes
Curl selection becomes particularly important here. You want enough lift for the texture to remain visible without creating awkward contact with the brow bone or surrounding areas.
Clients who want natural and trendy
This is where fairy lashes really shine. Girl, fairy lashes heard you.
How to Maintain Fairy Lash Extensions
The prettier the texture, the more important aftercare becomes.
Cleanse daily
A gentle lash-safe cleanser helps remove makeup, oil, sweat, and everyday buildup. And yes, even the most delicate fairy set needs a shower.
Brush gently
Use a clean spoolie and brush through the lashes gently when they're dry. Don't attack them like you're detangling Christmas lights. A few soft strokes are enough to keep the extensions separated and looking fluffy.
Keep up with refills
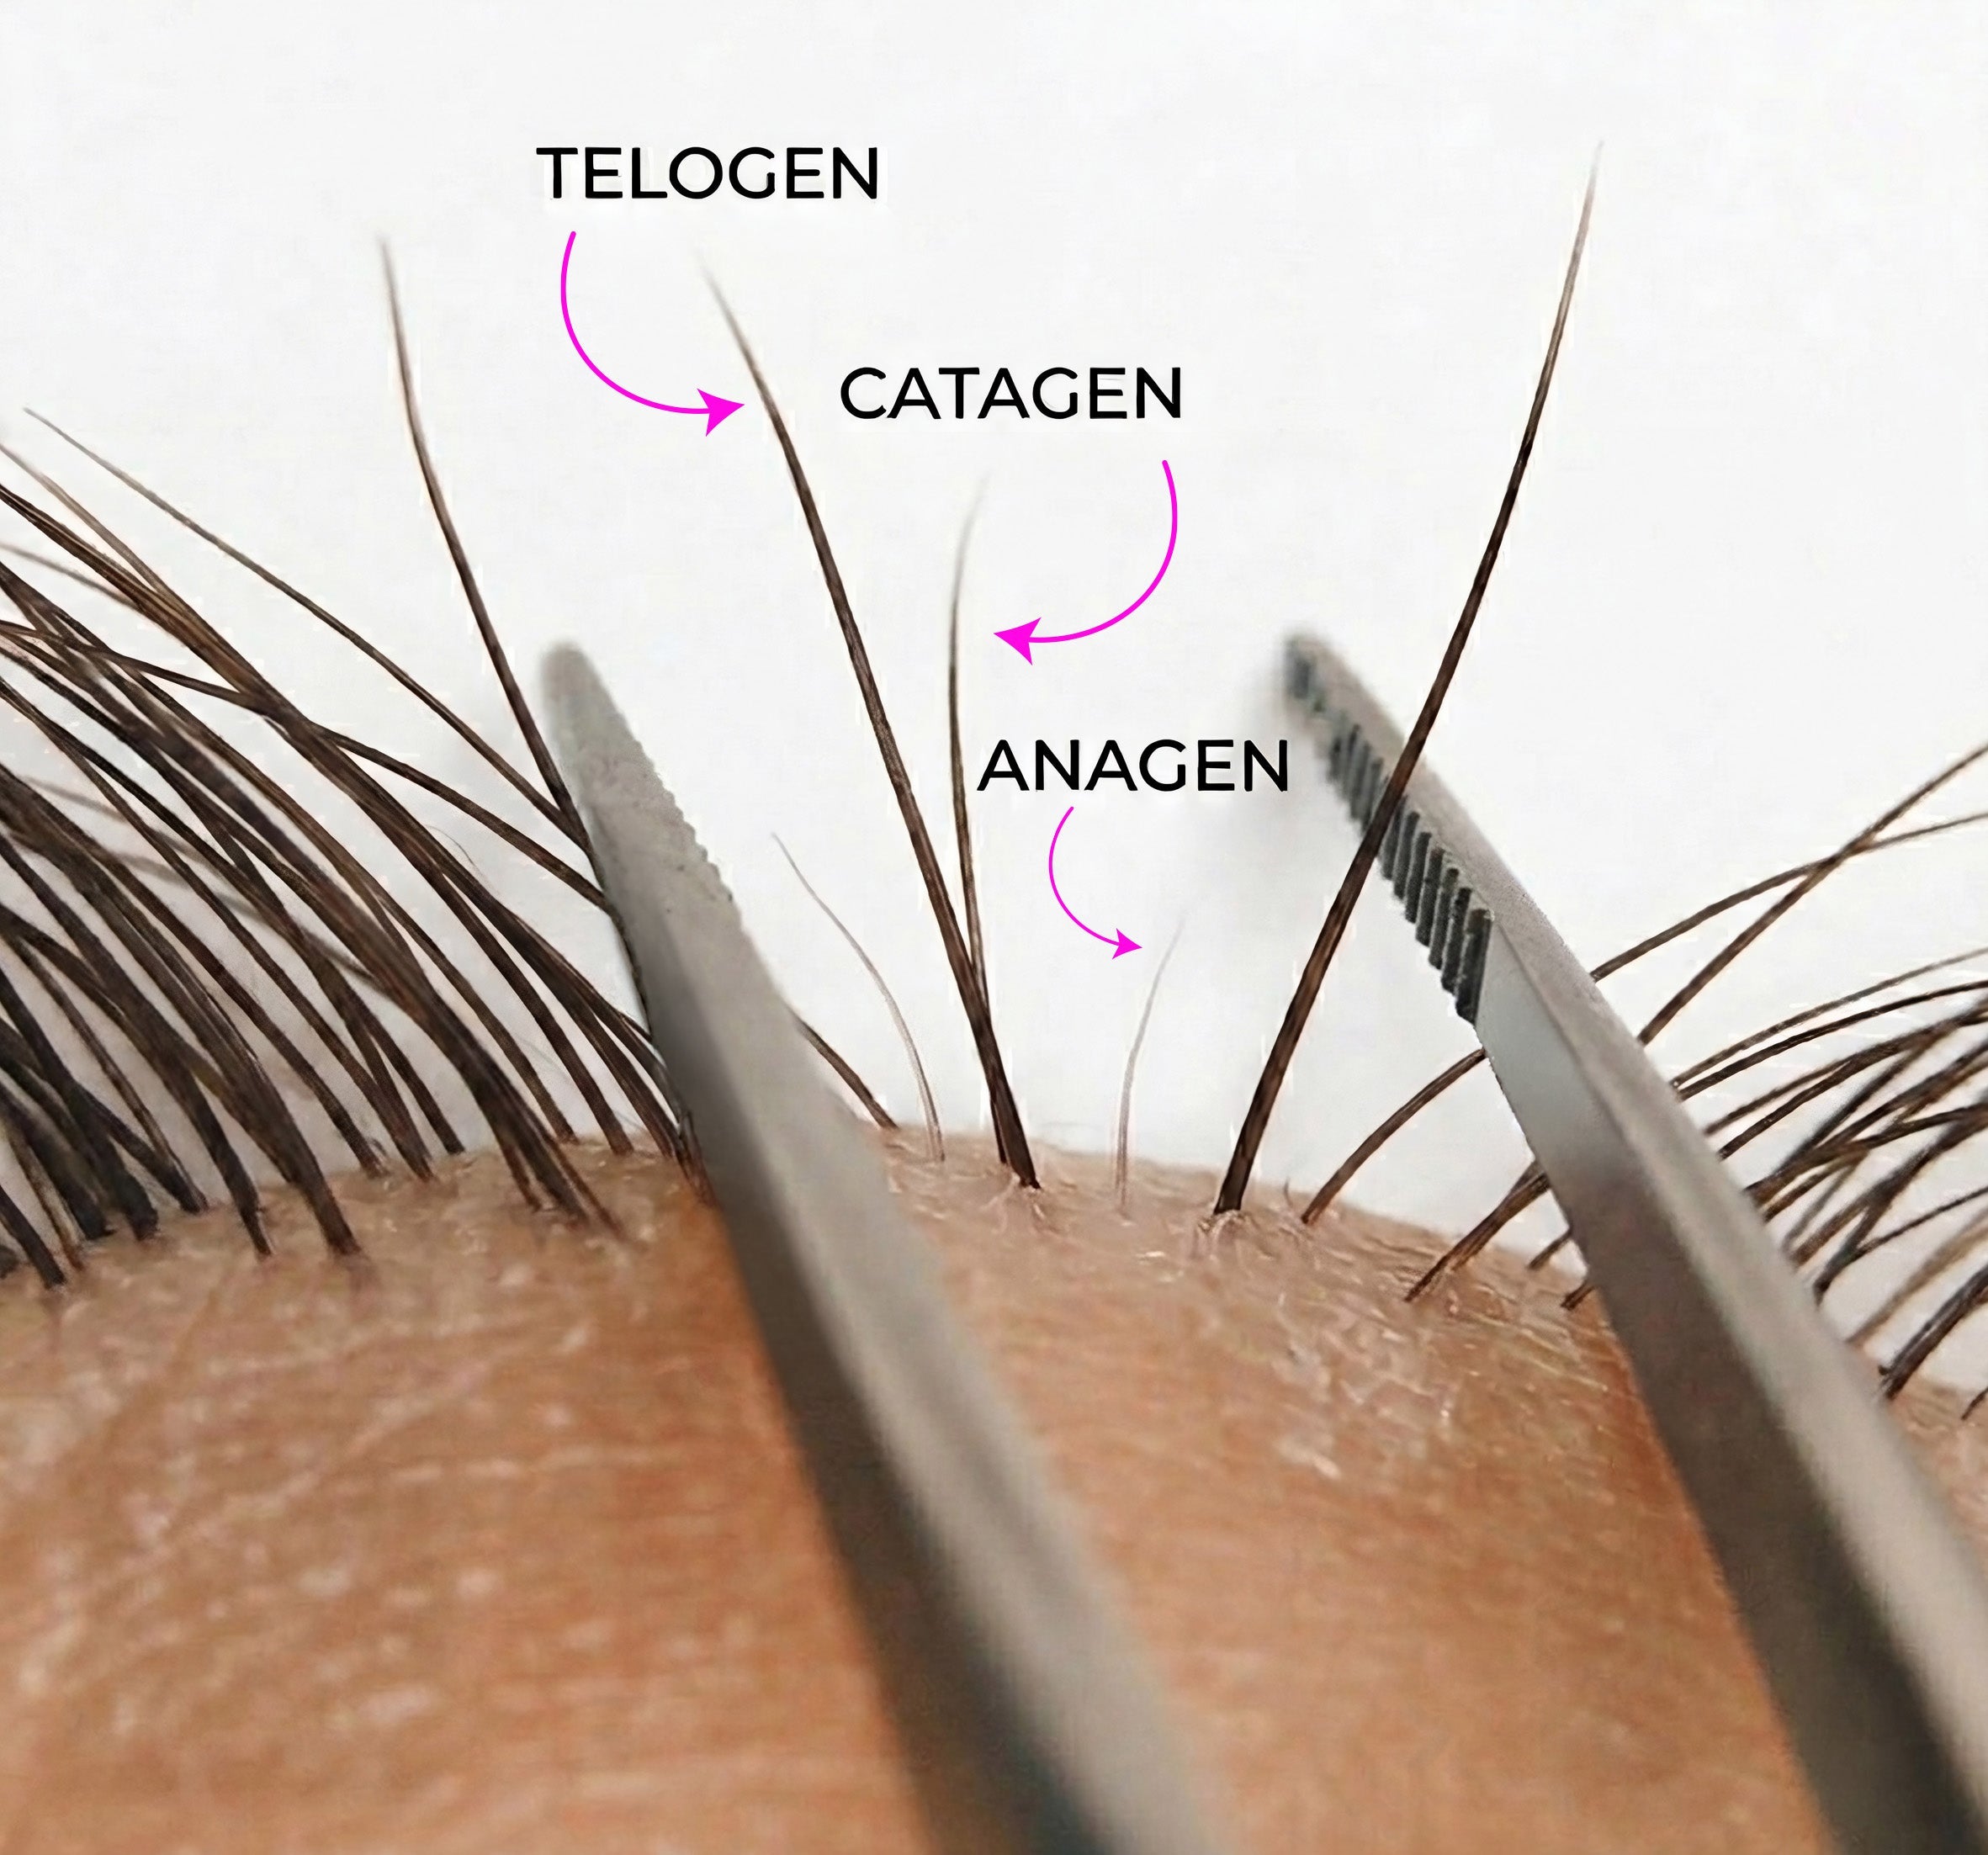
Because fairy sets rely on intentional spikes and varying lengths, grown-out extensions can make the map look uneven surprisingly quickly. Regular refill appointments help maintain the shape and replace extensions that have naturally shed. Your exact schedule will depend on the client's lash cycle, retention, and how full they want to keep the set.
Products to avoid
Heavy oils and products that aren't designed for extensions can interfere with the adhesive bond. And please don't pick at individual extensions because one spike has decided to go rogue. If something feels uncomfortable or looks dramatically out of place, let your lash technician handle it.
Common Mistakes When Creating Fairy Lash Extensions
Fairy lashes look effortless. Creating them however, is a different story.
Too many spikes
This is probably the easiest way to lose the fairy effect. If everything is a spike, nothing is a spike. Use longer pieces strategically and let softer lengths fill in the spaces.
Excessive volume
Fairy does not equal mega volume. If the lash line becomes too dense, you've lost the airy quality that defines the style. When in doubt, step back from the lash bed and look at the overall eye. Sometimes you need less.
Incorrect curl combinations
Mixing curls can create gorgeous effects when there's a reason behind it. But randomly throwing CC, D, and L curls into a set because “more variety = more fairy” is not a strategy. It’s chaos wearing a cute name.
Poor weight distribution
Longer or heavier extensions need appropriate natural lash support. You can't build dramatic spikes wherever you feel like it and ignore the natural lash underneath. Always consider the health and strength of the client's natural lashes when choosing lengths, diameters, and techniques.
Losing the airy texture
This is the ultimate fairy-lash crime. You start with a delicate concept. Then you add another fan. And another. Suddenly your “ethereal fairy set” looks like it could be seen from space.
Stop. Step away from the tweezers. Remember what you were trying to create in the first place.
Beautiful Contradiction
The best fairy lash style isn't the one with the longest spikes or the most dramatic curl. It's the one where everything feels intentional without looking overly calculated.
Soft base, delicate texture, strategic spikes, lightweight fibers. A map adapted to the eye instead of blindly copied from a screenshot. And most importantly, restraint.
Because the whole point of fairy lashes is that they look effortless, but they're anything but accidental. So if you're ready to bring a little fantasy into your lash sets, grab your favorite tweezers, build your map, and let those little spikes do their thing.




Dejar un comentario
Este sitio está protegido por hCaptcha y se aplican la Política de privacidad de hCaptcha y los Términos del servicio.