Why Lash Artists Should Master Isolation First
The art of lashing is not just about creativity or speed—it’s about technique, safety, and effective results. One of the most needed yet often underestimated skills every lash artist must master is lash isolation.
While it might not be the flashiest part of the lash application process, isolation is foundational. Without it, even the most beautiful extensions can lead to discomfort, lash damage, or poor retention. For lash pros out there who care about their reputation, great isolation is non-negotiable.
If lash extensions were a Netflix series, isolation is the pilot episode. It sets the tone for everything else. If the base isn’t strong, you’re risking a plot twist nobody asked for (like irritated eyes or bald spots on the lash line).
What Is Lash Isolation?
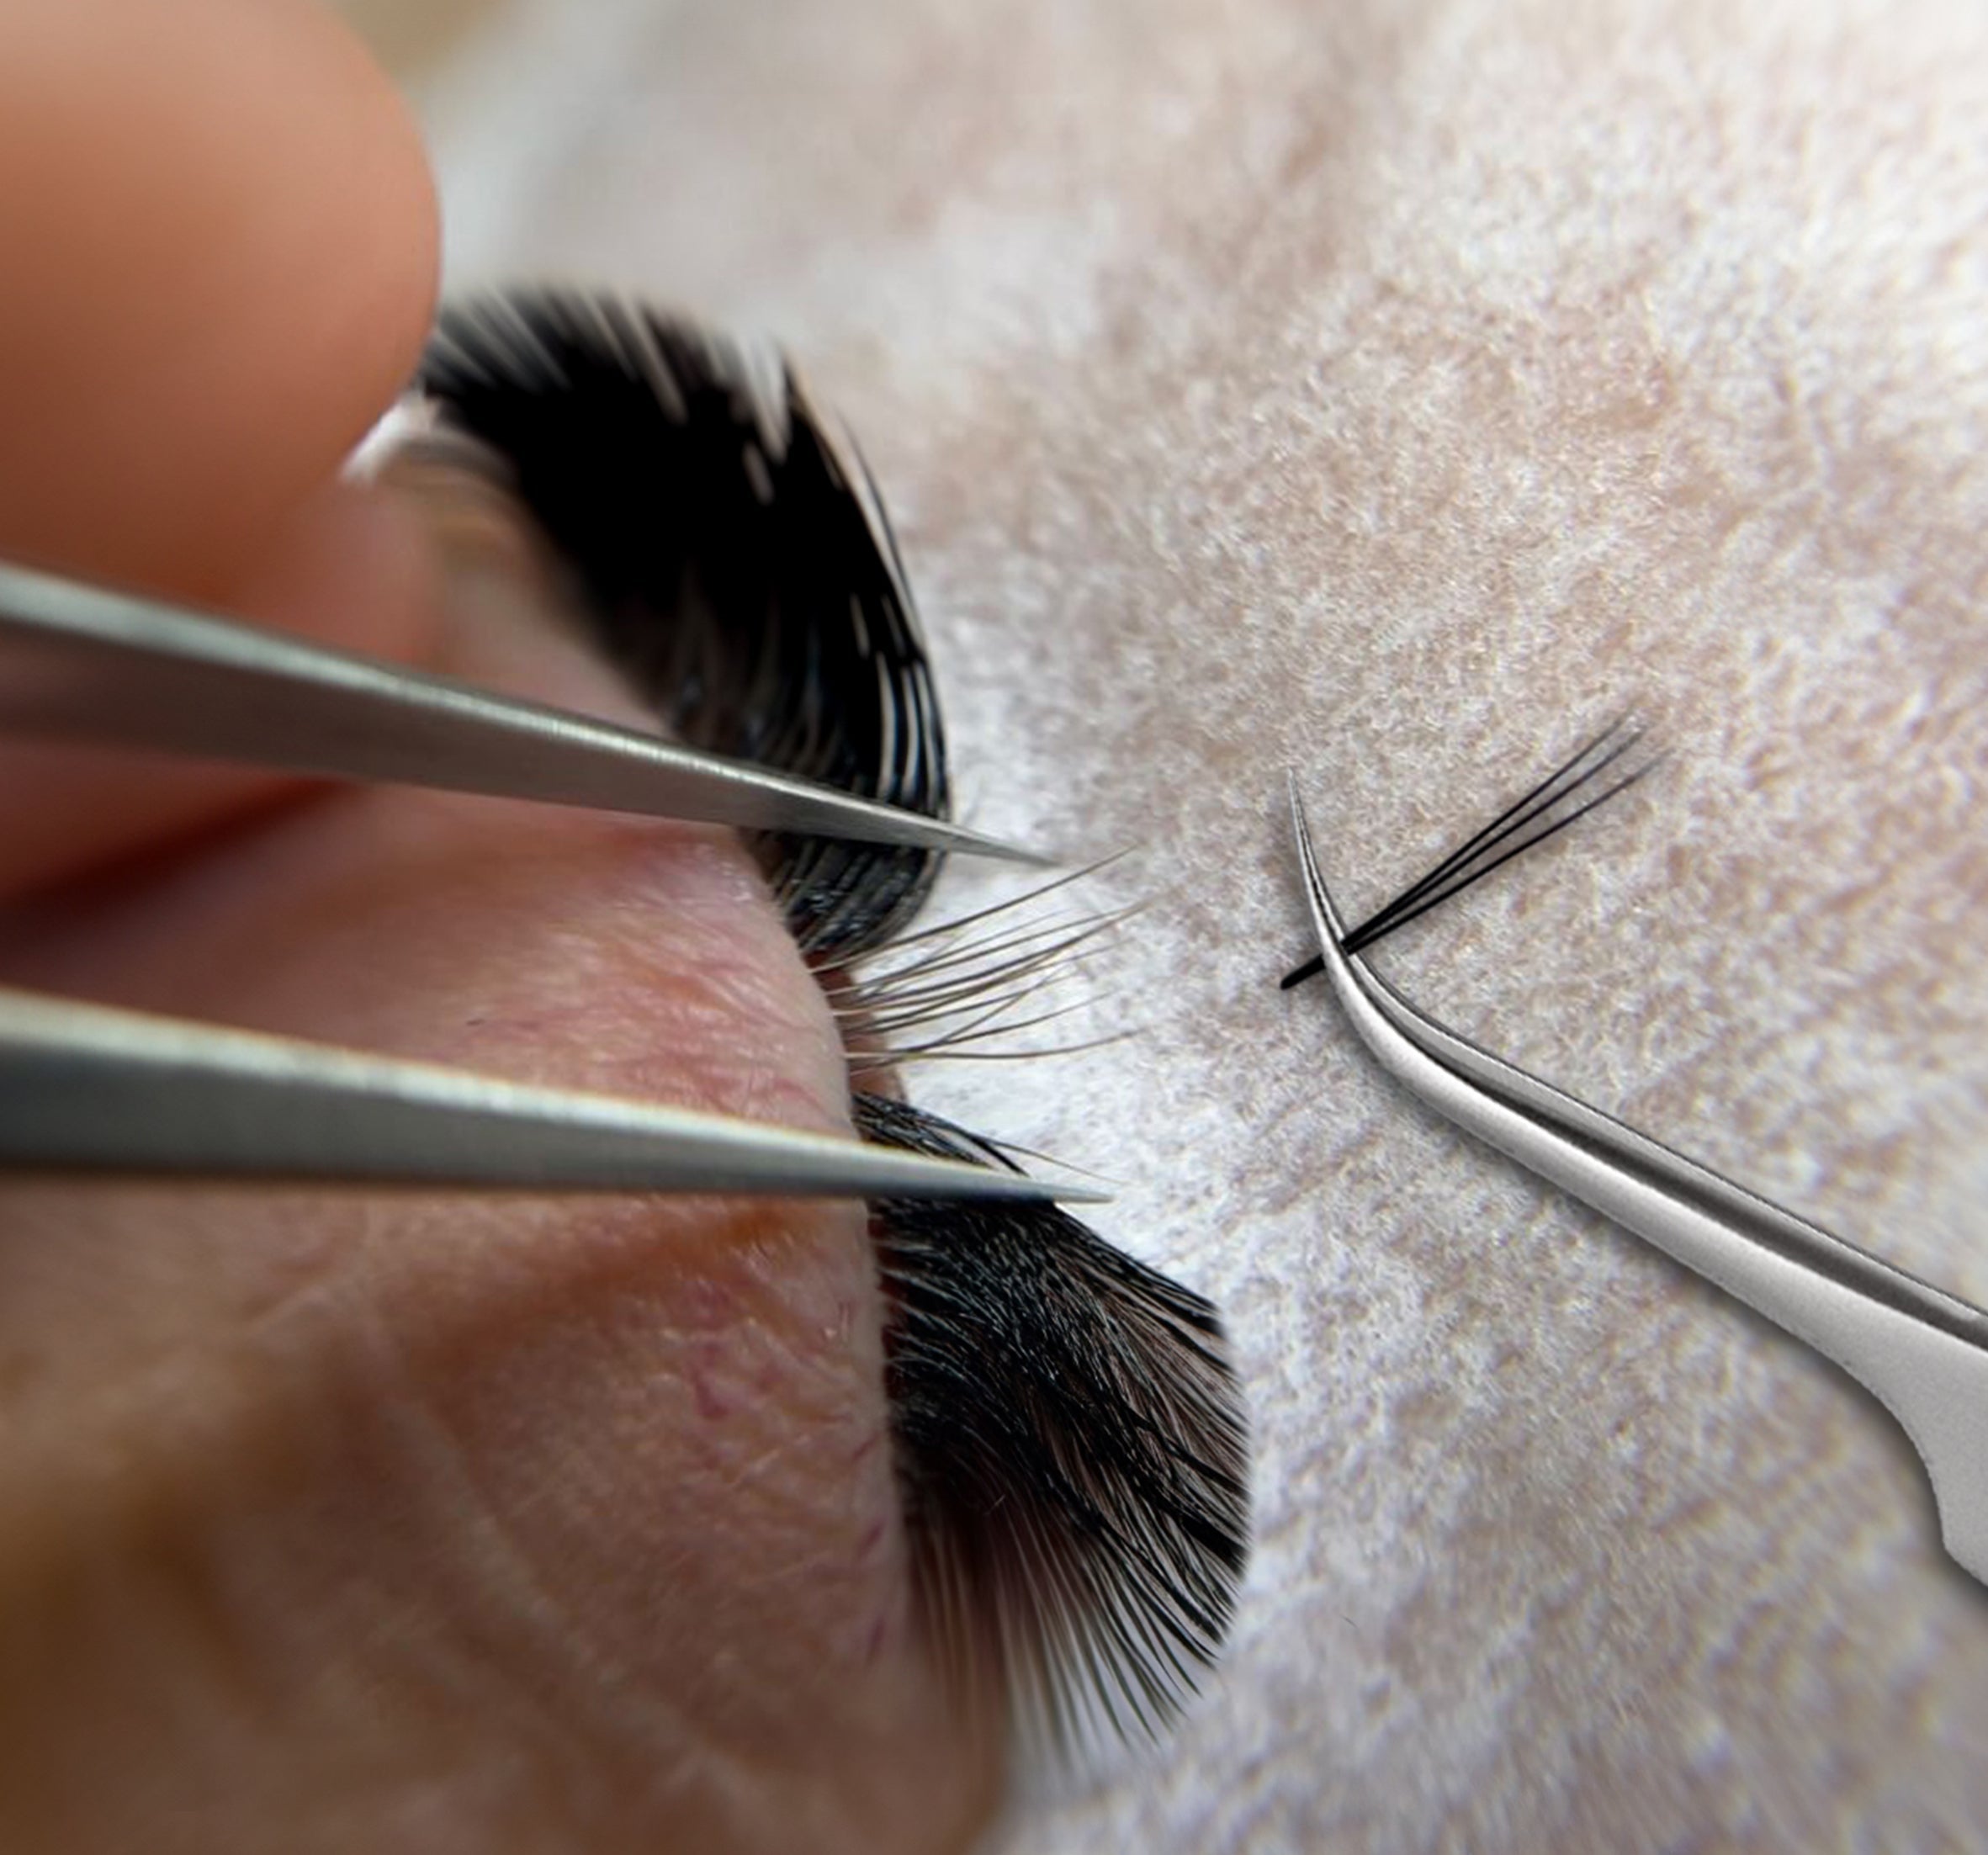
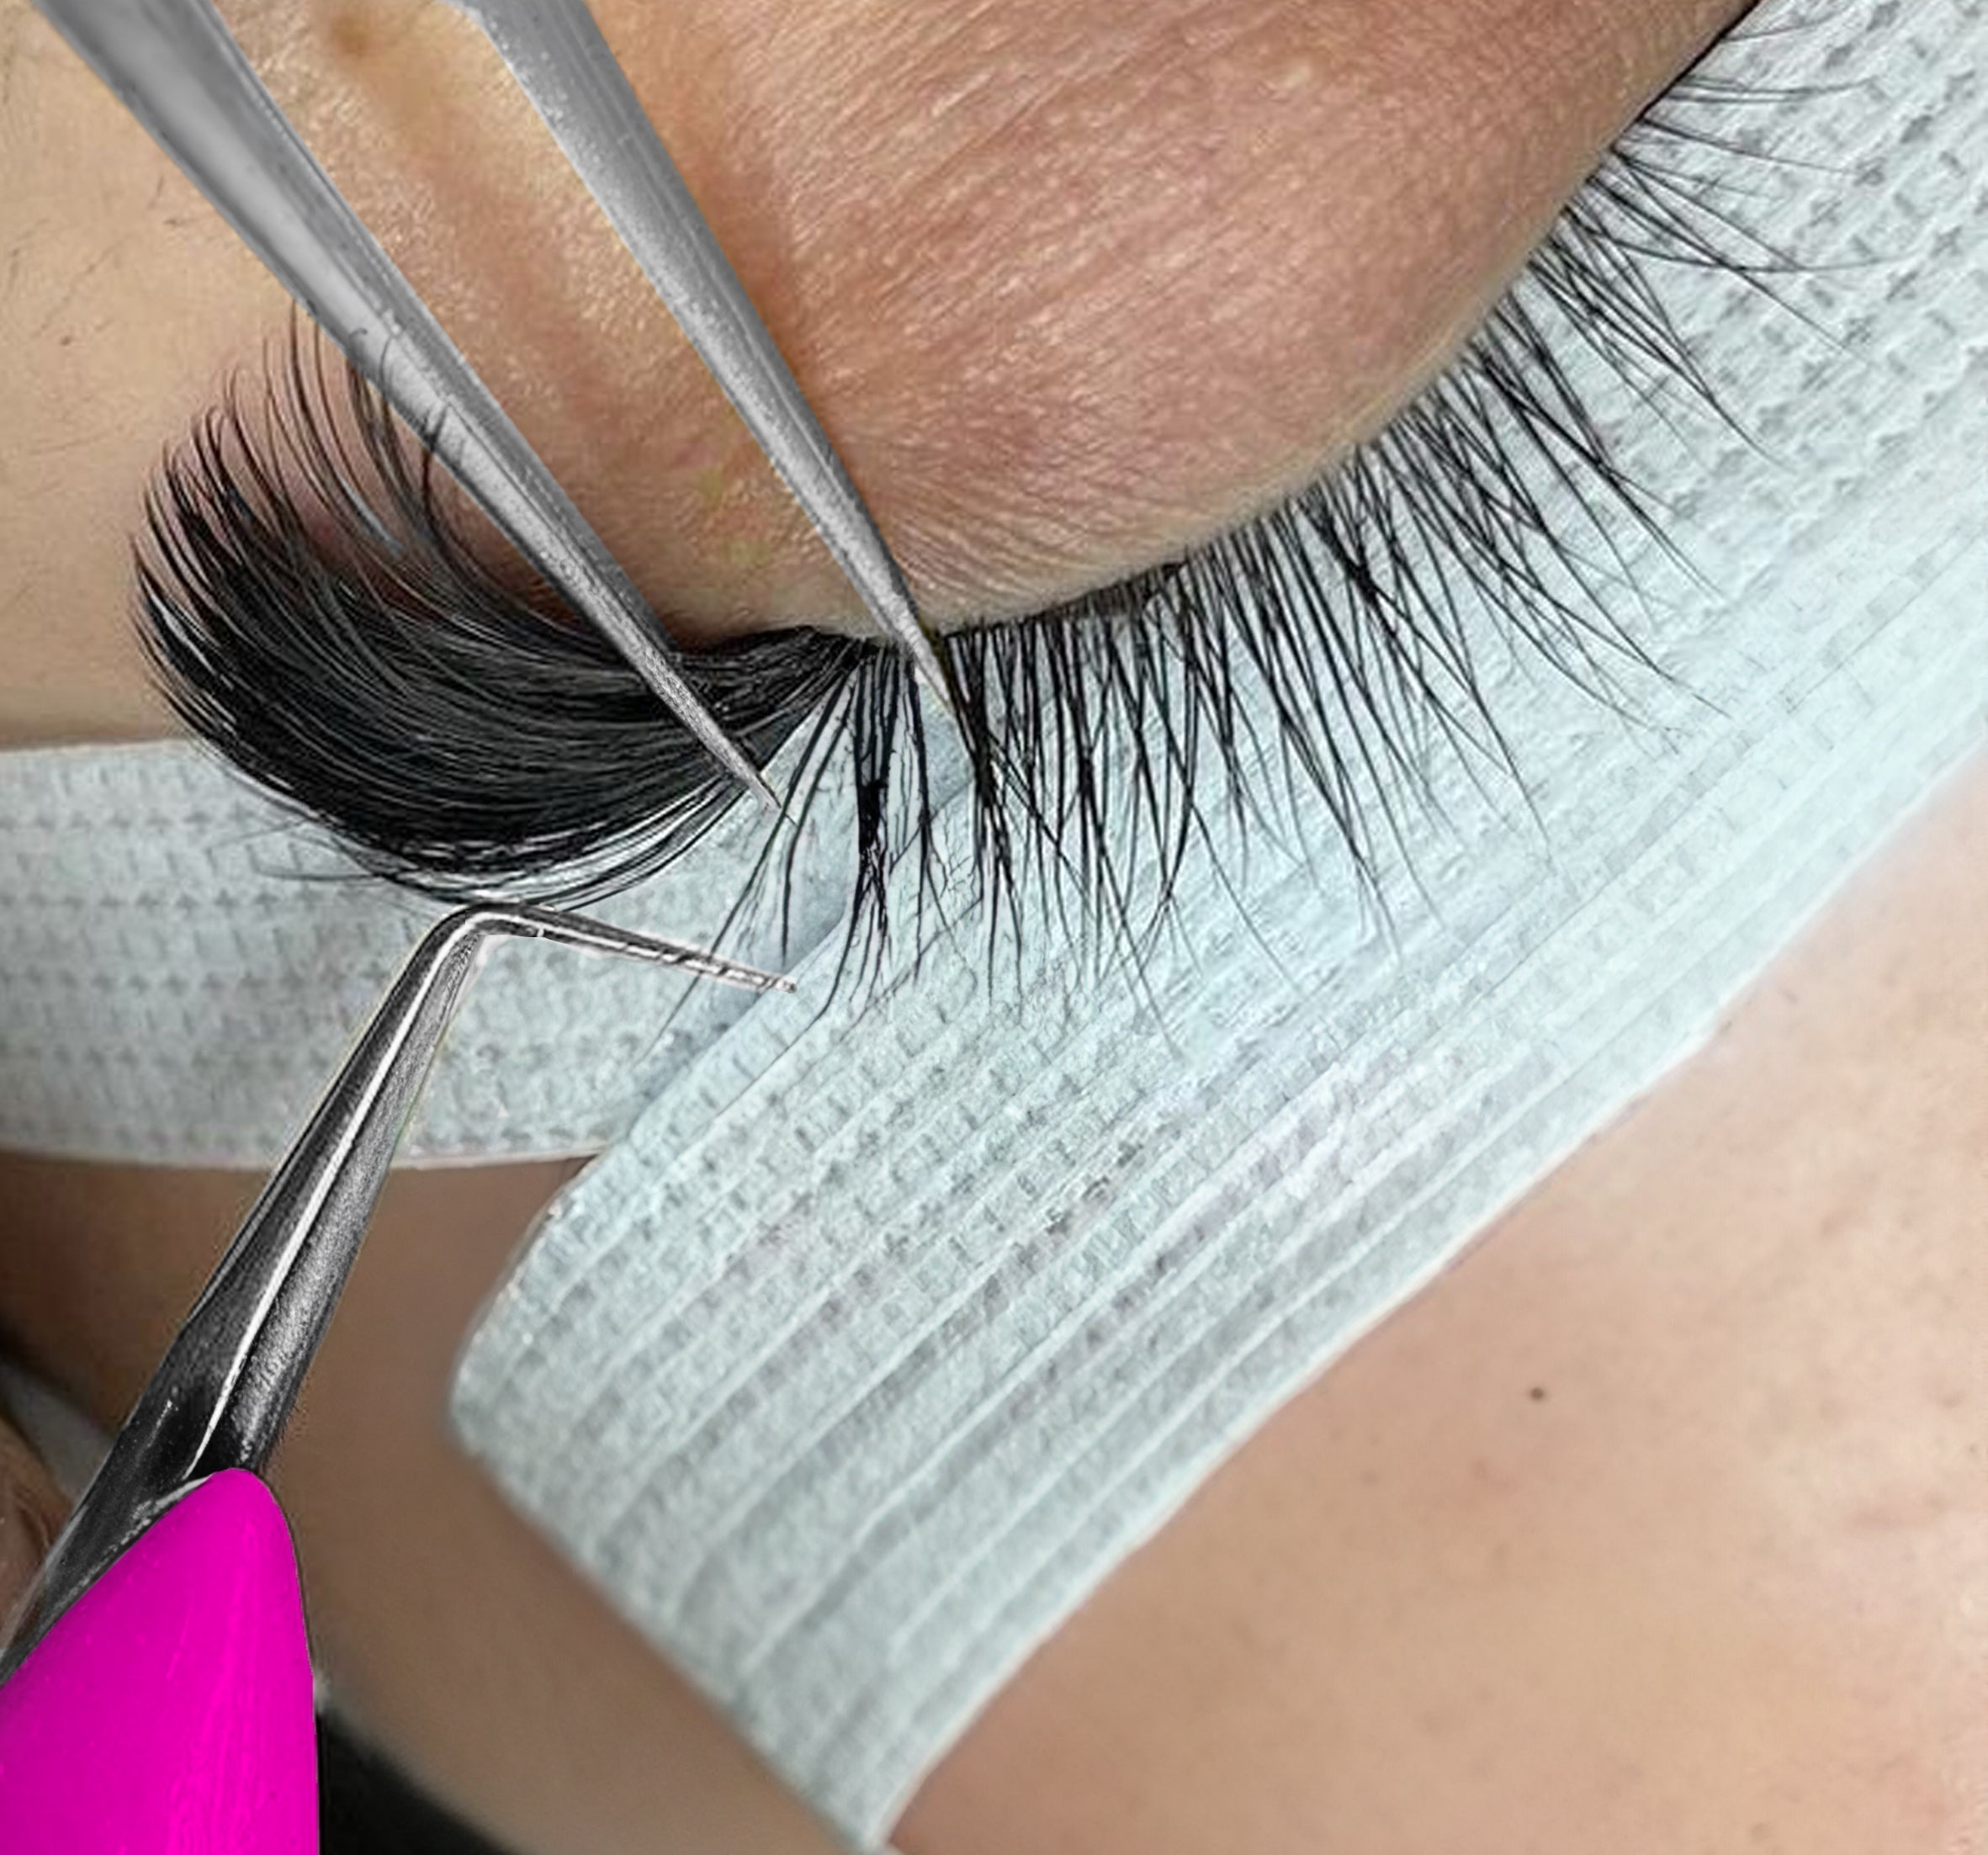
Lash isolation is the process of separating a single natural lash from all the others before applying an extension. It requires using an isolation tool for eyelash extensions—to gently part the lashes and expose a single one. The goal? To ensure that only one natural lash is bonded to one extension. Not one-and-a-half. Not two. Just one. Period. End of story.
It might sound tedious, but isolating correctly is the ultimate mark of a seasoned lash artist. And yes, it’s the secret spell behind those clean, fluffy, drool-worthy sets you see all over Instagram.
Why Isolation Matters
Mastering isolation for lash extensions isn’t just about aesthetics—though it certainly contributes to a clean, beautiful result. It guarantees client safety, lash health, and the durability of your work. Here’s why it’s so essential:
a. Prevents Lash Stickies and Natural Lash Damage
When two or more lashes are accidentally glued together, it can cause serious problems. As each natural lash grows at a different rate, being stuck together creates tension and can lead to premature lash loss or even permanent follicle damage. It's basically like braiding someone’s hair with gum—painful, messy, and totally not cute.
b. Ensures Better Retention
Isolated lashes allow the extension to bond fully and securely to the natural lash, maximizing retention. Clients will notice their lashes last longer between fills, leading to higher satisfaction and return rates. Translation? More five-star reviews, more loyal clients, income increased.
c. Improves Client Comfort and Safety
Poorly isolated lashes often cause irritation, tugging, or discomfort, especially during the shedding phase. On the other hand, well-isolated extensions feel light and natural. Satisfied clients is what we all aim for, right?
d. Creates a Cleaner, More Polished Look
Messy lash lines full of stickies and gaps? That’s a dead giveaway your isolation game needs attention. And trust—both clients and other lash techs will clock it in a heartbeat. On the flip side, crisp, clean isolation gives you that flawless, pro-level finish that turns heads and fills books.
Common Isolation Mistakes
Even experienced lash artists can occasionally fall into bad habits. Here are some common mistakes and their consequences:
- Rushing the process: Trying to fly through isolation like it’s a race? Big mistake. That’s how stickies happen and lashes get skipped—basically sabotaging your whole set before it even has a chance to shine.
- Using the wrong eyelash isolation tool (or using it wrong): If your tweezers aren’t doing you any favors, it might be time for an upgrade—or at least a technique check. The wrong grip or angle can cause hand strain, poor separation, or worse, lash damage.
- Isolating too much at once: We get it, you're excited—but grabbing a whole clump of lashes at once defeats the purpose. Isolation is a one-lash-at-a-time kind of deal. Keep it clean and focused to avoid a tangled mess.
- Skipping the double-check: Don’t just isolate and move on. Always go back and give your work the once-over. Stickies love to hide in plain sight, and skipping that final check is how you end up with lopsided results (and disappointed clients).
Remember, bad habits are like bad exes—hard to get rid of and always coming back to haunt you. Stay sharp.
Tips for Mastering Isolation
Mastering isolation doesn’t happen overnight—it’s a skill that takes time, tools, and a whole lot of patience. But once you get the hang of it, your lash sets will go from "meh" to magazine-cover ready. Here are some pro eyelash extension tips you totally need:
a. Pick the Perfect Tweezers
Your tweezers are basically your magic wand. Whether you vibe with straight tips or slightly curved ones, the key is comfort and control. Try a few styles until you find the one—kind of like dating, but with fewer red flags. When it feels right in your hand, you’ll know.
b. Light It Up and Zoom In
Trying to isolate without proper lighting is like using lipstick in the backseat of a moving car. A bright LED lash lamp paired with magnification glasses is your best friend. See every lash, slay every lash.
c. Change Your Angle
So many eye shapes out there. Deep-set, hooded, thick lash lines—every client brings a new challenge. Adjust your angle, switch hands, or have your client tilt their head a little. You’re the Picasso here—work the canvas from every side.
d. Practice, Practice, Practice
You wouldn’t expect to nail the perfect cat-eye on your first try, right? Isolation’s the same. Focus on clean, consistent placement. Speed comes later, but precision is queen.
e. Break It Down into Zones
Don’t just dive in randomly like it’s a game of lash roulette. Divide the lash line into sections—inner, middle, outer—and work through them methodically. This not only keeps things organized but also helps you stay focused and avoid eye fatigue.
f. Slow Down to Glow Up
It’s tempting to rush, especially when your client’s asking, “How much longer?” But sloppy isolation shows, and not in a good way. Take your time, stay steady, and remember: great things take time.
Pro Tips for Tricky Clients
The sad truth is not every client is a dream. Here are some lash tips on how to handle some common isolation challenges like a total pro:
Clients with super thick or curly natural lashes? Use a lash mirror to check your work from underneath, and consider switching to curved isolation tweezers for better precision.
Clients who twitch or talk with their whole face? Politely ask them to stay still—humor helps! Try something like, “Girl, I love the tea, but I need a calm ocean to isolate these waves.”
Sparse lashes? Take extra care. Sometimes, less is more. Focus on protecting those natural lashes while maximizing what’s there with light volume fans or classic application.
Conclusion
Lash isolation isn’t just another step on your checklist—it’s the backbone, the blueprint, the ride-or-die of every flawless lash set. You can have the best adhesive, the fluffiest fans, and the trendiest mapping style out there—but without clean isolation? It’s like trying to build a house on quicksand.
Think of proper isolation like your business’s backstage crew. It doesn’t get the spotlight, but nothing runs smoothly without it. It’s the quiet hero that saves your sets from stickies, bad retention, and lash drama. It’s your invisible bodyguard—keeping your client’s lashes safe, your work clean, and your reputation glowing.
Bottom line? Don’t sleep on it. Nail it. Because every jaw-dropping, camera-ready, scroll-stopping lash set? It all starts with one perfectly isolated lash.


1 comment
Just starting out and honestly thought isolation was just a tiny step—now I get it’s THE step 😅 This article broke it down in such a real way. Definitely taking the “break it into zones” tip into my next practice session!
Bella Cruz
Leave a comment
This site is protected by hCaptcha and the hCaptcha Privacy Policy and Terms of Service apply.