Starting with Eyelash Extensions? Here’s What Beginners Should Know
Eyelash extensions are totally an apple of everyone’s eye. That’s why so many people want to become part of this captivating universe. There are so many exciting things about this artistry, along with confidence that long and fluffy lashes bring. The desire to enhance one’s natural beauty unites us together in this tremendously great community and that’s where we should give newcomers a warm welcome. For those new to this craft, starting out can be both exciting and scary. Stacy Lash covers every client back, and we wat share a small guide to entertain you guys beginners and maybe share something useful to learn.
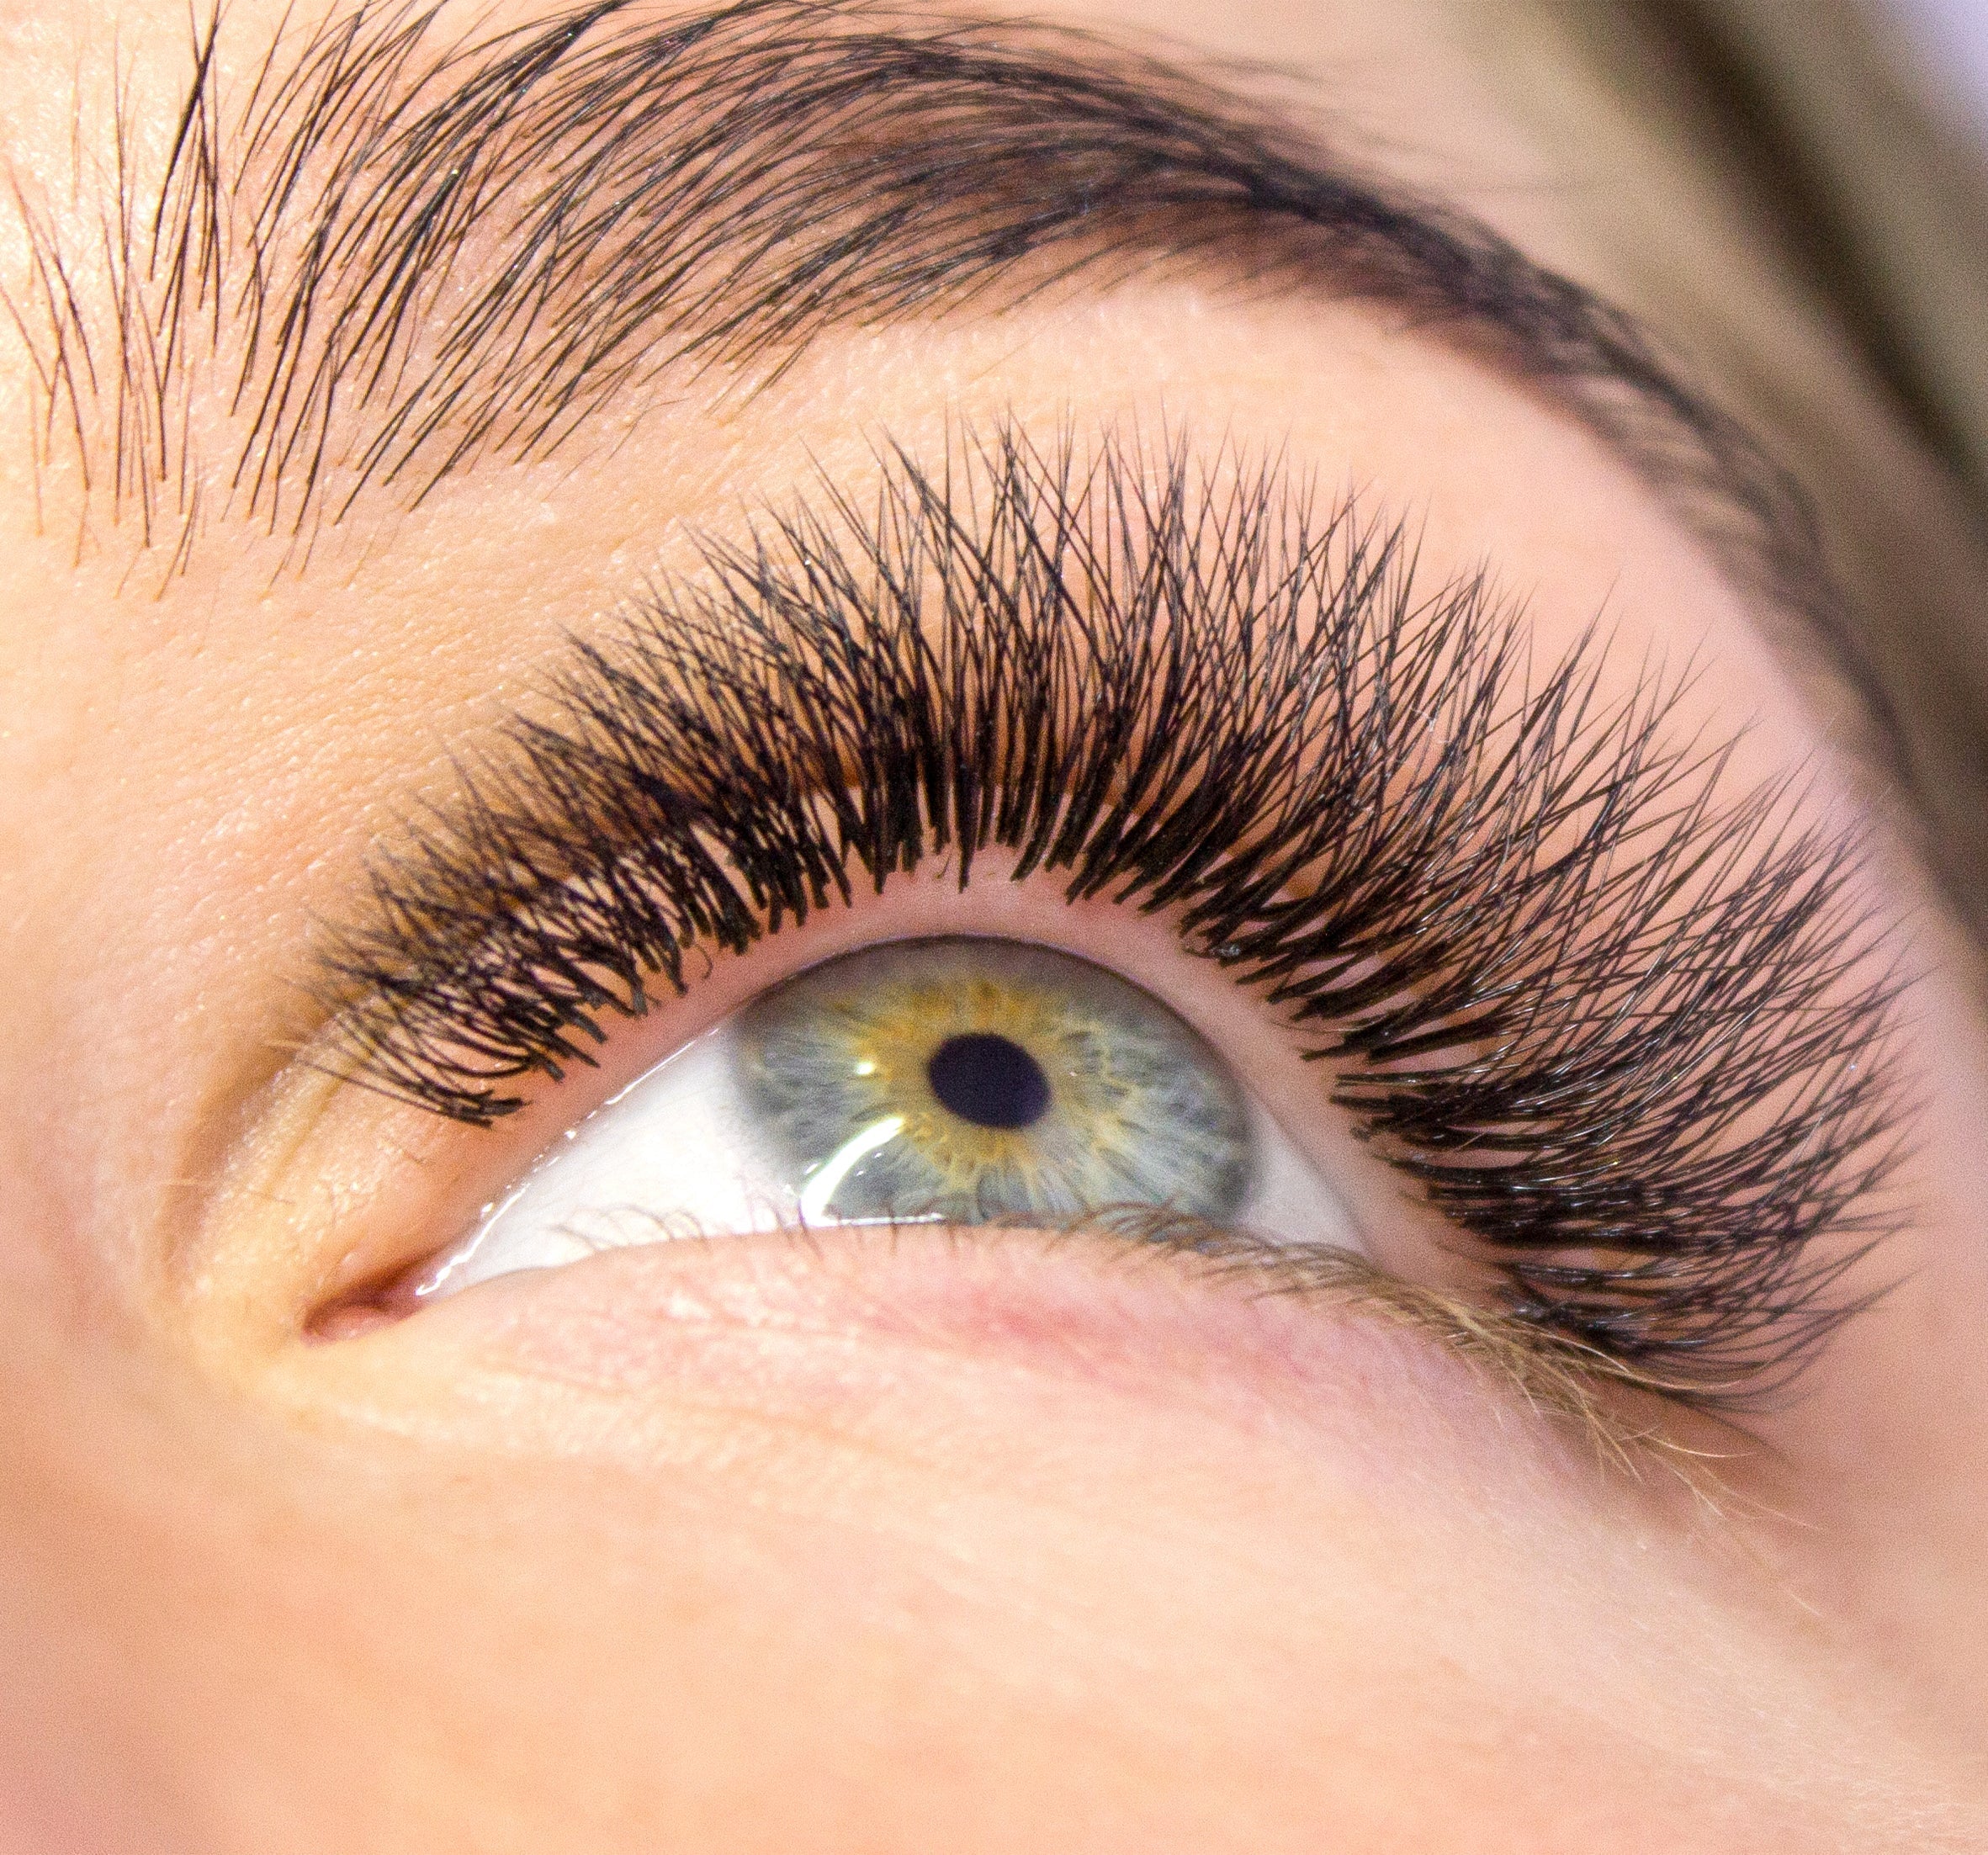
Understanding Eyelash Extensions
While there is only faux mink at stage nowadays, there is still a versatility beyond this word. There are several types of eyelash extensions, each offering a different look and feel. The most common styles - classic, volume, and hybrid. Classic look is closest to natural, and it’s when the extensions are applied as one per natural lash, providing a minimalistic set, with a very classy vibe. Volume extensions involve applying multiple lightweight extensions to a single natural lash, creating a fuller and more dramatic effect. Hybrid look gives you the best of both worlds, combining both classic and volume techniques.
Extensions come in different lengths and curls to suit various preferences and natural lash types. Common curl types include J, B, C, D, and L, with J being the least curly and L the curliest. Lengths typically range from 6mm to 17mm, allowing for customization based on the client’s natural lash length and desired look.
Tools and Products You’ll Need
When you're just starting out, having the right tools and products is key to hitting the ground running and keeping your clients happy. Here's a list of must-haves:
- Lash tweezers: Both straight and curved tweezers for spot-on application.
- Lash adhesive: A top-notch glue with the drying time suitable for your work speed.
- Lash extensions: Some lash trays of different curls to choose from.
- Eye pads and tape: To patch down the bottom lashes and keep client safe and sound.
- Lash shampoo: To give lashes a good clean before getting started.
- Primer: To prep natural lashes for a better adhesive hold.
- Bonder: To seal the glue bond in a jiffy and and prevent shock curing and irritation.
Preparing for the First Client
A solid consultation is the first step to keeping your clients happy as a clam. Chat about their expectations, lifestyle, and any allergies or sensitivities. This way, you can pick the best type of extensions and application method. Open conversation won’t hurt, as building trust is very important when it comes to lashing.
Adhere to the rule of performing a patch test 24-48 hours before the full application is a must to catch any allergic reactions to the adhesive when the new customers arrives. Just attach a few extensions on and see if there's any irritation.
Having a clean, organized workspace is key to a smooth sailing application process. Make sure your tools are sterilized, and your area is well-lit and comfy for the client. Keep all your tools within arm's reach to make your workflow a breeze.
Application Techniques - Step-by-Step Guide
- Preparation: Give the client's lashes a good clean with a lash cleanser and apply primer to remove oils. Secure the lower lashes with eye pads and tape.
- Application: Grab your lash tweezers, isolate a single natural lash, and put an extension into the adhesive drop. Attach the extension to the natural lash, making sure it’s stuck on nice and snug.
- Separation: After you’ve applied a few extensions, use a lash comb to keep them from clumping together.
- Final Touches: Once all the extensions are in place, use a bonder for the instant adhesive polymerization and keep any irritation at bay.
Essential Tips for Beginners:
- Practice makes perfect: Get comfy with your technique by practicing on mannequins or practice pads before you start working on clients.
- Stay organized: Keep your tools and workspace tidy. Use labeled containers for different lengths and curls of extensions and make sure your tools are always sterilized.
- Communicate: Talk to your clients about the look they want, how to care for their new lashes, and any potential issues. Good communication equals happy client.
- Use quality products: High-quality products can make a big difference in how long the extensions last and how great they look. Invest in reputable brands for adhesives, lashes, and other tools.
- Keep learning: The beauty industry is always changing with new techniques and products. Stay in the loop with the latest trends and keep your skills sharp through courses and workshops.
- Have a heart-to-heart conversation with your customer about the importance of aftercare. Client has to understand that it’s not only you who takes part in the process. It takes two to tango, so give them key tips like not not letting oil anywhere near the lashes, etc.
- Addressing client concerns promptly is essential for maintaining a good reputation.
- Regularly assess your technique and seek feedback from clients to improve your skills. Analyze any issues that arise and adjust your methods accordingly.
Conclusion
Diving into the world of eyelash extensions is an exciting experience, with the chance to amp up your clients’ natural beauty and give their confidence a big boost. By nailing down the basics, investing in top-notch tools and products, and always looking to up your craft, you can build a lash extension business that really shines. Keep in mind, practice makes perfect, and staying on top of your education is the secret sauce to becoming a skilled and in-demand lash technician. Happy lashing!


Leave a comment
This site is protected by hCaptcha and the hCaptcha Privacy Policy and Terms of Service apply.