Lash Corrections: Turning Lash Nightmares into Dreams
If you’ve been in the lash industry long enough, you’ve probably had a client walk in looking like they have been through a Black Friday Sale. Clumpy, crooked, or downright tragic lash extensions? We’ve all seen ‘em. Lash correction is a must-have skill in any lash tech’s arsenal, because let’s face it—bad lash jobs happen. Whether it’s from a rushed application, poor-quality products, or a DIY disaster, clients are turning to skilled professionals to rescue their lashes from total chaos.
So, how do you transform a botched set into a masterpiece? Let’s break it down.
Lash Disasters: What Went Wrong?
Before you can fix a bad set, you’ve gotta diagnose the problem. Here are some of the biggest lash extension fails you’ll come across:
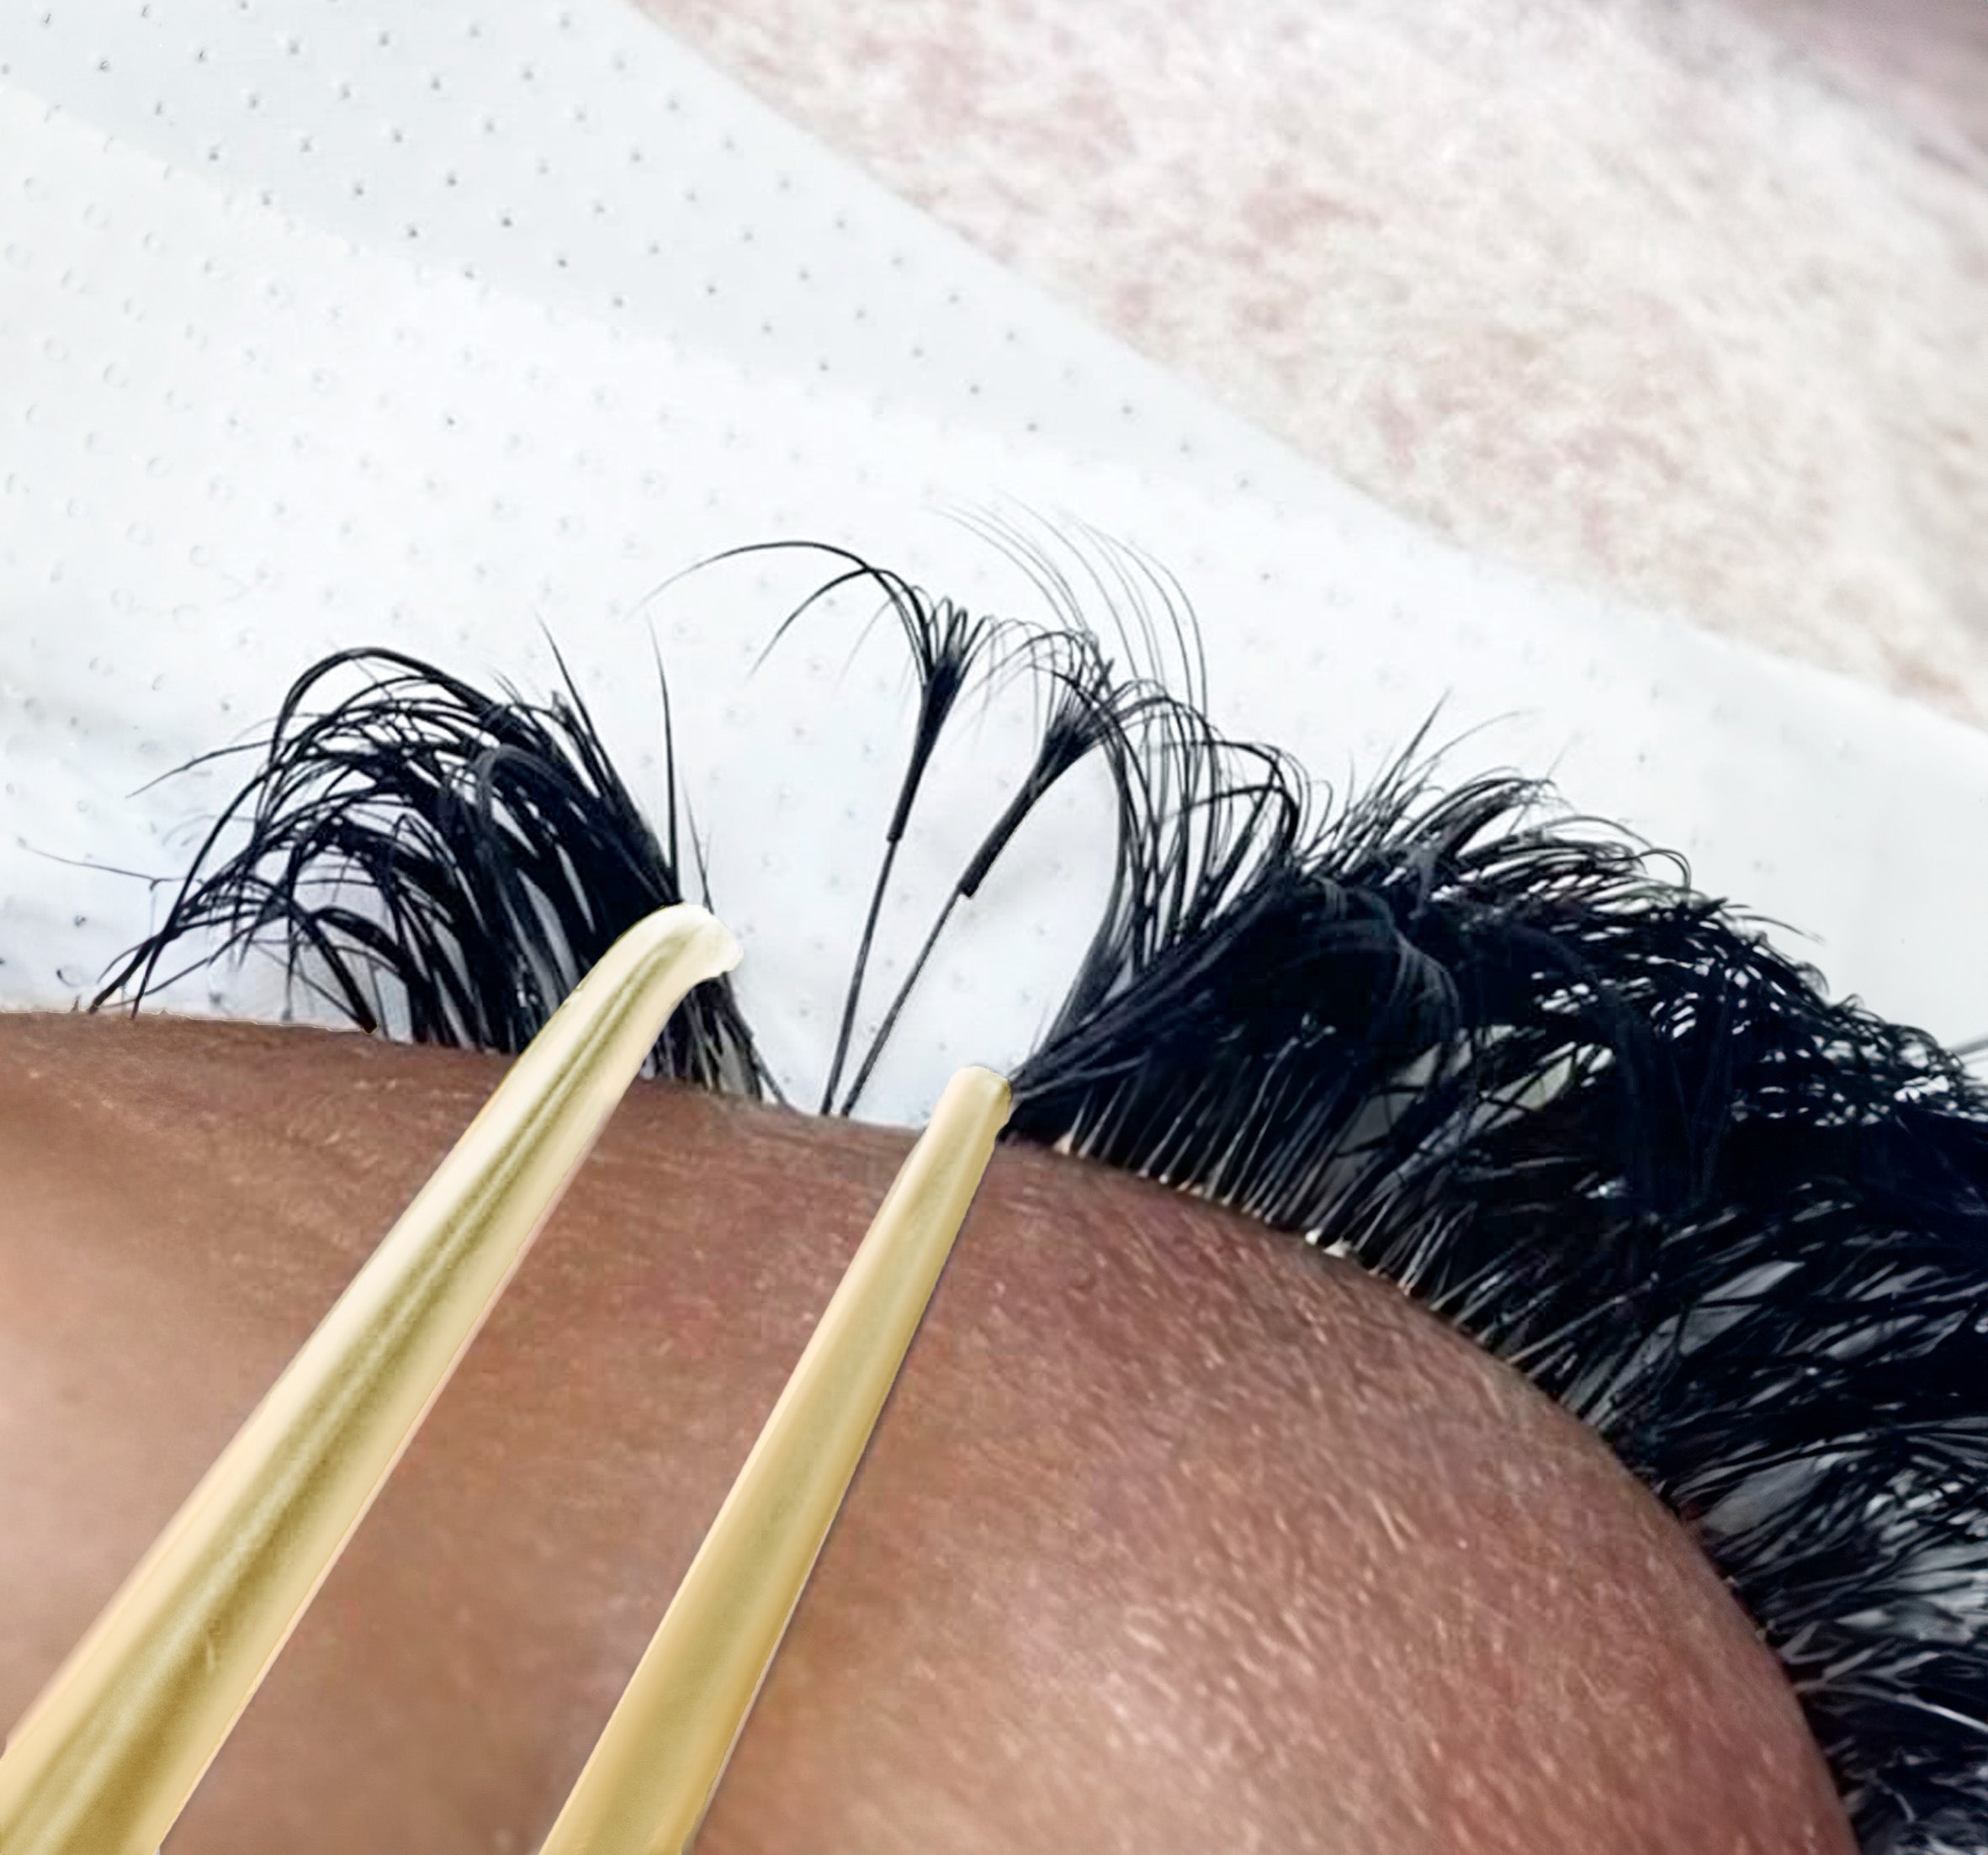
1. Lash Clumps That Look Like Spider Legs
This happens when multiple natural lashes get glued together. Not only does it look awful, but it can damage the client’s natural lashes as they grow out.
2. Crooked, Wonky, or Wild Lashes
Some lashes point north, others go east, and some just… flop. Misdirected lash extensions are usually the result of poor isolation or improper adhesive placement.
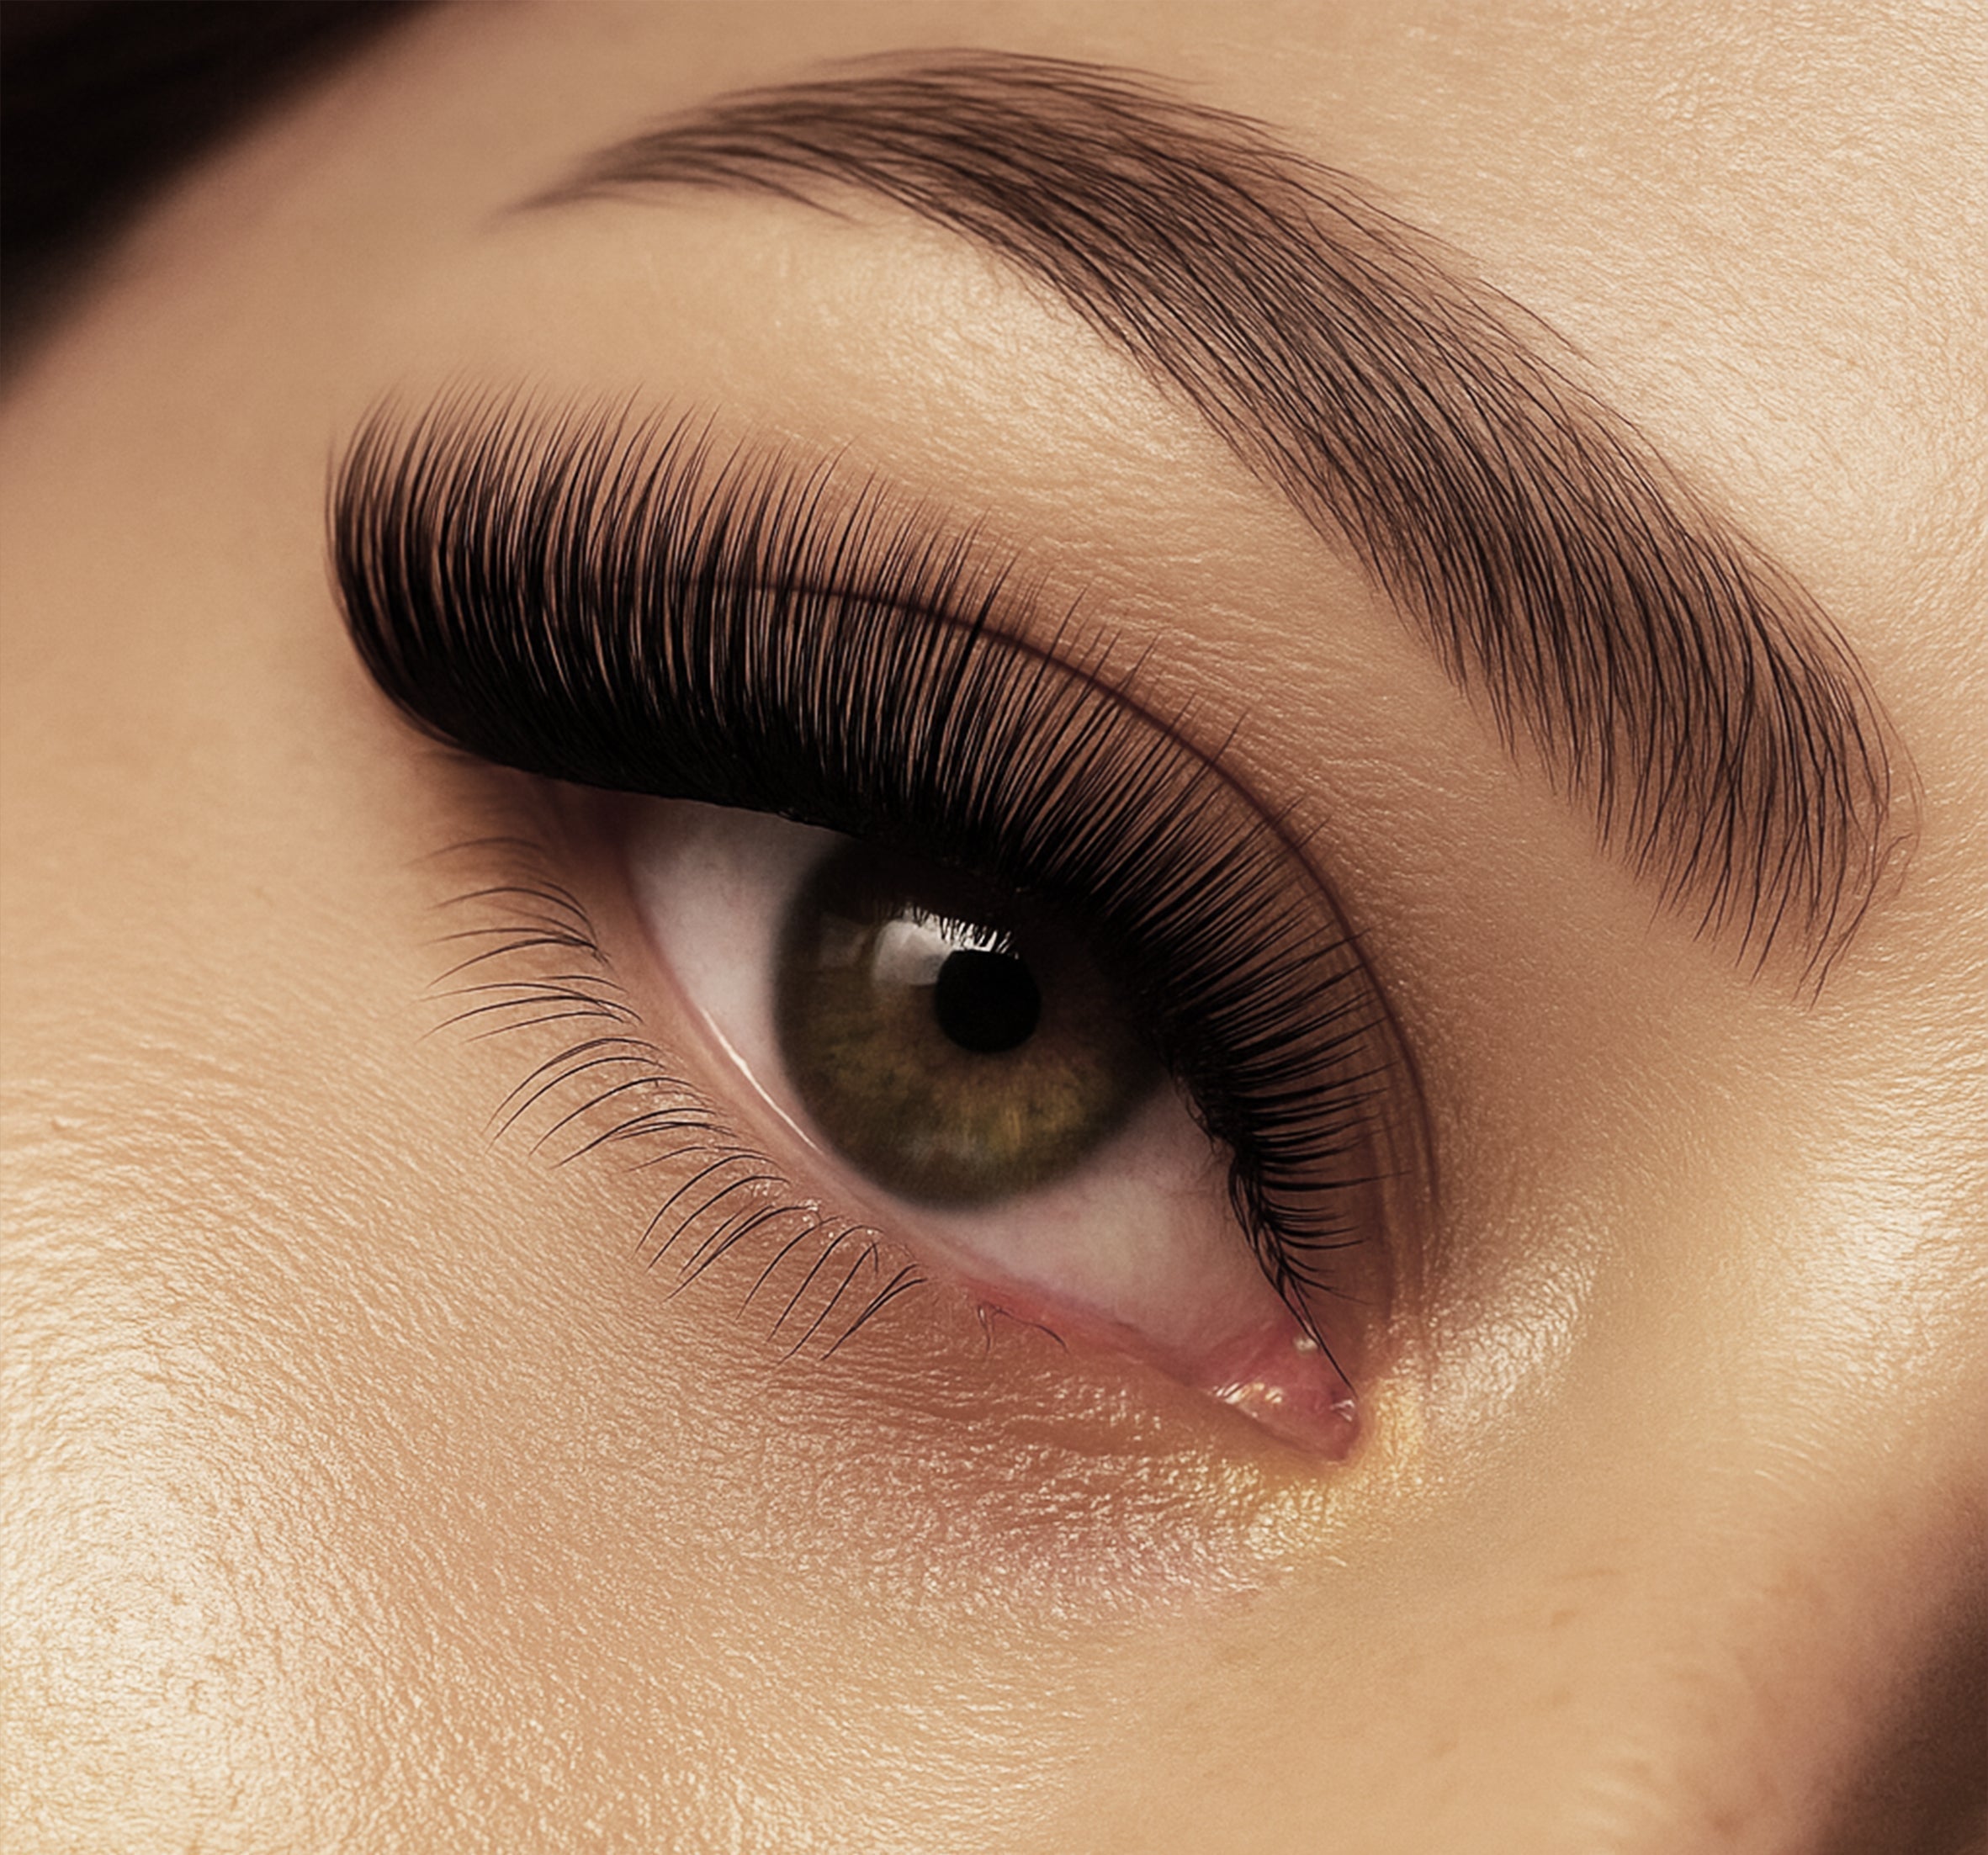
3. Uneven Lengths & Thickness
A chaotic mix of too-long, too-short, too-thick, and too-thin lashes makes the client look like they got their extensions in the dark. Proper lash mapping is key to a balanced look.
4. Glued to the Skin
This one’s a major red flag. Lash extensions should never be attached to the eyelid. It’s uncomfortable, unsafe, and can cause irritation or infections.
5. Allergic Reactions & Irritation
If a client walks in with swollen, red, or itchy eyes, it could be an allergic reaction to adhesive fumes or an improperly placed set that’s causing discomfort.
The Fix: Lash Correction Step-by-Step
So let’s talk how to fix lashes in case client calls Lashes 911. Check our step by step lash tech tips.
Step 1: Assess the Damage
Start by examining the client’s lashes and asking about their experience. Are they in pain? Are their natural lashes damaged? If the set is salvageable, you might be able to correct it with a strategic lash refill. If it’s a total disaster, a full removal is the best option.
Step 2: Safe Removal Techniques
Not all removals are created equal. You need the right products and techniques to avoid causing further damage.
Gel Remover: Works fast but needs to be applied with precision.
Cream Remover: A safer choice for beginners as it doesn’t drip.
Banana Peel Method: If only a few lashes need removal, gently separate extensions without full adhesive breakdown.
! Never, ever pull lashes off manually! It’s painful and can rip out the natural lashes. (And no, coconut oil won’t magically dissolve professional adhesive.)
Step 3: Prep for a Fresh Set
Once the bad set is removed, cleanse the lash line thoroughly with a gentle lash shampoo. If the natural lashes look weak, recommend to consistently use a lash serum and get a short break before reapplying extensions.
Step 4: Reapply with Precision
Now it’s time for the redemption set.
Use proper lash mapping to balance length and thickness.
Apply the right curl to flatter the client’s eye shape.
Select a quality adhesive with the right drying time for your client’s needs.
Double-check lash isolation to avoid future clumping.
This is where skill meets artistry—make it count!
Must-Have Tools for Lash Correction
Lash correction is all about having the right products in your toolkit. Stock up on:
- High-quality removers – Cream or gel depending on your personal preferences.
- Precision tweezers – For isolation and accurate placement.
- Premium-grade adhesive – Low fumes, strong retention.
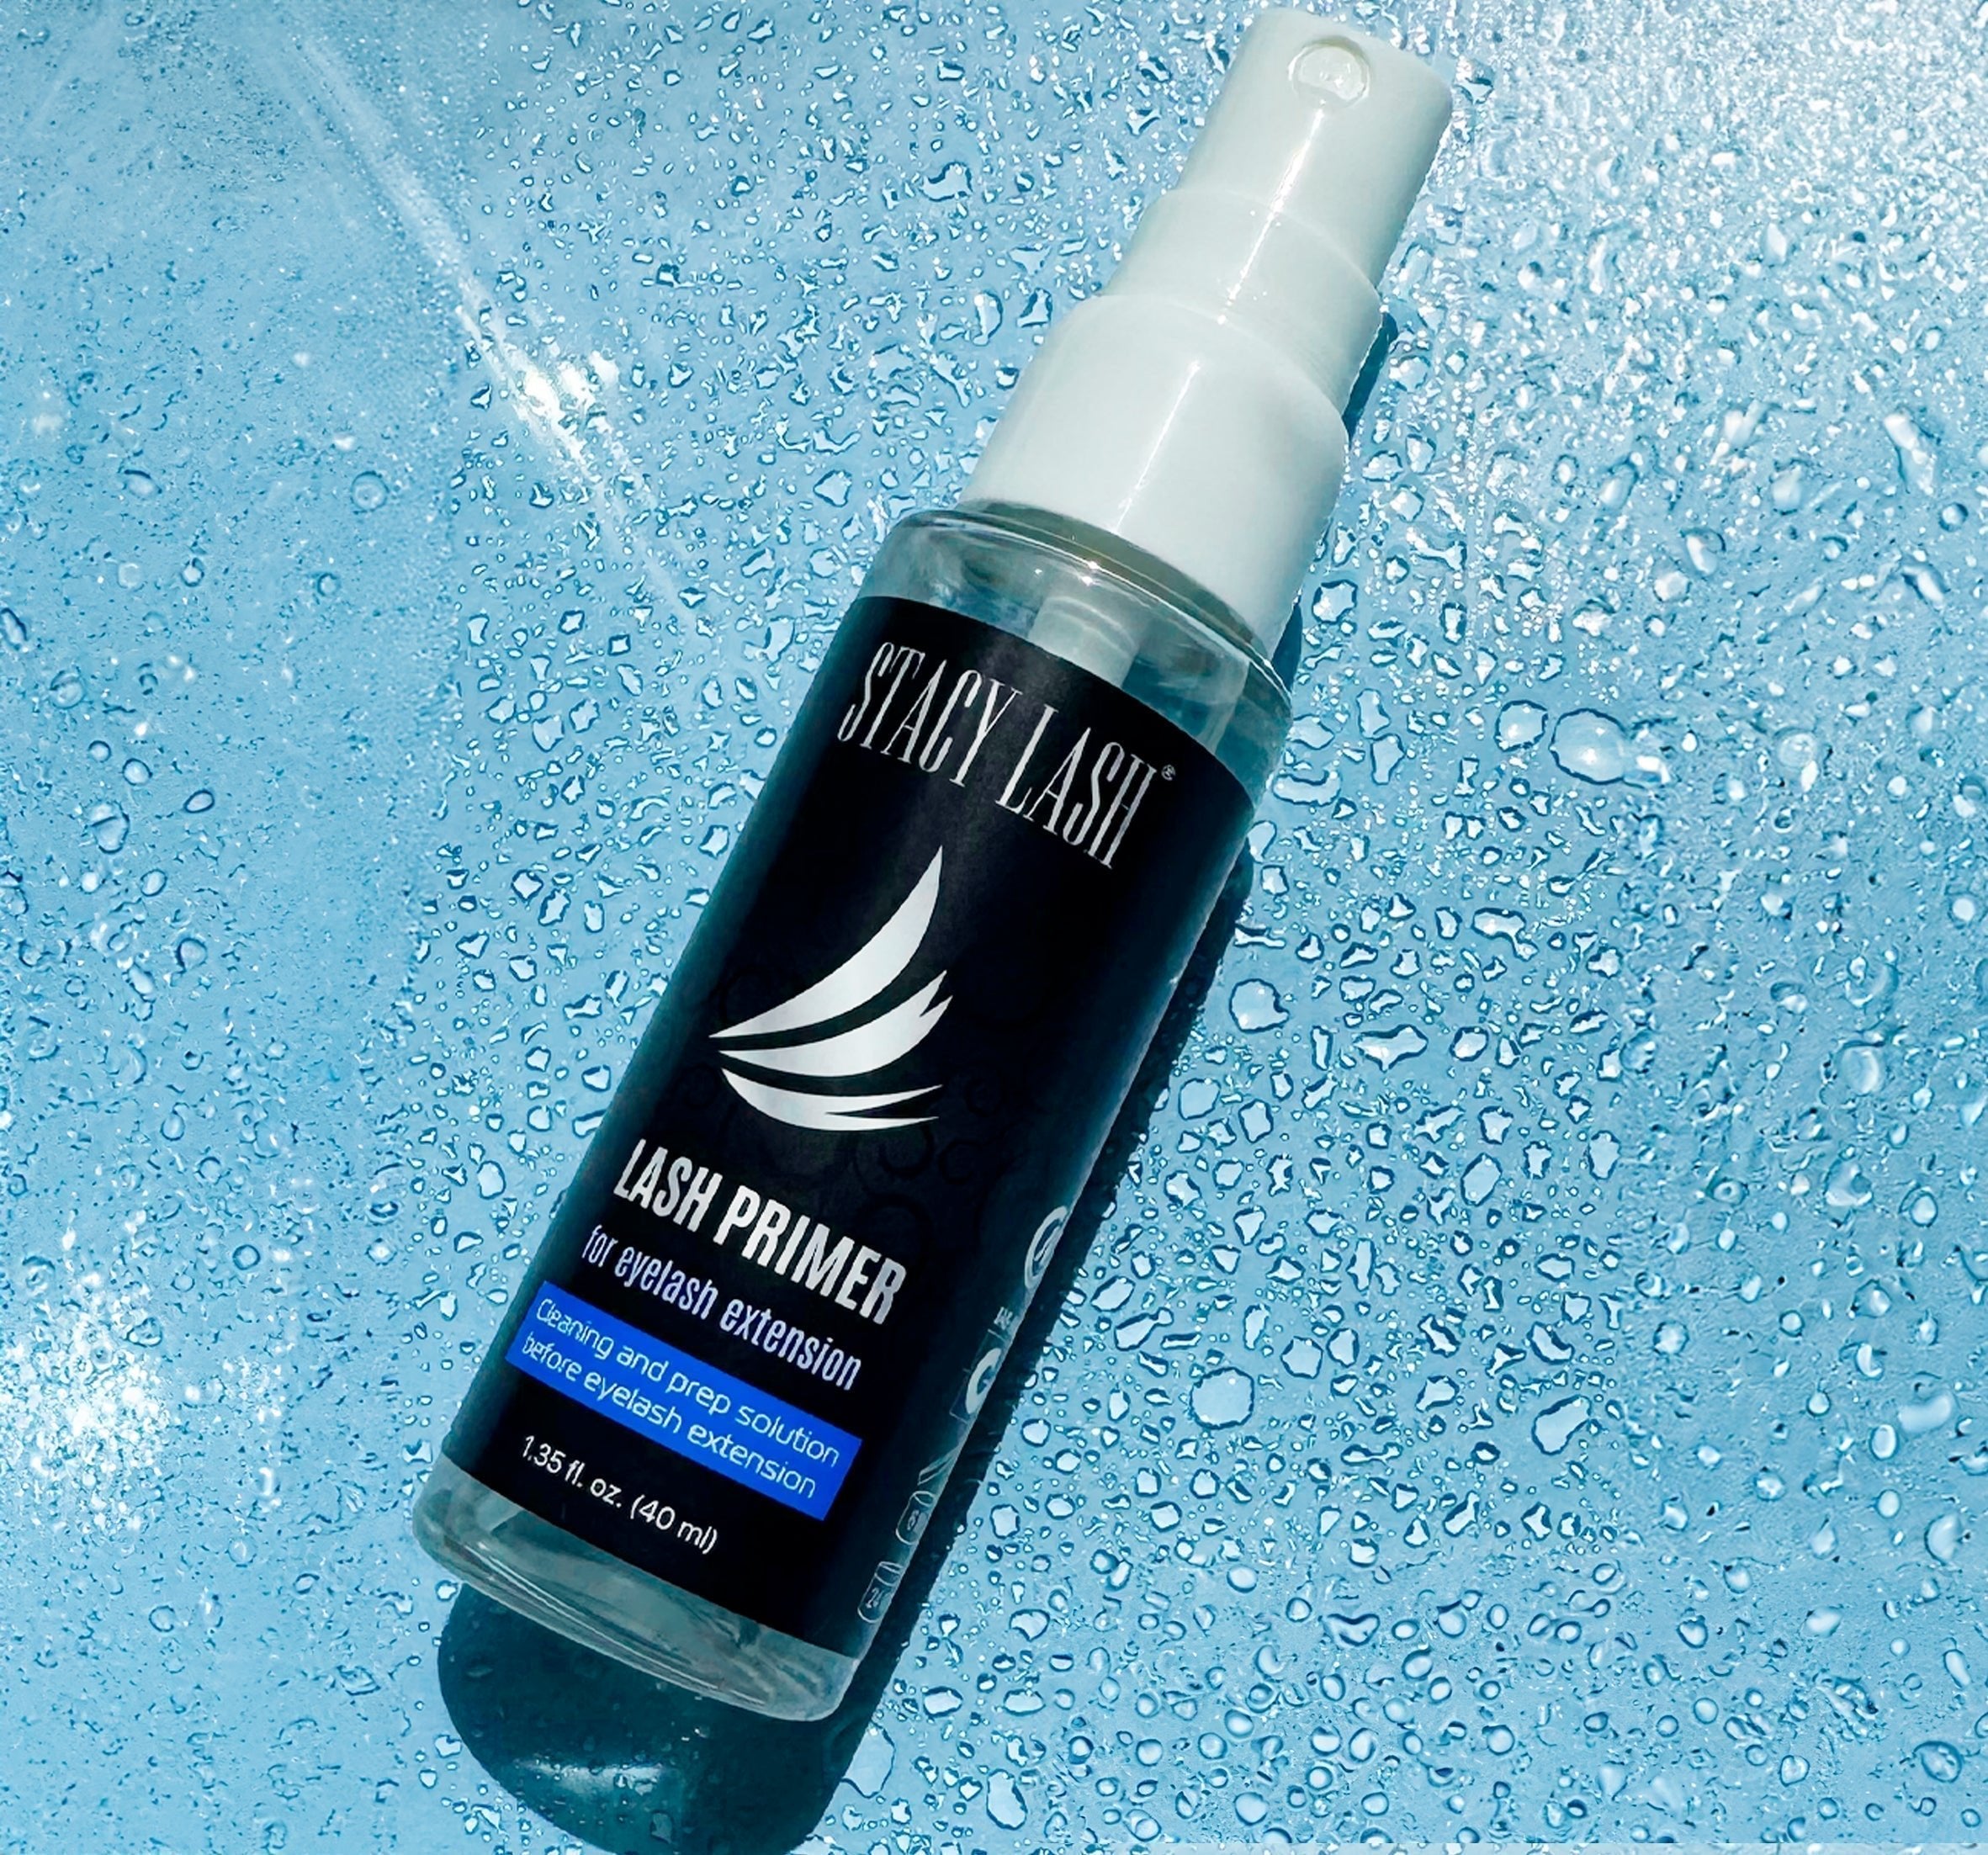
- Gentle lash shampoo – For cleansing before a new set.
- Lash growth serum – A lifesaver for clients with damaged lashes.
Having top-tier products makes all the difference between a mediocre fix and a stunning transformation.
How to Talk to Clients About Lash Corrections
When eyelash extensions gone wrong, it can be a sensitive topic—nobody wants to hear that their previous lash tech butchered their set. Here’s how to handle it professionally:
Keep It Positive – Instead of saying, “Wow, this is a mess,” say, “I see what’s going on here, and I know exactly how to improve it!”. Reassure your clients to give them a peace of mind while you working your magic.
Set Expectations – Some clients may need multiple appointments to fully recover from damage. Be honest about what’s possible.
We Listen, We Don’t Judge – Educate your clients and offer tips on proper aftercare and what to look for in a skilled lash tech to prevent future issues.
Remember, the goal isn’t just to fix bad lashes—it’s to build trust and turn a first-time client into a loyal one.
Prevention: How to Avoid Lash Disasters in the First Place
Lash damage repair wouldn’t be needed if every set was done correctly from the start. Here’s how to ensure you never create a set that needs fixing:
- Always isolate properly – Clumped lashes = unhappy clients.
- Use proper mapping – A well-planned set enhances natural beauty.
- Invest in quality products – Cheap glue and lashes lead to poor retention.
- Stay educated – Trends and techniques change. Keep learning!
Pro tip: If a client ever asks for a style that’s unrealistic or damaging (like mega volume on weak lashes), educate them on safer alternatives instead of just saying yes to everything. Healthy lashes = happy clients.
Conclusion
Bad lash extensions don’t have to be the end of the world. With the right skills, tools, and client communication, you can lash extension mistakes in a blink of an eye. Whether you’re fixing clumps, redoing a poor application, or rescuing damaged lashes, being a lash correction expert sets you apart as a top-tier lash artist.
So next time a client walks in with a lash horror story, smile and say, “Don’t worry—I’ve got this”.


Leave a comment
This site is protected by hCaptcha and the hCaptcha Privacy Policy and Terms of Service apply.