Why Corners Matter More Than You Think
Let’s just say it—corner lashing is the lash equivalent of doing winged eyeliner. Looks simple… until you’re on your fifth round muttering dark things under your breath.
The inner and outer corners are small but mighty. Done right? Your set looks balanced, natural, and just the right amount of dramatic. Mess it up? Your client leaves looking like one eye is halfway through a nap and the other’s halfway to Vegas. Not cute.
These corners frame the entire set. Inner corners set the tone; outer corners bring the drama. Ignore them, and it’s like baking a cake but forgetting the icing.
The Inner Corner Chronicles: Where Lashes Fear to Tread
Ah yes, the inner corner—the Bermuda Triangle of lash extensions. Baby-fine lashes, limited space, awkward angles, and the constant threat of stabbing your client in the tear duct? Good times.
The Game Plan:
Use super lightweight lashes—think 0.03–0.05mm for volume.
Keep it short and sweet: 4–6mm max. You’re not building skyscrapers here.
Go with a J or B curl to mimic natural lash flow and avoid the dreaded “pokey lash.”
Tools of the Trade:
Curved isolation tweezers.
Consider magnifying glasses or a good lash lamp so you're not guessing in the dark.
Rookie Mistakes (And How to Dodge Them):
Applying long lashes = instant inner corner chaos.
Using a D curl here? Baby, no. Like you glued a jumping spider to their eyelid.
Overloading fine lashes causes twisting, turning, and early fallout.
Pro Wizardry:
Tilt your client’s head toward you slightly.
Isolate with care.
Lash slightly inward toward the bridge of the nose to get that soft, tapered gradient.
Outer Corners: Where the Drama Lives
Now let’s strut over to the outer corner lash extensions, aka the Beyoncé of the lash set. These babies are your moment to shine—but with great drama comes great responsibility.
Strategy:
Use slightly longer lengths (but don’t go nuts): 9–11mm is the sweet spot for most.
Match extension thickness to the natural lash. If that lash is skinny, keep it light.
Volume fans? Keep it at 2–4D here. Don’t crowd the stage.
Application Tips:
- Think “uplift,” not “droop.” Avoid angling lashes downward.
- Apply lashes at a 45° angle, sweeping outward to open up the eye.
- Got a client with downturned eyes? You might want to skip extra length here—it’ll only exaggerate the sag.
Mistakes to Avoid:
- Using lashes too long makes the eye look sad. Think Eeyore, not Elle Woods.
- Going too thick = lashes twist, break, or look chunky.
- Ignoring symmetry. You might fool one selfie, but the next angle will call you out.
The Goldilocks Method: Length, Curl, and Direction
Let’s get nerdy for a sec. Here’s your corner lashing guide:
|
Corner |
Ideal Length |
Best Curl |
Best Curl |
|
Inner |
3–6 mm |
J or B |
0.03–0.05 mm |
|
Outer |
8–11 mm |
C or CC |
Classic or 2–4D Volume |
Bonus tip: Always map before you lash, and adjust according to eye shape, natural lash strength, and whether your client’s been sleeping face-down on a pillowcase for years (no judgment).
Lash Mapping for Corner Slayage
Before you even dip your tweezers in glue, map it out like you’re sketching your next tattoo. (Okay, maybe less permanent—but equally iconic.)
For cat-eye styles: Gradually build toward the outer corner, but taper slightly at the very end to avoid drooping.
For doll-eye looks: Keep the center longest, and use soft shorties on both corners.
For natural styles: Mimic their natural lash direction, starting with baby lengths on the inner corner, peaking just before the outer edge, and softening out again.
Prep, Lash, Slay, Repeat
Let’s break it down step-by-step, so you’re not flying blind:
Cleanse and prime: Greasy lashes are the enemy of retention.
Assess the natural lashes: Weak? Strong? Sparse? Wildly pointing south?
Choose your gear and lashing technique: Curl, diameter, length—customize everything.
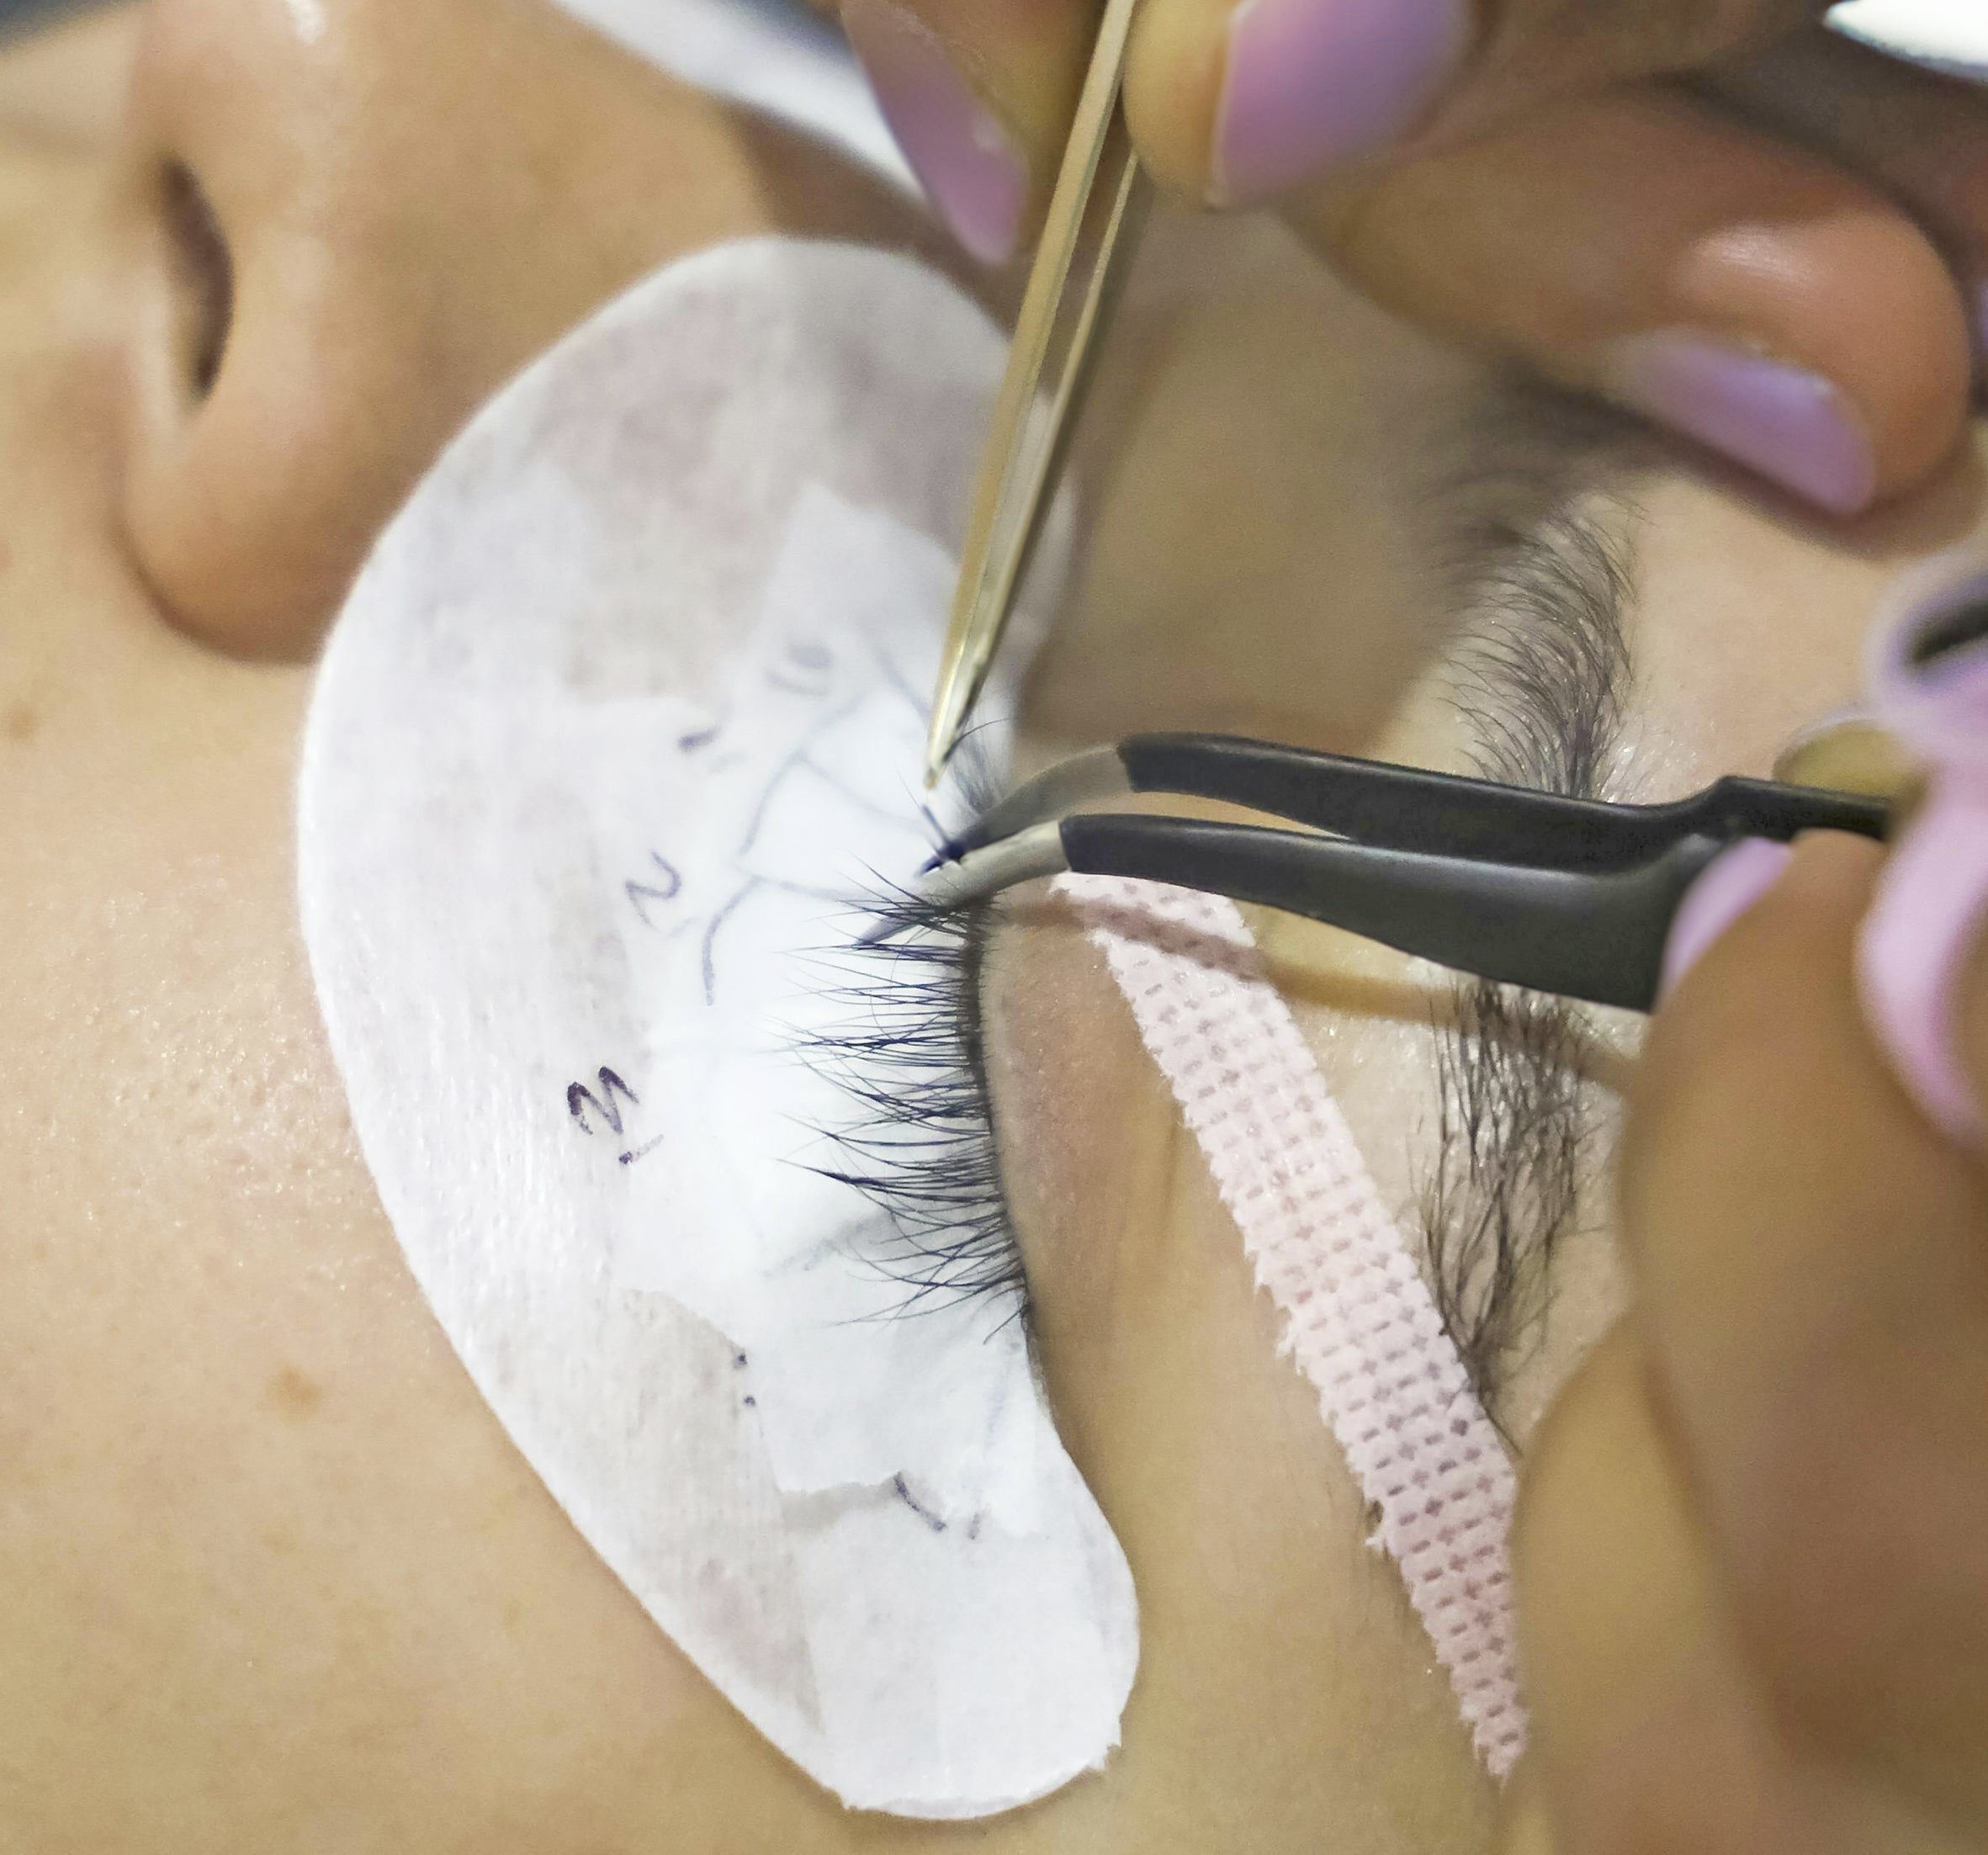
Isolate like a ninja: Especially in those pesky corners.
Apply strategically: Follow the lash line, work in sections, and don’t overload.
Final Touches: Don’t Skip the Polish
Before you send your client out to live their best fluttery life:
Comb through with a clean spoolie.
Look from multiple angles: What looks fab from the front might scream “lopsided” from the side.
Check the corners one last time. Fix strays, add a lash if needed, and give your set that runway-ready finish.
Top 5 “Oops” Moments to Avoid
- Too long inner corner lash extensions? Say hello to irritated clients and awkward eye rubs.
- Too much volume on weak lashes? You’re inviting premature fallout and drama.
- Skipping mapping? Welcome to Asymmetry Avenue.
- Wrong curl? One eye ends up looking lifted, the other like it’s on a coffee break.
- Not adjusting for eye shape? That doll-eye won’t work on every client.
Corners Aren’t Optional—They’re Everything
So here’s the tea: corner lashing isn’t just a bonus detail. It’s the glue (pun intended) that holds your whole lash masterpiece together. It’s what separates good from great, amateur from artist, “meh” from “omg, who did your lashes?!”
Perfecting the inner and outer corners takes practice, patience, and a healthy dose of perfectionism—but once you nail it? Game. Changer.
So get out there, lash like you mean it, and remember those lash artist tips: if you can conquer the corners, you can conquer the lash world.


1 comment
OMG this explains so much 😩 I always wondered why my sets looked kinda “off” even though the middle looked perfect. Turns out I was skipping the corners like they didn’t matter 😅 Will definitely try the tilt-head trick and shorter inner lashes next time!
Lila Torres
Leave a comment
This site is protected by hCaptcha and the hCaptcha Privacy Policy and Terms of Service apply.