Lash Porosity: How It Affects Retention and Application
We talk a lot about glue, humidity, mapping, and curls — but what if we told you one of the most important factors in lash extension retention isn’t any of those things?
It’s lash porosity — the VIP you didn’t even know was on the guest list.
Your natural lash texture plays a huge role in how extensions bond, how long they stick around, and how they behave between fills. Some lashes are like dry sponges—soaking up everything in sight. Others? Slick, shiny, and impossible to stick to.
Let’s not underestimate this factor. And talk in more detail about how you can go about porosity and turn everything to your favor.
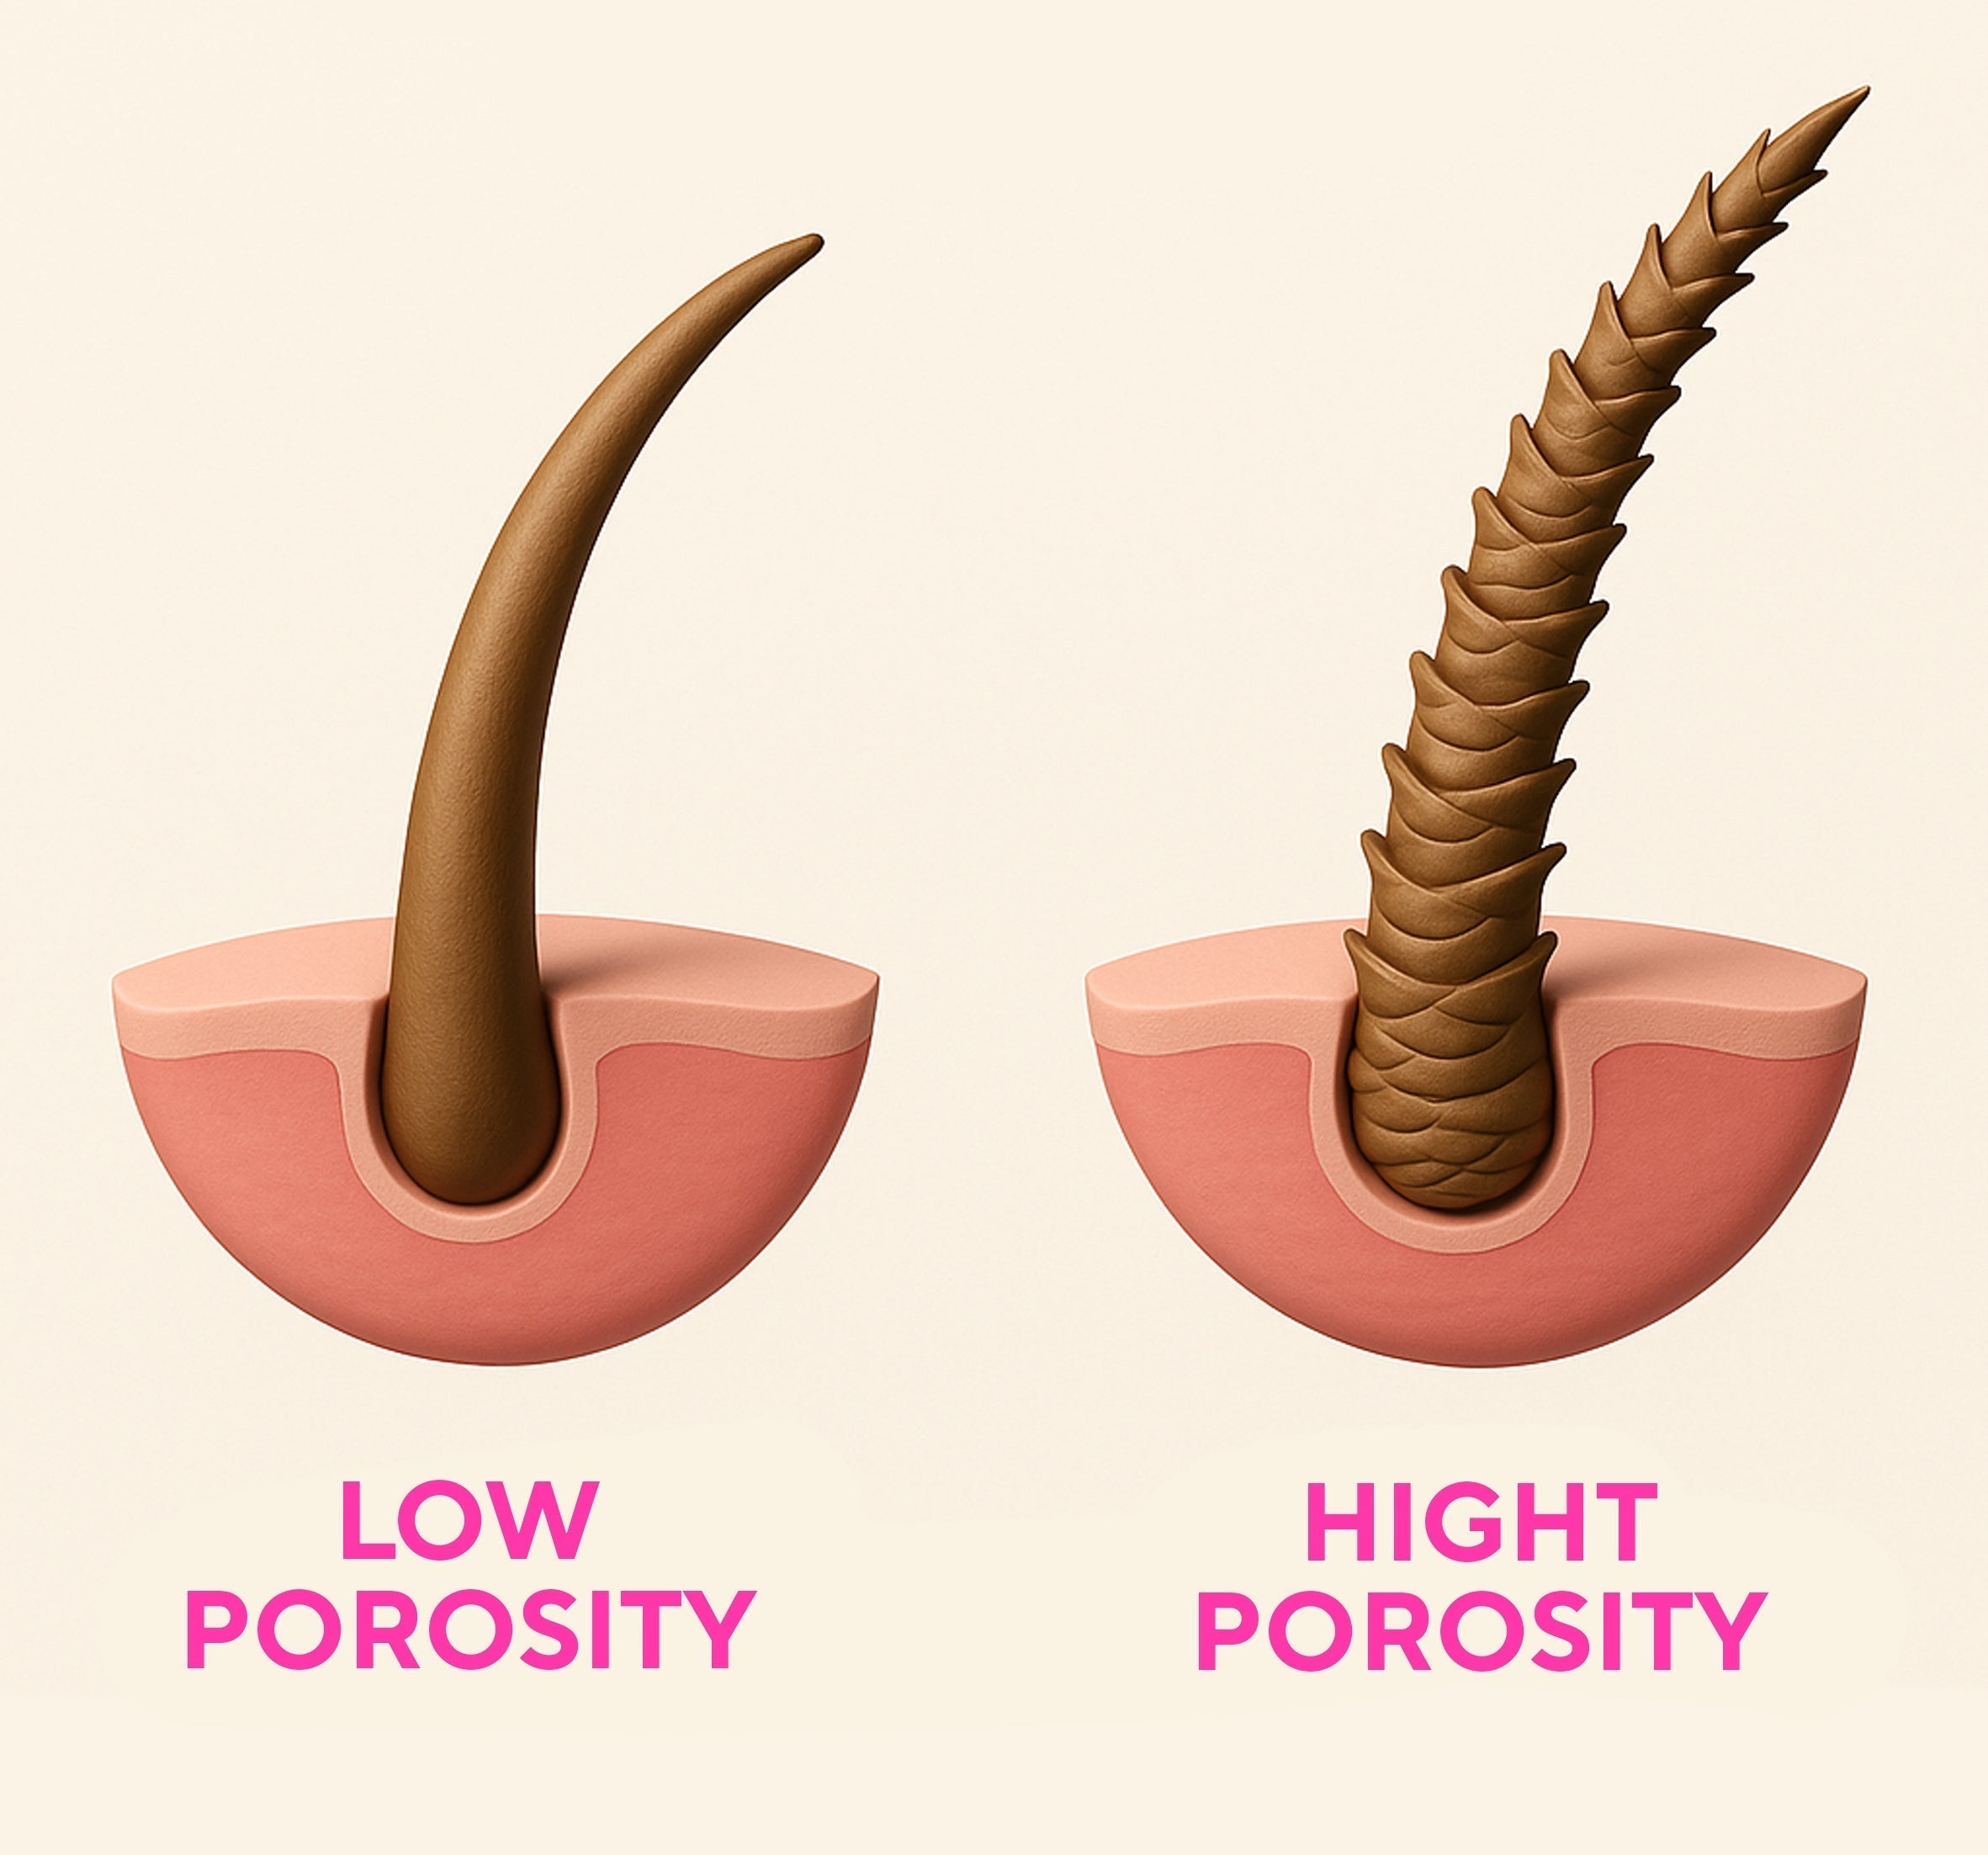
What Even Is Lash Porosity?
In a nutshell, porosity refers to how easily lashes absorb and hold onto moisture or product—like how “resistant” they are. Let’s spill the tea:
- High porosity = lashes that soak up glue like it’s a fresh celeb gossip
- Low porosity = lashes that reject glue like an ex’s apology
Porosity affects how your adhesive bonds, how fast it cures, and how long the set lasts. TLDR? It’s a big deal.
The Two Main Types of Lash Porosity (And How They Act)
Low Porosity Lashes: The Commitment-Phobes
These lashes are smooth, tight, and kind of full of themselves. Glue just slides right off like it’s been ghosted.
How to spot them:
- Super shiny or slippery
- Feels strong and slick to the touch
- Often found on clients with oily skin
- Struggle to hold onto product
What they need:
- Help with grip! Use a primer to open up that cuticle layer and give your glue a chance to actually cling.
- A dash of bonder will seal the deal later.
High Porosity Lashes: The Oversharers
These lashes have been through many stuff. Over-processing, lash lifts, heat damage, curling daily since middle school? Yeah, it shows.
How to spot them:
- Dull or frizzy looking
- Brittle or dry to the touch
- Client history includes lash lifts, removals, or bad breakups (with their last lash tech)
What they need:
- Gentle prep — avoid strong primers that might make things worse
- A bonding booster to add strength and elasticity without soaking up too much glue
High porosity lashes are like a loofah—they drink everything you throw at them, but they might still fall apart.
Why This Matters: Retention is Everything
If you’re dealing with low porosity and don’t prep properly? Your extensions are basically just sitting there waiting to bail. If you’re dealing with high porosity and overdo the adhesive? You might trigger fast curing, poor bonding, and lashes popping off like champagne corks at New Year’s.
Retention drama isn’t always about bad glue — sometimes, it’s just a porosity mismatch. Know the difference, and you’re winning.
How to Figure Out Lash Porosity
No need for a microscope or lab coat here. Just some good old lash intuition.
What to look for:
- Glossy, slick lashes = likely low porosity
- Dry, dull, frizzy lashes = likely high porosity
What to feel for:
- If lashes feel slippery and resistant = low porosity
- If they feel dry, brittle, or fragile = high porosity
Ask the client:
- “Have you had a lash lift in the last few months?”
- “Do you use a curler?”
- “Does your skin lean oily or dry?”
The answers = major clues.
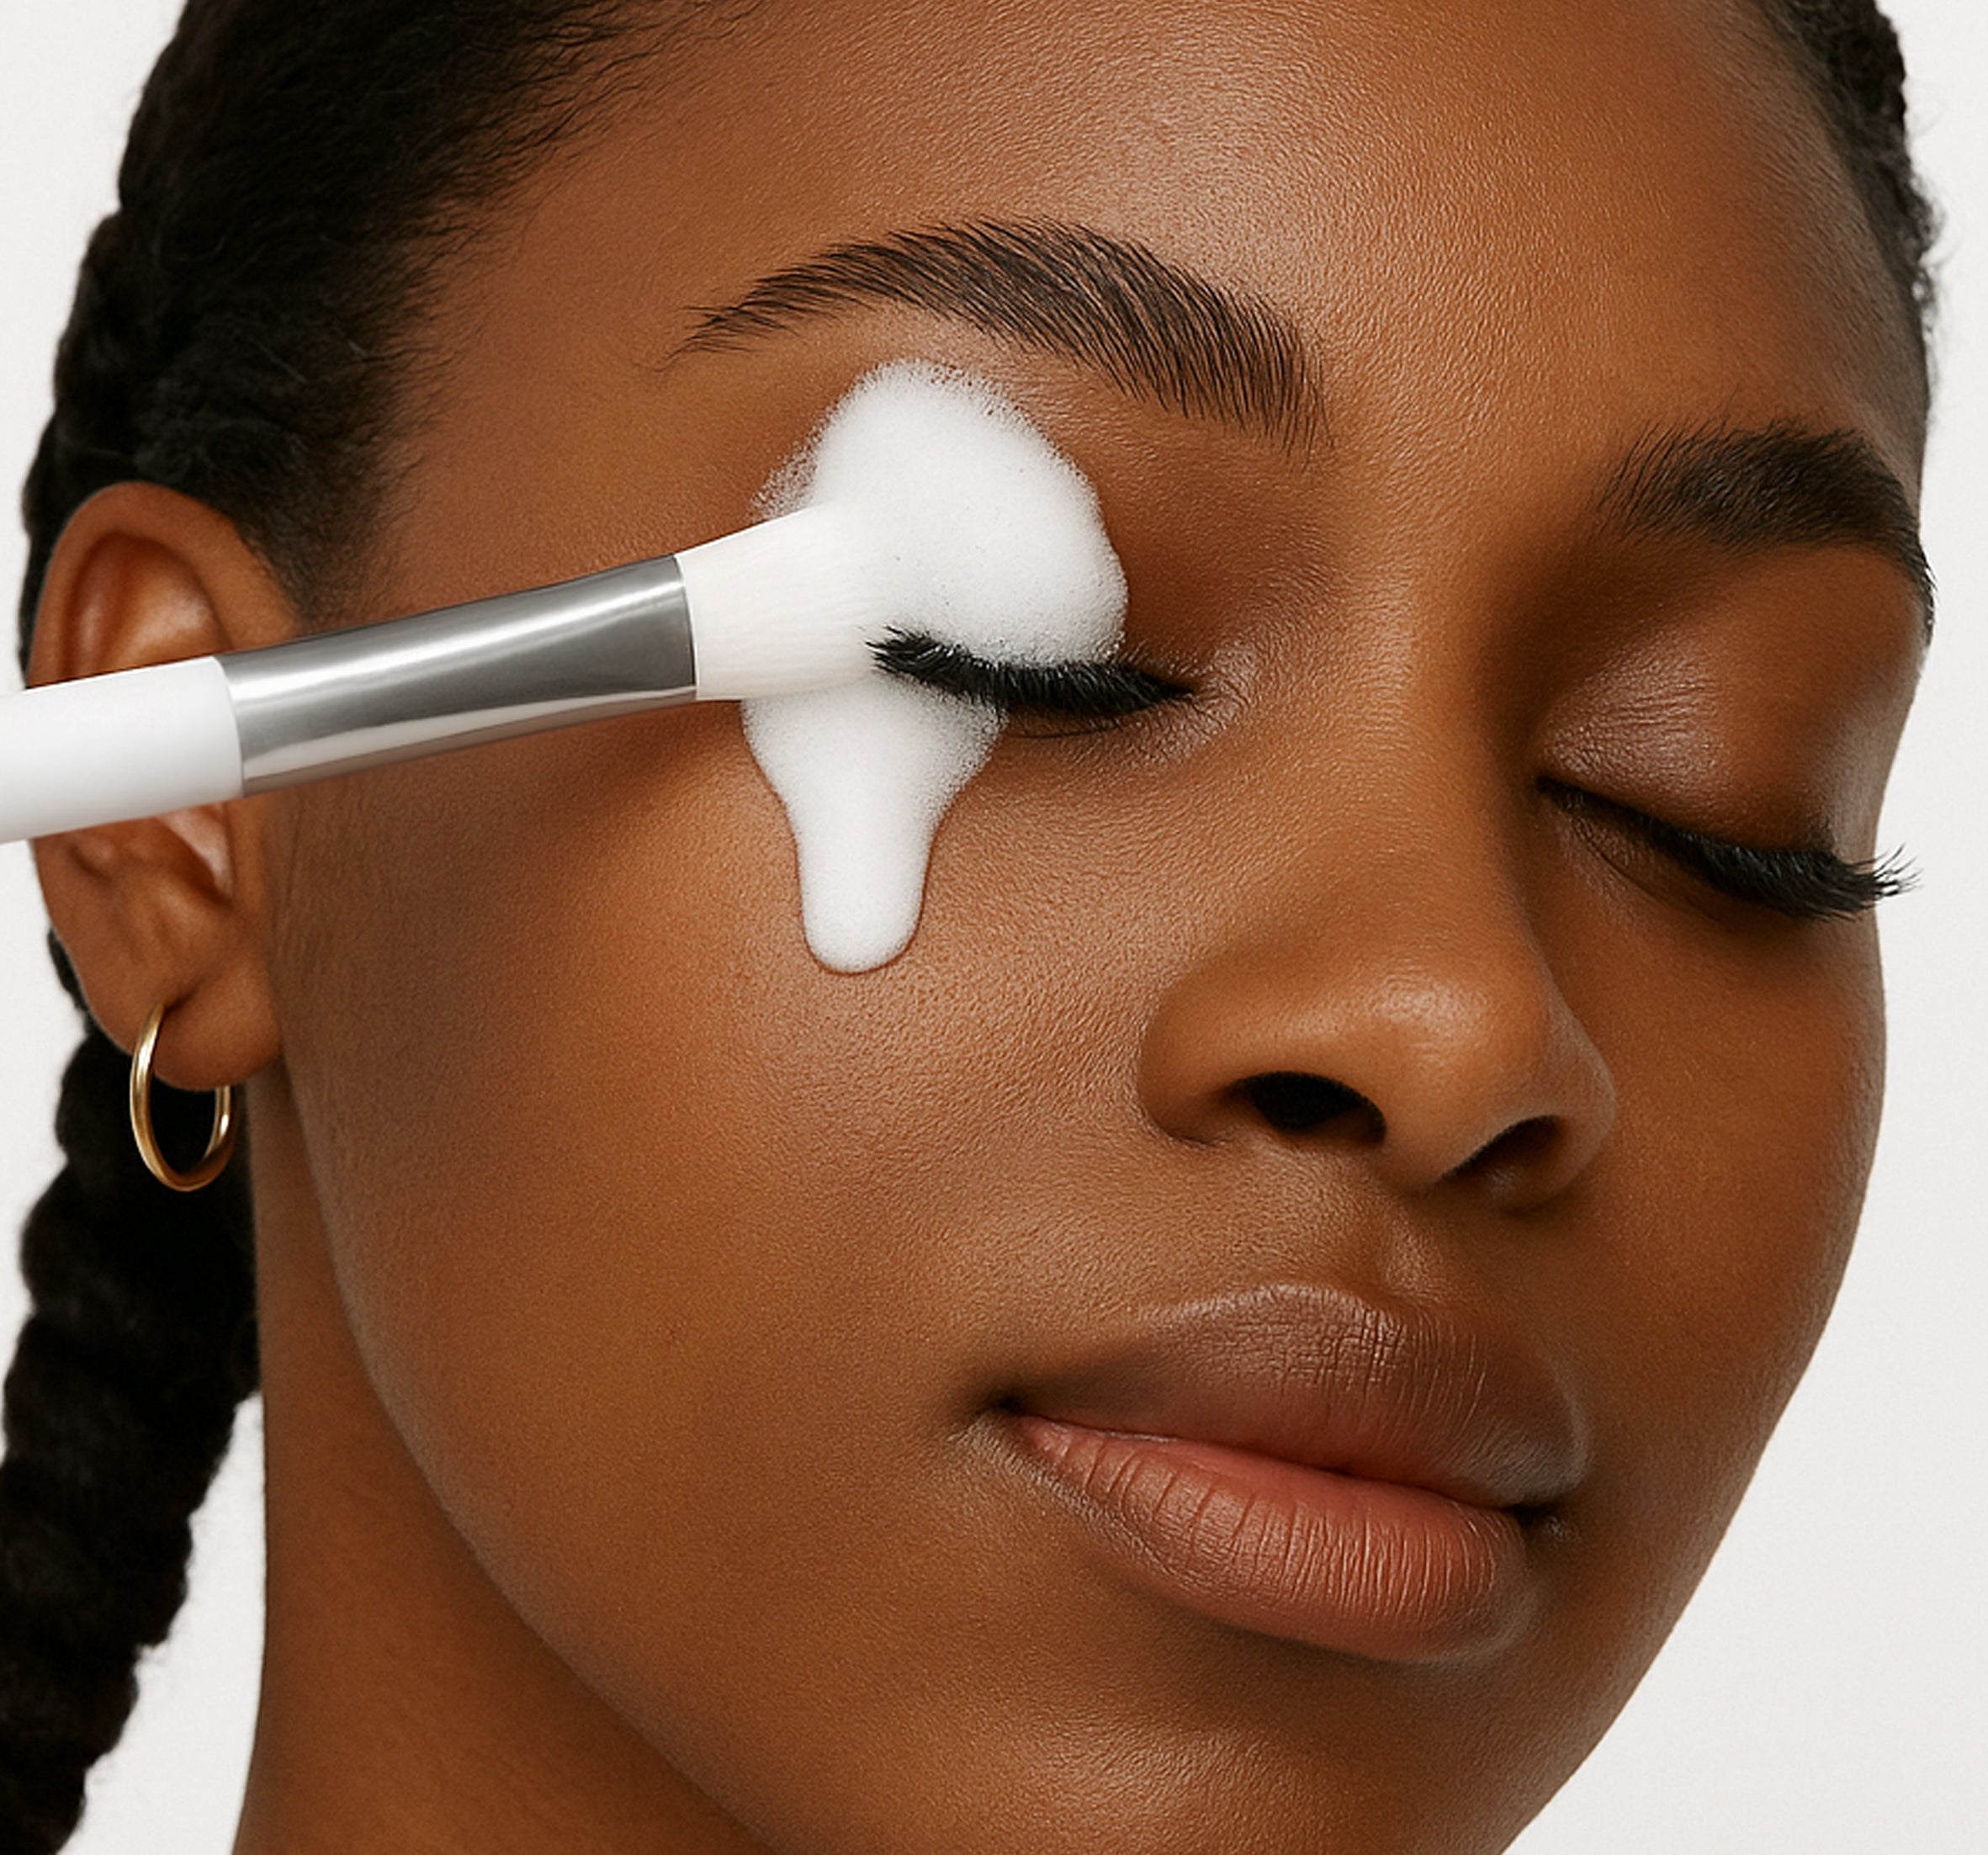
Prep Like a Pro: Customize It or Regret It
For Low Porosity Lashes:
- Double cleanse to remove oil and residue
- Use a primer to slightly open the cuticle
- Add a dehydrator to give adhesive something to grab onto
This combo is your porosity power trio.
For High Porosity Lashes:
- Skip or go easy on primer — you don’t wanna dry them out more
- Stick to gentle cleansers
- Add a bonding booster to strengthen without oversaturation
Glue Talk
Adhesive choice can make or break a set — literally. Pairing the right glue with your client’s lash porosity is like matching foundation to skin tone. When it’s right? Epic. When it’s wrong? Tragic.
- Low porosity lashes: Go for fast-drying glue with strong bonding properties.
- High porosity lashes: Use flexible adhesives that won’t snap off brittle natural lashes.
And don’t forget — room humidity plays a major role in eyelash extension retention too. You could have the perfect glue, but if your lash room feels like a desert or a swamp, you’re still in trouble.
Application Hacks for Tricky Lashes
We’re not just sticking stuff on here — we’re sculpting, isolating, adjusting... Here’s how to slay the porosity mid-application:
- Work in small zones to control glue curing
- Adjust glue amount based on porosity
- Isolate with precision — especially when lashes are fragile
- Use a crystal or jade stone to keep adhesive fresh and cool
Aftercare Matters (And Clients Don’t Always Listen)
Now that you’ve done your part, it’s your client’s turn. As someone once said, it takes two to tango. And they need to know that their lash texture affects what happens next.
If they have:
- Low porosity lashes → Tell them to avoid oils near the lash line
- High porosity lashes → No lash curlers here. Never.
You might also want to say: “If you wash your face like you’re whole life depends on it, no amount of primer will save your retention.”
FAQs (Because Clients Will Ask)
Q: Can you “fix” porosity?
A: Not exactly — but you can manage it with better prep and aftercare. Like moisturizing split ends, you can improve the symptoms.
Q: Will primer help my retention?
A: For low porosity? Yes. For high porosity? Use with caution.
Q: What’s the best glue for oily lashes?
A: Fast-drying, high-retention adhesive paired with a dehydrator and primer. Boom.
Lash Ted Talk
Listen, you can be the best lash artist in the world, with the steadiest hands and the most beautiful mapping. But if you’re ignoring eyelash texture? You’re playing defense, not offense.
By understanding these lash retention tips, you’re not just applying extensions — you’re customizing an entire experience. And that’s how you turn a one-time client into a loyal, lash-loving regular.


1 comment
This article really clarified things for me! I never realized how much porosity affects retention until I started noticing some lashes just wouldn’t hold. Definitely going to adjust my prep and glue choices based on each client’s lash type.
Chloe M.
Leave a comment
This site is protected by hCaptcha and the hCaptcha Privacy Policy and Terms of Service apply.