7 Golden Rules for Working with Glue in Eyelash Extensions
Alright, buckle up lash artists—we're about to start this lash glue talk.
When it comes to lash retention, your glue game can be your downfall if you not play your cards right. You could be mapping like a pro and styling lashes smoother than your ex sweet talk, but if your adhesive skills are off? Say goodbye to the firm bond and hello to frustrated clients.
That’s why there are 7 golden glue rules every lash artist should remember like the back of their hand. This isn’t just about making lashes stick—it’s about making them stay. Along with building a solid reputation, keeping your clients loyal, and your lash biz thriving.
Keep Your Glue Drop Fresh, Like Fresh-Fresh
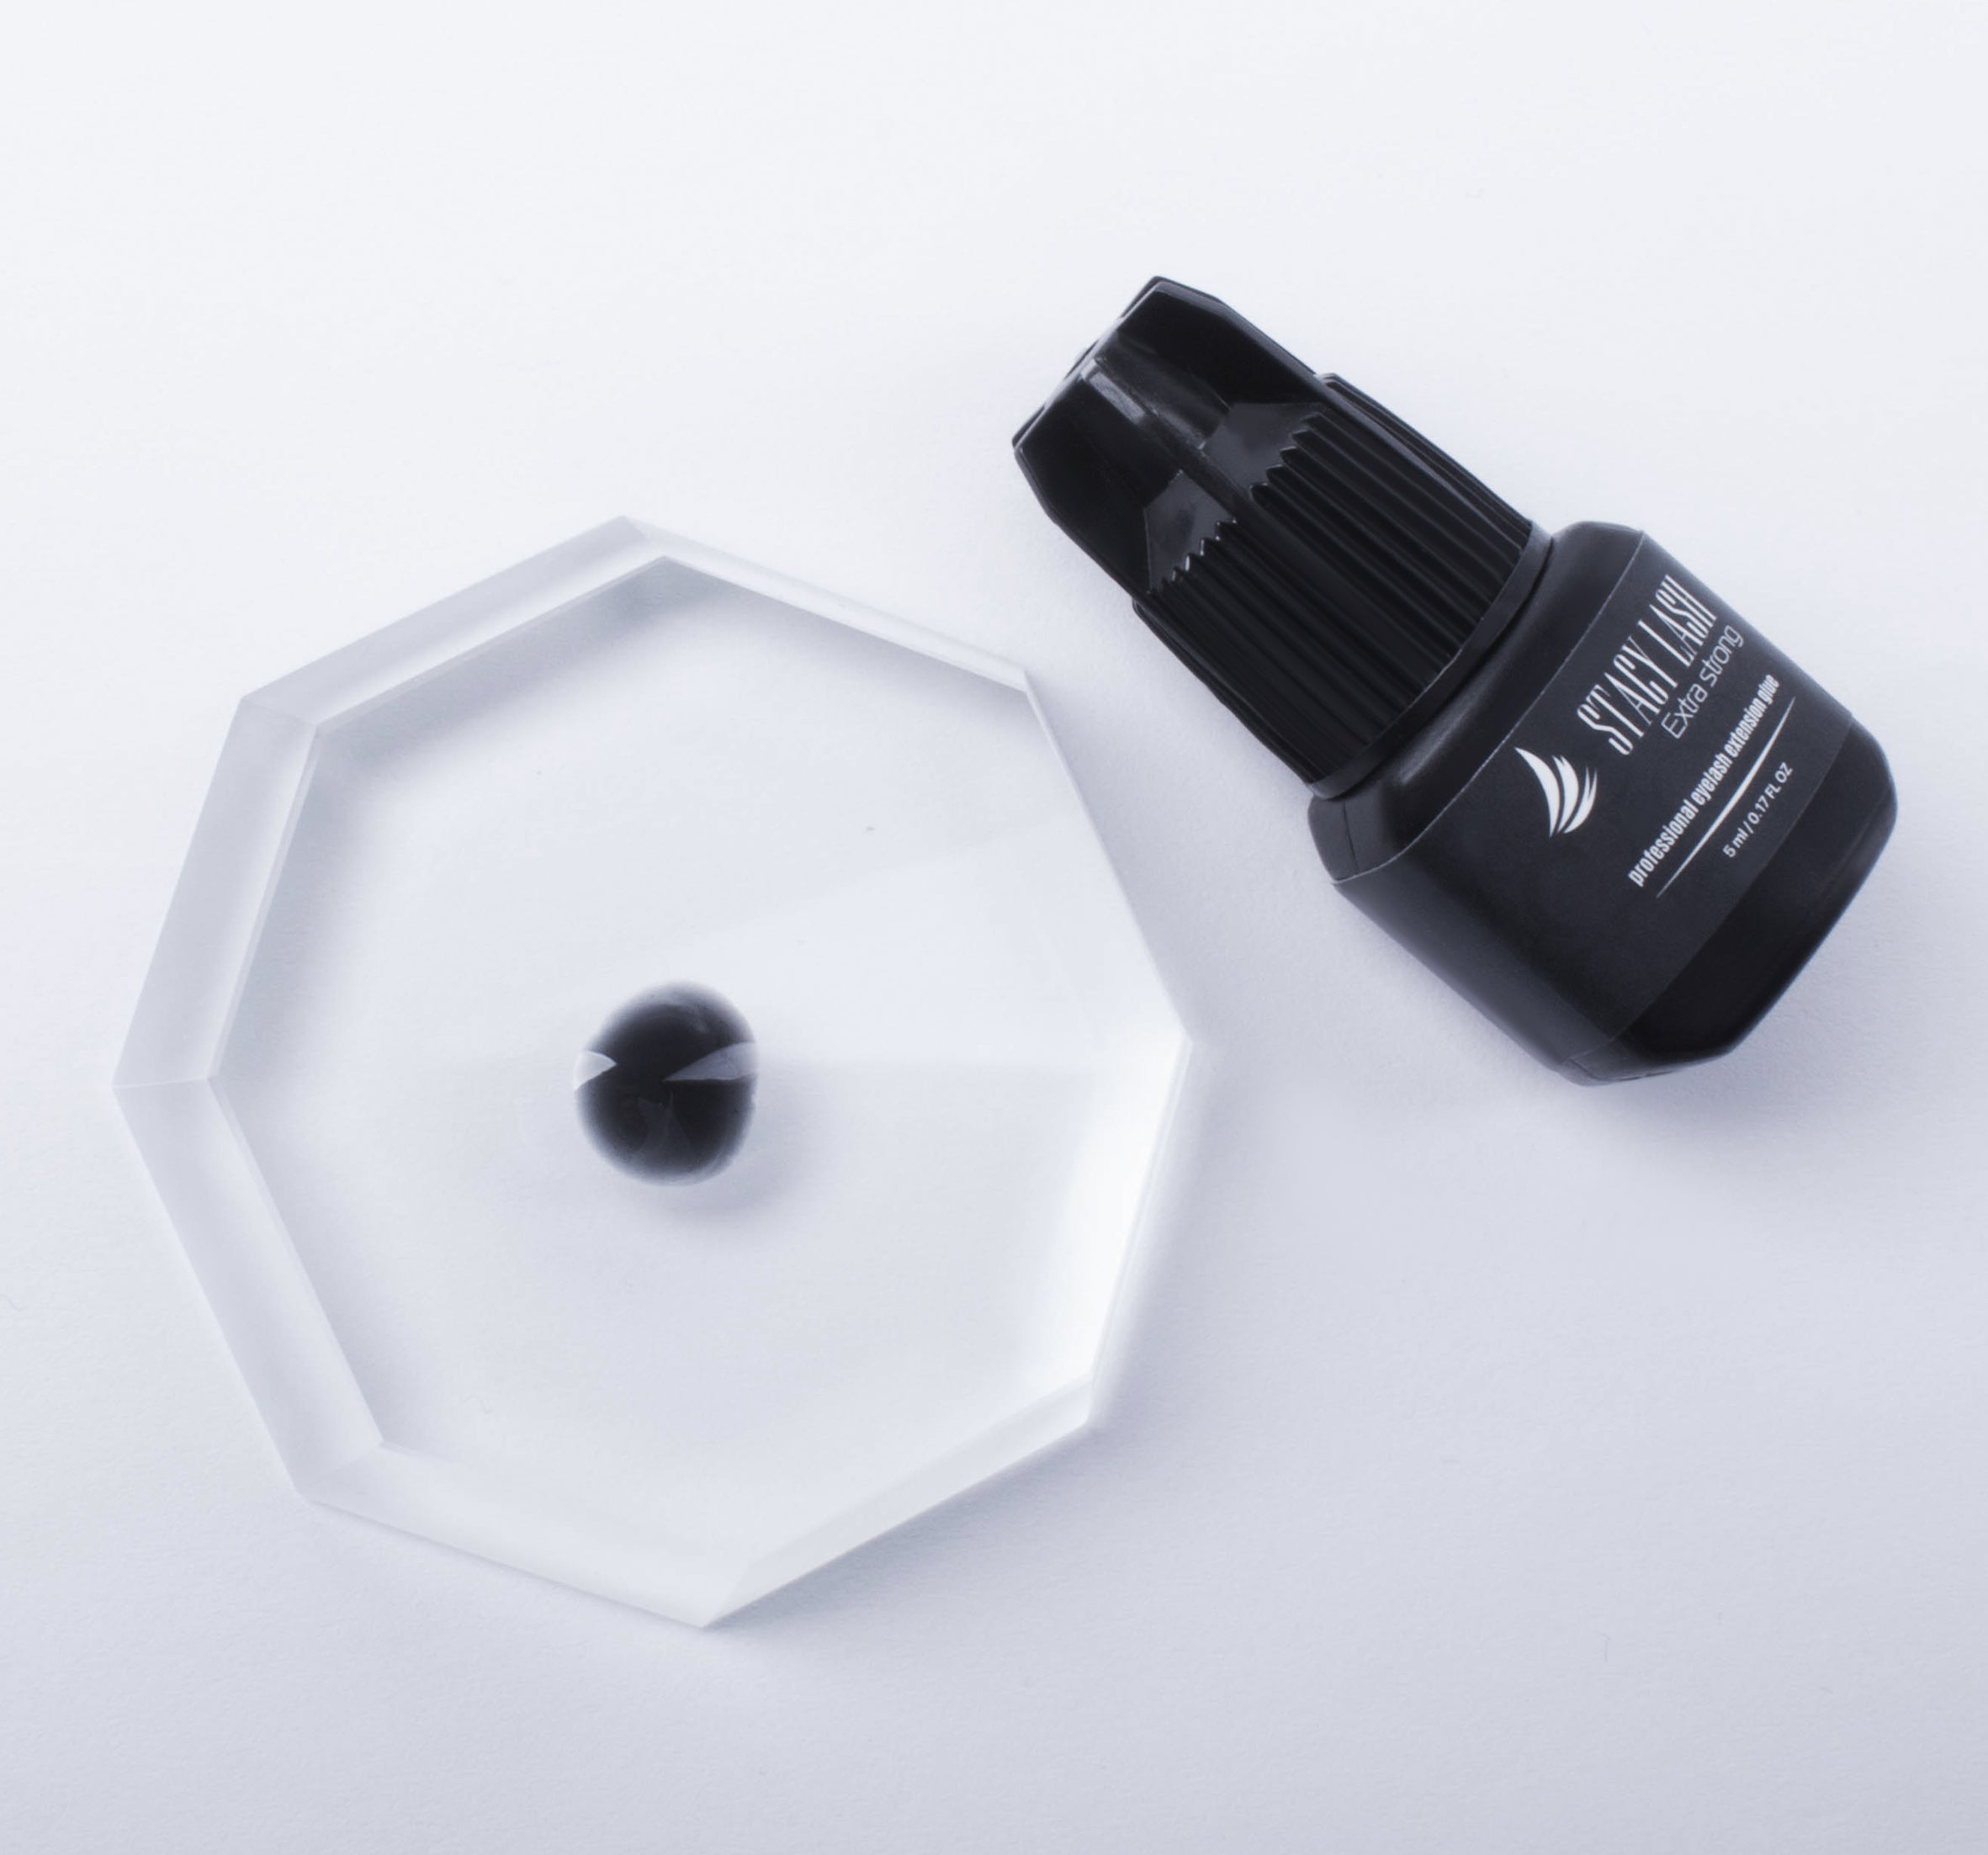
Crusty glue drop is your worst enemy, for real. Once your adhesive comes in contact with the air, the curing process starts. And keeping a single glue drop for the entire lash set without changing it? That’s a one-way ticket to Lash Fallout City.
Here’s the deal—if your glue looks odd, like it became stringy, or started developing a weird consistency, it’s time to switch a glue drop. Perfect timing is doing so ever 10-15 minutes, depending on how low your humidity is. The drier your room – the faster you change the drop.
Want to keep it fresher longer? Then it’s better to use a jade stone, as it helps regulating temperature and slows down curing.
Glue Amount: Not Too Much, Not Too Little—Just Right
The more, the merrier doesn’t count here. More glue does not equal better adhesion or firmer bonding. The same goes for a tiny amount of adhesive, that won’t be able to hold the weight of an extension.
Too little? The lash is basically held on with a wish and a prayer. Too much? Clumps, stickies, and the dreaded spider leg effect.
The golden mean? Dip just 1–2mm of the extension into the glue drop and make sure there’s a cute little bead—enough to hug the natural lash without drowning it. Think of it like eyeliner: precise, controlled, and never overdone (unless you’re going full Euphoria).
Nail this and you’ll cut down on retention issues and keep your sets looking clean.
Move Fast, Lash Queen
Glue waits for no one. Once you dip, the clock is ticking, and if you hesitate, your adhesive might cure mid-air before it even hits the natural lash. Translation? Poor retention won’t keep you waiting.
How to fight back? Dip, isolate, place. In that order. Make it smooth, make it quick, and practice until it’s second nature. Sure, you might want to start with slower adhesives, and switch them while gaining skill. Not everyone are comfortabl working with that Formula 1 racecar glue. But time is money.
Working with a speedy glue (like 0.5 seconds or less)? You better know what you’re doing. If you’re still perfecting your pace, grab a slower-drying adhesive (2–3 seconds) so you don’t feel like you’re a superspy who has 1 second to stop the bomb.
Glue Curing Speed: Know It, Control It, Own It
Your glue reacts to the room you’re in—like a moody teenager. Too dry? It cures terribly slow. Too humid? It dries much faster than you need.
- If Your Room's Too Dry:
Use a glue Booster! This will adjust the glue performance exactly how you want it to be. You can also bring nano mister or humidifier. - If Your Room's Too Humid:
Turn down the thermostat (70–72°F is the lash sweet spot). Or switch to a slower-drying glue. Use a thermo-hygrometer like your lash life depends on it (because it kinda does).
When the Weather Flips, Mind Your Technique
Your glue doesn’t care that you had perfect retention last week. If the weather changes, your adhesive’s vibe can go south as well. If humidity spikes, try swiping the glue instead of dipping—it gives you more control and less mess. If the air gets dry, go back to dip and place so your glue stays juicy until it hits the lash.
Always have a backup glue with a different drying time. And don’t be afraid to pull out your humidifier, dehumidifier, or whatever-it-takes-ifier to keep your room stable.
Basically, treat your glue setup like your skincare routine: flexible, weather-aware, and always ready to adapt.
Test That Bond Like a Lash Scientist
Don’t wait until your client texts you a week later like “uhh… my lashes are falling out?” Test that adhesion while you can to prevent that client dissatisfaction!
Gently tug a freshly placed lash to see if it holds. If it slides off like your clingy ex slides into your DMs, something’s off. Check your glue drop, amount, and timing. Fix it in the moment—don’t let a whole set turn into a failure.
It’s like taste-testing your cooking—better to catch the problem early than serve up a disaster.
Stay Glue-Savvy, Always
Nobody wakes up a glue genius. Even the best lash techs are still learning, testing, and dealing with eyelash extension glue problems.
Want to stay on top? Keep notes on how different glues act during different seasons. Try new formulas until you find your perfect match.
Join trainings, watch webinars, and follow glue nerds on Instagram. (There’s always someone dropping gems about polymer chains and curing speed—yes, we love them.)
When in doubt? Ask us a question. Our support team lives for a glue talk.
Respect the Glue, Rule the Lash World
Behind every bomb lash set there is a skillful and dedicated lash artist with a bottle of best glue for eyelash extensions. Get these 7 eyelash extension glue tips down and you’ll not only slay retention—you’ll keep clients loyal, and your spots fully booked.
Eyelash extension adhesive is not just something you use—it’s something you master. And once you do? Your lash game will be unstoppable.


Leave a comment
This site is protected by hCaptcha and the hCaptcha Privacy Policy and Terms of Service apply.