How can you improve the direction of your lash work?
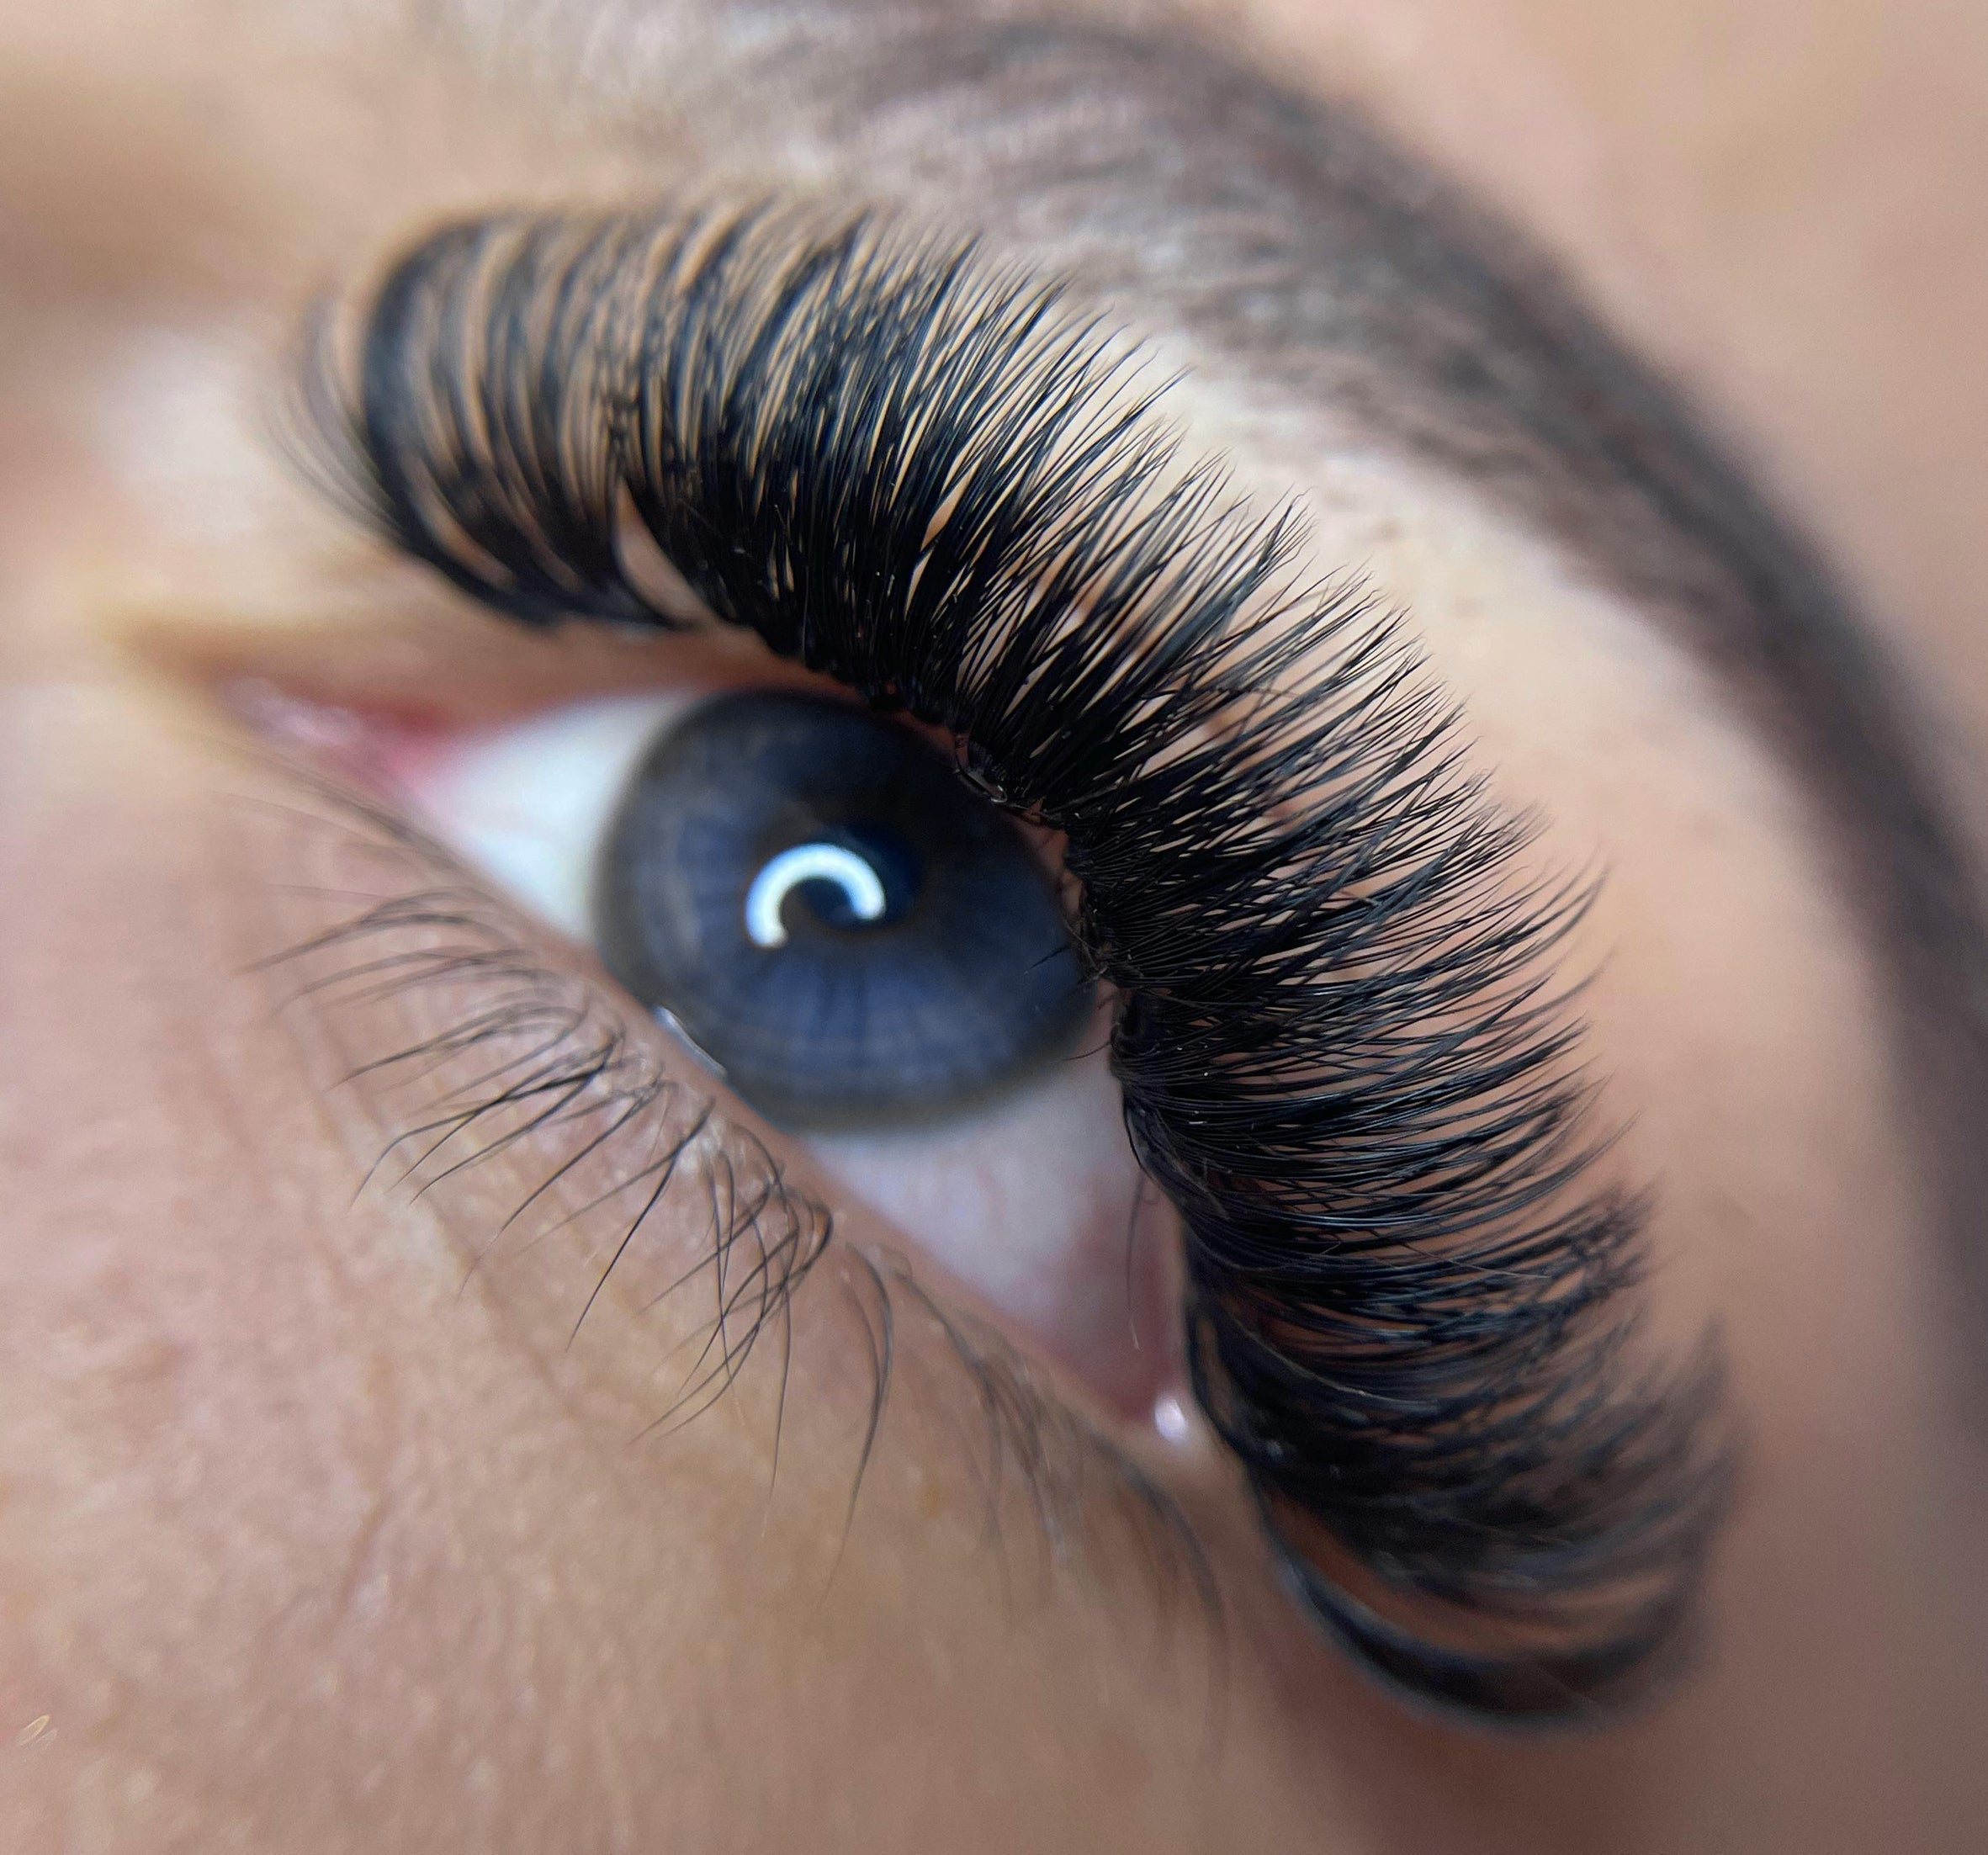
Great lashes aren’t just about length and curl. Direction is the unsung hero, the quiet supporting actor that makes the whole set look like it belongs on a Vogue cover instead of a “lash fails” Reddit thread. Perfect direction is what separates a “meh” set from a “wait, who did your lashes?” moment. It balances the face, keeps everything feeling comfortable, and gives your client that crisp, lifted, red-carpet energy.
When direction goes south, even the fanciest fans and most expensive fibers can look messy — kind of like trying to dress couture with flip-flops. So let’s dive into how to apply eyelash extensions and how to get lash direction right, every time.
Why Direction Matters
Lash direction techniques like stage lighting. Get it right, and everything glows; get it wrong, and even the best work looks off. Correct alignment prevents lashes from poking the lids, crossing over like a bad love triangle, or throwing weird shadows in selfies.
Direction also decides how weight sits on the natural lash — and that’s huge for retention. When your angles are off, lashes droop, twist, or shed faster than a cat in summer. But when you nail the vector control? Everything lasts longer, feels lighter, and looks like a dream.
Common Beginner Mistakes
A few classics we’ve all seen (or done):
- Skipping mapping because “you’ll just freestyle it”
- Overloading lash extensions only on outer corners, trying to fake a cat-eye
- Chasing speed instead of precision.
Mastering lash direction is like learning choreography. Once your angles hit on beat, the whole routine — symmetry, retention, comfort — just clicks.
Proper Distance & Placement
Let’s talk base placement — the foundation of every clean direction.
- Sweet Spot: 0.5–0.7 mm from the lid. Just close enough to bond securely, just far enough to keep glue off skin.
- Too Close: (≤ 0.3 mm) and you’re basically glue-hugging the skin. Expect irritation, twisting, and clients wondering why their eyes itch.
- Too Far: (≥ 1 mm) and the base acts like a see-saw, lifting early and spinning out of alignment.
Remember: a lash base should hug, not hover. Think of it like a first date — comfortable closeness without smothering. Aim for full, flush contact across 2–3 mm of the natural lash. That “kiss-and-go” placement? Cute name, bad practice.
Angles & Direction
Your goal: parallel placement that follows the natural lash’s growth pattern.
Inner corners: 3–4° lift — brightens and opens without stabbing the tear duct. Mid-section: 5–7° lift — keeps focus centered and light balanced. Outer corners: almost parallel to the lid — smooth and soft, not droopy or winged into oblivion.
Here’s the golden rule: Want drama? Build it with mapping and length transitions, not bad physics.
Pro trick: after finishing each section, tilt your client’s chin up and check from below. You’ll catch rebels before they dry — kind of like proofreading your own texts before hitting send.
Attachment Techniques
There’s more than one way to get a lash to sit pretty.
- Top Placement — best for straight or downward naturals
- Side Placement — ideal for dense lash lines or tricky access areas. But beware: on super-curly naturals, it can twist.
- Bottom Placement — a secret weapon for droopy naturals; gravity becomes your friend instead of your enemy.
If your direction keeps fighting you, don’t force it. Adjust your pickup angle so the extension meets the natural lash at the perfect pitch. Think of it like parking — approach the space at the right angle, and it slides right in.
Mapping & Styling
Mapping is your GPS. Without it, you’re just driving in circles.
Start by defining the eyelash extensions style. Then assign lengths and curls for each zone — modest jumps only (1–2 mm max). Those wild leaps between zones? They break direction flow and create kinks.
Outer corners are where ambition goes to die. Resist the urge to load them up for a fake cat-eye. Outer naturals are delicate; overwork them, and they’ll droop like mascara after a breakup cry. Instead, taper your lengths, step down your curl (CC → C), and keep bases near-parallel.
Layering & Isolation
Clean direction starts with clean layers.
- Work middle layer first — it sets the overall spine of your direction.
- Then top and bottom — those are your finishing touches, your blending and shadow control.
Isolation is sacred. Any “stickies” will yank direction out of alignment as they cure. Two-tweezer teamwork is key: one controls the vector, one delivers the extension. If your lash isolation techniques are weak, your direction drifts. Slow is smooth, smooth is fast.
Workflow & Timing
Think of curing like setting concrete — touch it too soon, and you ruin the shape. Let fresh placements sit for at least 30 seconds before brushing or adjusting.
Alternate zones (inner-left, inner-right, mid-left…) to stay productive without disturbing curing sections.
Use multiple checks:
- From above: symmetry.
- From below: base angles.
- From the side: outer-corner lift.
And yes, brushing direction matters. Do you brush eyelash extensions up or down? Brush downward from the top to find hidden stickies, then upward from below to realign pitch. The brush isn’t just for fluffing — it’s your diagnostic mirror.
Troubleshooting in Real Time
- Add more bonding surface or flatter base contact.
- Shorten length, drop curl, or switch to bottom placement.
- Re-map your zone angles; stop side-mounting on super-curly naturals.
- Go smaller in curl and diameter; prioritize comfort and airflow.
Lash extension placement direction problems are like plot twists — the earlier you catch them, the less drama you’ll have later.
Products & Tools That Actually Help
Choose fibers that match your clients’ naturals — slimmer bases for fine lashes, wider for thicker ones. Adhesive matters, too: a formula that fits your studio’s humidity is everything. Too slow, and lashes slide; too fast, and you’re racing against the clock.
For beginners, it’s better to practice on mannequins with pre-mapped angles. Check from three directions before even think about curing. Repetition builds muscle memory.
The Perfect Direction Checklist
✅ Map first — let style decide angles.
✅ Stay within 0.5–0.7 mm from skin.
✅ Match base to lash growth (inner 3–4°, mid 5–7°, outer ~parallel).
✅ Choose top/side/bottom placement intentionally.
✅ Middle layer first, refine later.
✅ No stickies. Ever.
✅ Hands off new bases for ~30 seconds.
✅ Check from all angles before curing.
When Direction Becomes Art
Perfect direction is what turns a good lash set into a signature one. It’s the framework that makes your mapping read crisp and intentional. When you pair solid isolation, controlled placement, and smart angles with mindful workflow, your sets stop looking “done” and start looking designed.
It’s the same reason a symphony sounds smooth — every instrument’s in tune. Direction is your rhythm section. Get it right, and your lash line sings.
Clients won’t always notice why your work looks better — they’ll just know it feels lighter, lasts longer, and looks impossibly clean. That’s the quiet mark of mastery — the “wow” factor that doesn’t scream for attention but always gets it.


Leave a comment
This site is protected by hCaptcha and the hCaptcha Privacy Policy and Terms of Service apply.