Pre-treatment. Step by Step.
The world of lash extensions is a whole fantastic universe, full of revelations and surprises. The lash extension procedure is true artistry and it takes a lot of time and effort to master lash extensions. Sure, the procedure is complex, and you may have heard and read lots of posts and recommendations about lashing techniques, semi-permanent lash adhesives, and their behavior and retention tips. But what should you and should you not do before getting eyelash extensions? Are you doing it right? Can you save time by making the pre-treatment procedure shorter? In today’s article, we will tell you how to prep lashes for extensions. Are you ready? Let’s go!
Step 1. Pre Pre-Treatment
Before making the first steps in the lash extensions procedure, it’s a good idea to make sure that everything is ok. The more you communicate with your client, the stronger bond you create, making the process easier for both sides. First, you need to remember about the patch test, to eliminate the possibility of an allergic reaction. And even before your client arrives and makes themselves comfortable on the lash bed, there is something you can do to prepare for those cosmic lashes they’re about to have. It’s essential that your client avoids wearing oil-based products, makeup, or mascara before the lash appointment. And also it won’t hurt if they notify you about getting botox/filler previously.
Now when we got it all covered, let’s go!
Step 2. Lash Shampoo/Lash Cleanser
Why Should You Use a Lash cleanser anyway? Simply, your client’s lashes need to be cleaned before you attach the extensions, as there is sebum, dust, and dirt that need to be removed in order to ensure a strong bond between a natural lash and an extension, which your adhesive perfectly helps with. Is lash shampoo necessary? The answer is yes! In everyday life, your lashes will need cleansing with time, as it’s a part of a normal body process. It’s really simple to use, just pump out a small amount of product and use a brush or any other preferred tool to apply the shampoo on a client. After everything is done, rinse with water, pat dry and brush gently. A lash cleanser is something that should be in every lash salon and moreover, at the home of every lash lover, who’s passionate about beautiful lash looks. You can give small bottles to your customers as gifts in appreciation for choosing you as an artist. Thus, lashes will always be clean, ensuring the retention that will certainly make you the name.
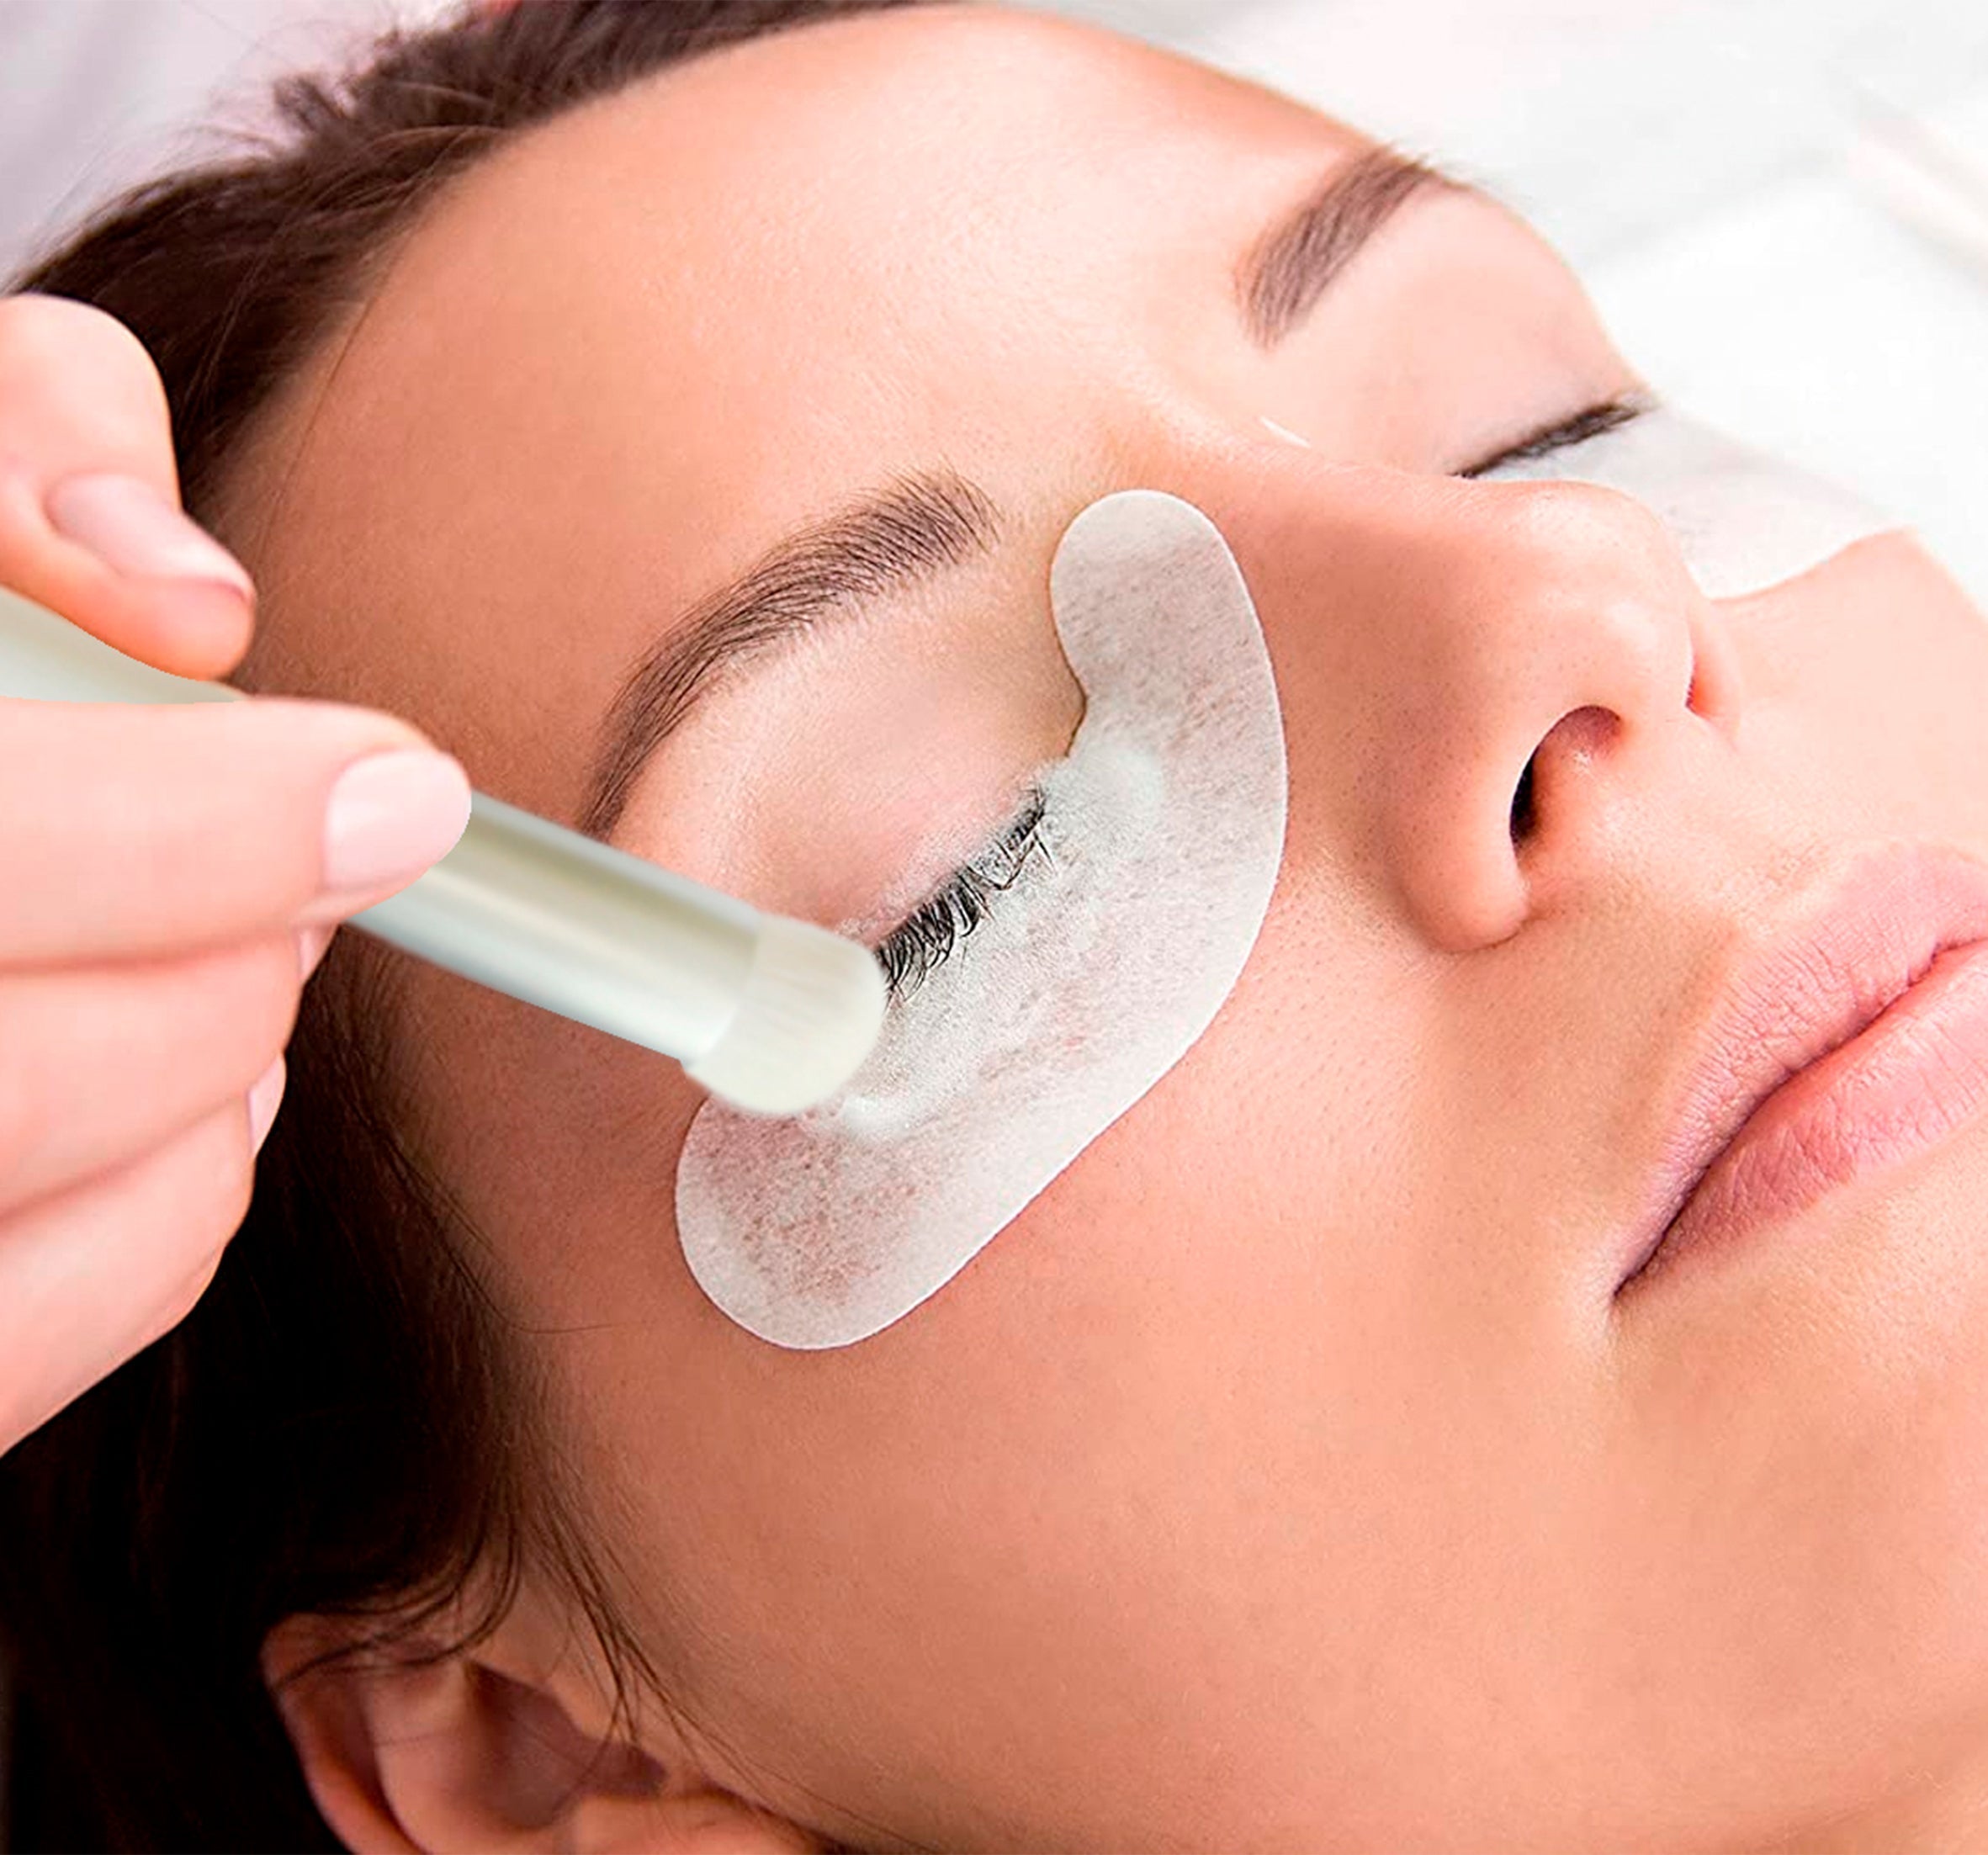
Step 3. Eye Pads
Every lash technician knows that the client's eyes need to be tightly closed and firmly taped down throughout the whole procedure. No fumes should come into contact with the eyes causing itching, redness, etc. But how to attach them correctly? You may or may have not noticed that the eyeballs of your client got red on the lower line. It may seem strange, but it can be due to the eye pads that can get higher and irritate the eyes while you’re distracted working your magic and don’t notice such things immediately. It’s better to leave a small distance to prevent such situations from happening.
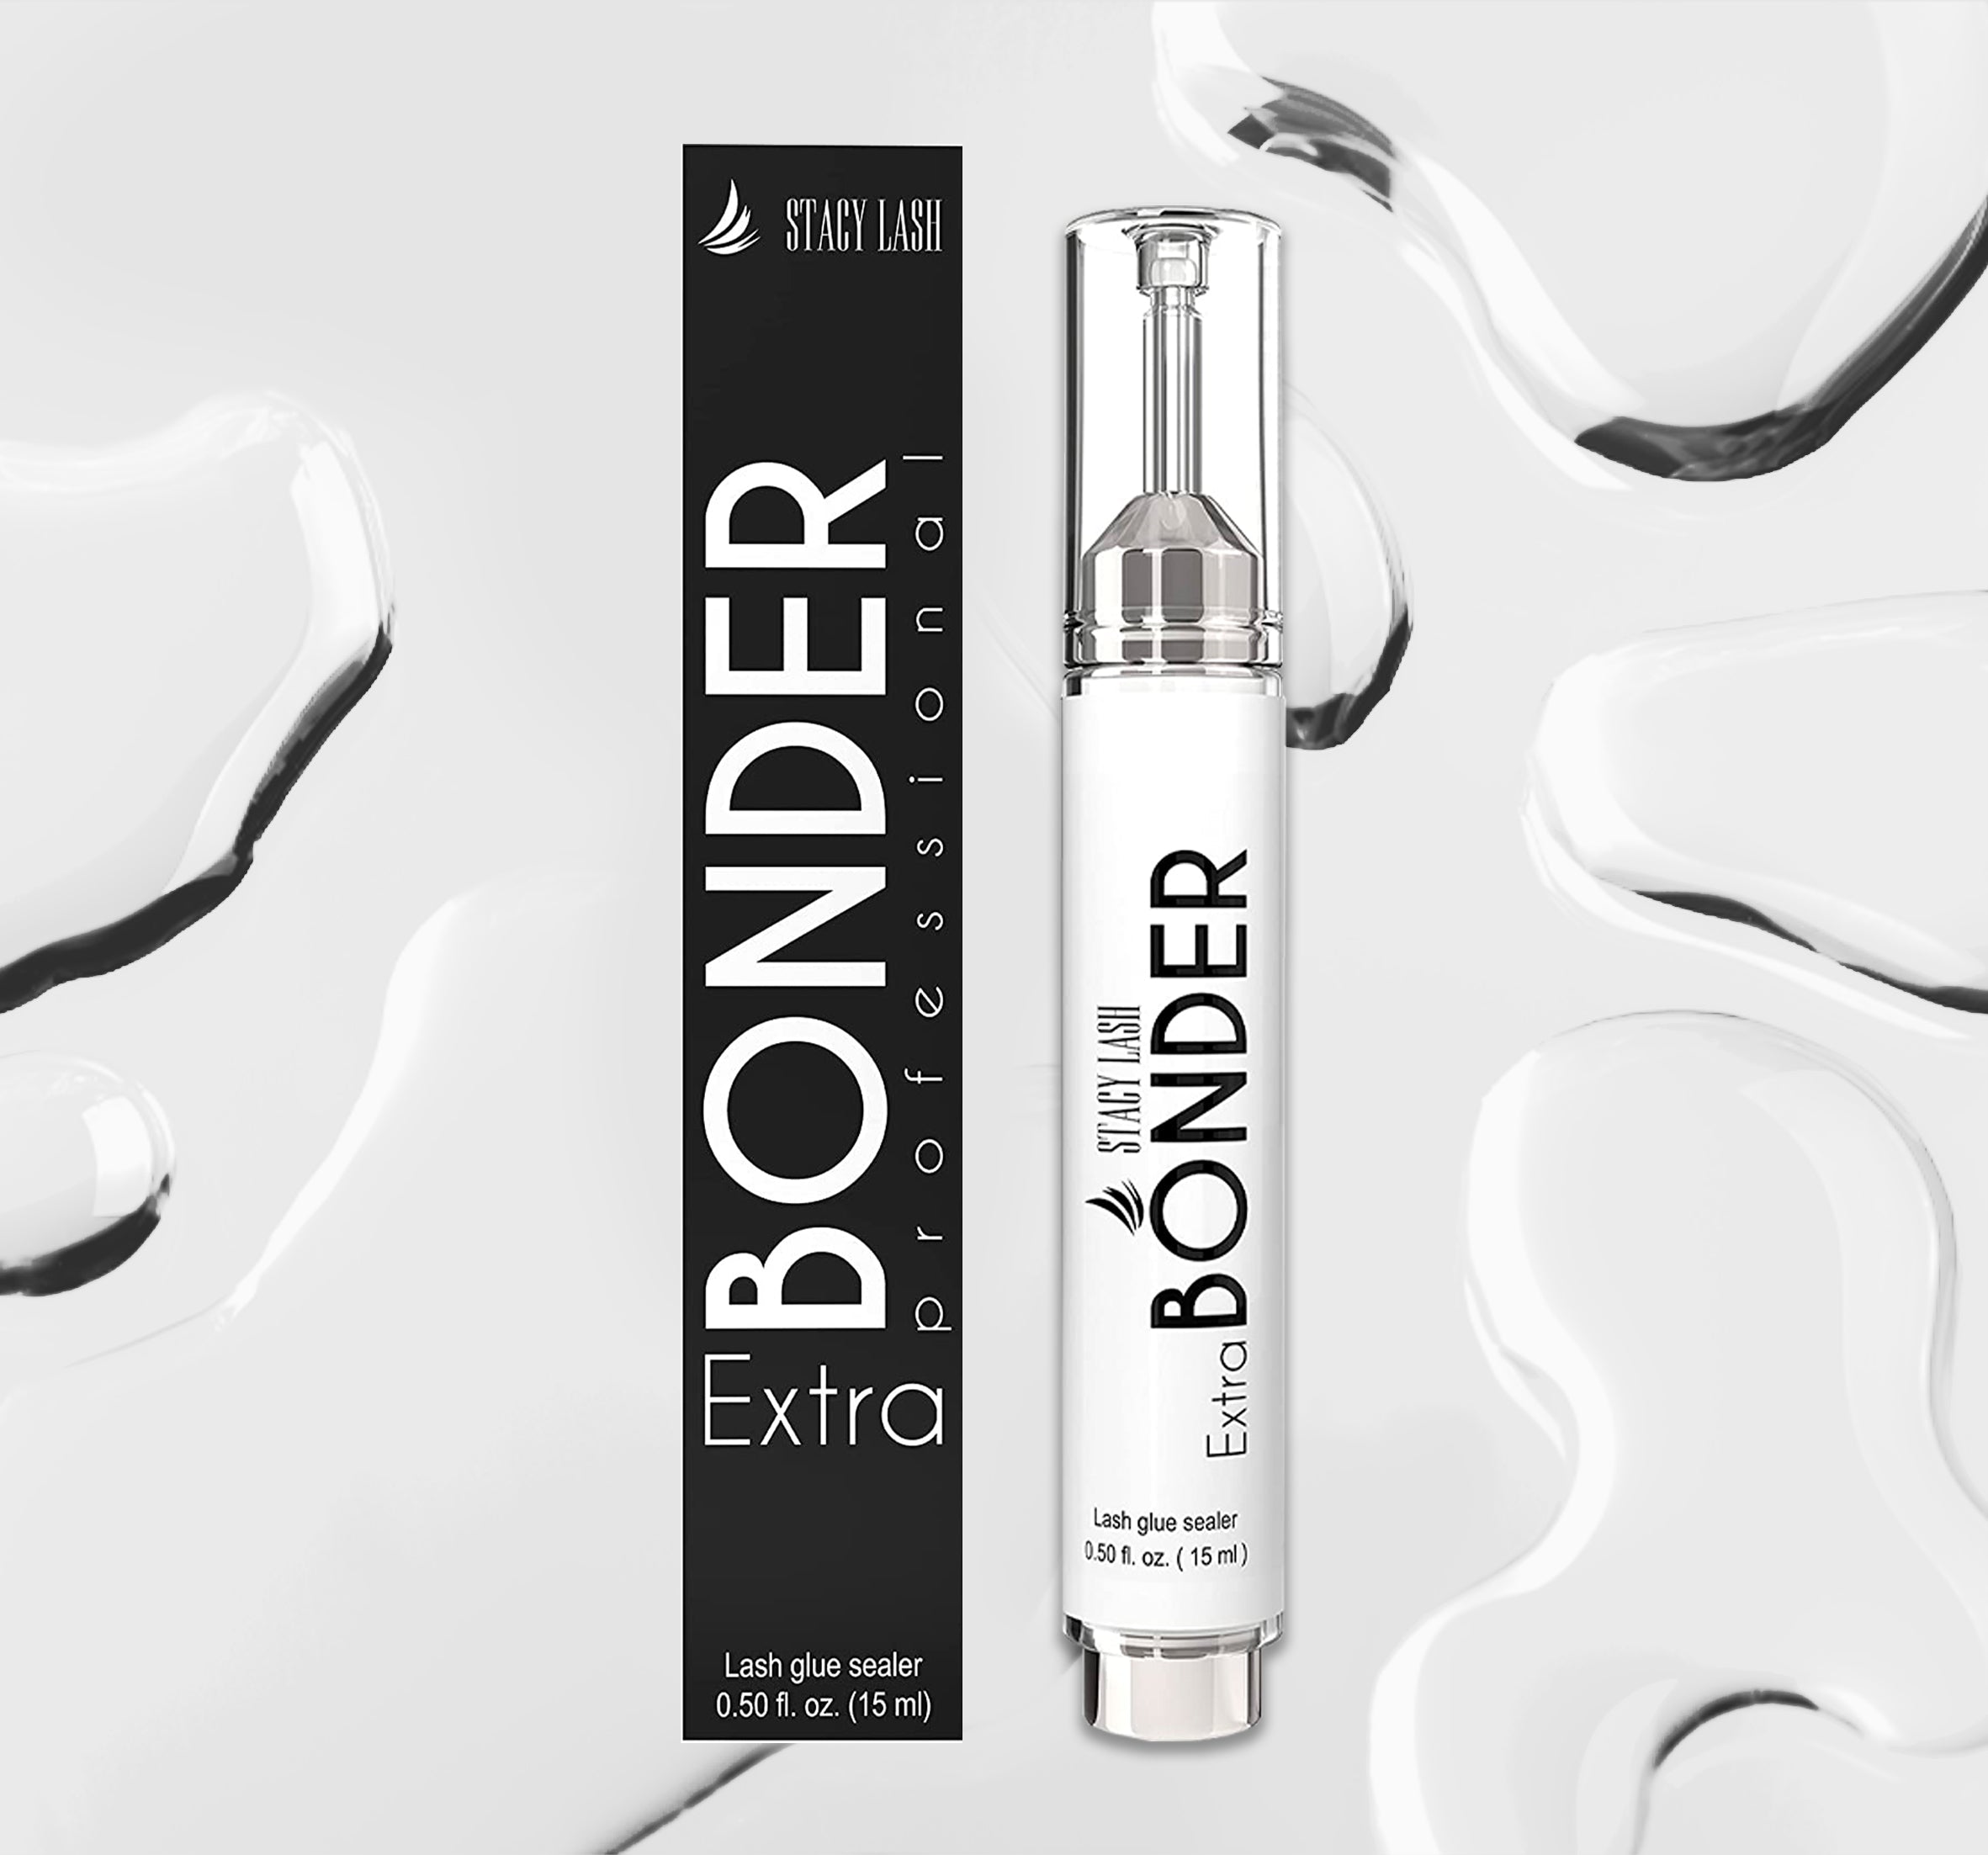
Step 4. Prime(r) Time
There is a common thought that Primer is not such a necessary step in the pre-treatment routine. But we must say that it’s a true cherry on top and a perfect ending to a cleansing process. Primer is meant to remove natural body oils and ensure good contact with the extension. Is it worth using eyelash primer? Especially when you have already applied the lash shampoo and everything seems perfectly fine…
Well, the thing is that growing natural lashes have a coat of natural oil that provides protection from environmental factors. However, when it comes to extension, this thin film of oil combined with makeup and dust could compromise adhesion as it creates a barrier between the natural lash and the eyelash extension glue. Therefore, the retention will be significantly longer with this little one. But be careful, make sure not to overdry your customer’s lashes. Everything should be perfect with a little bit of attention and extra care.
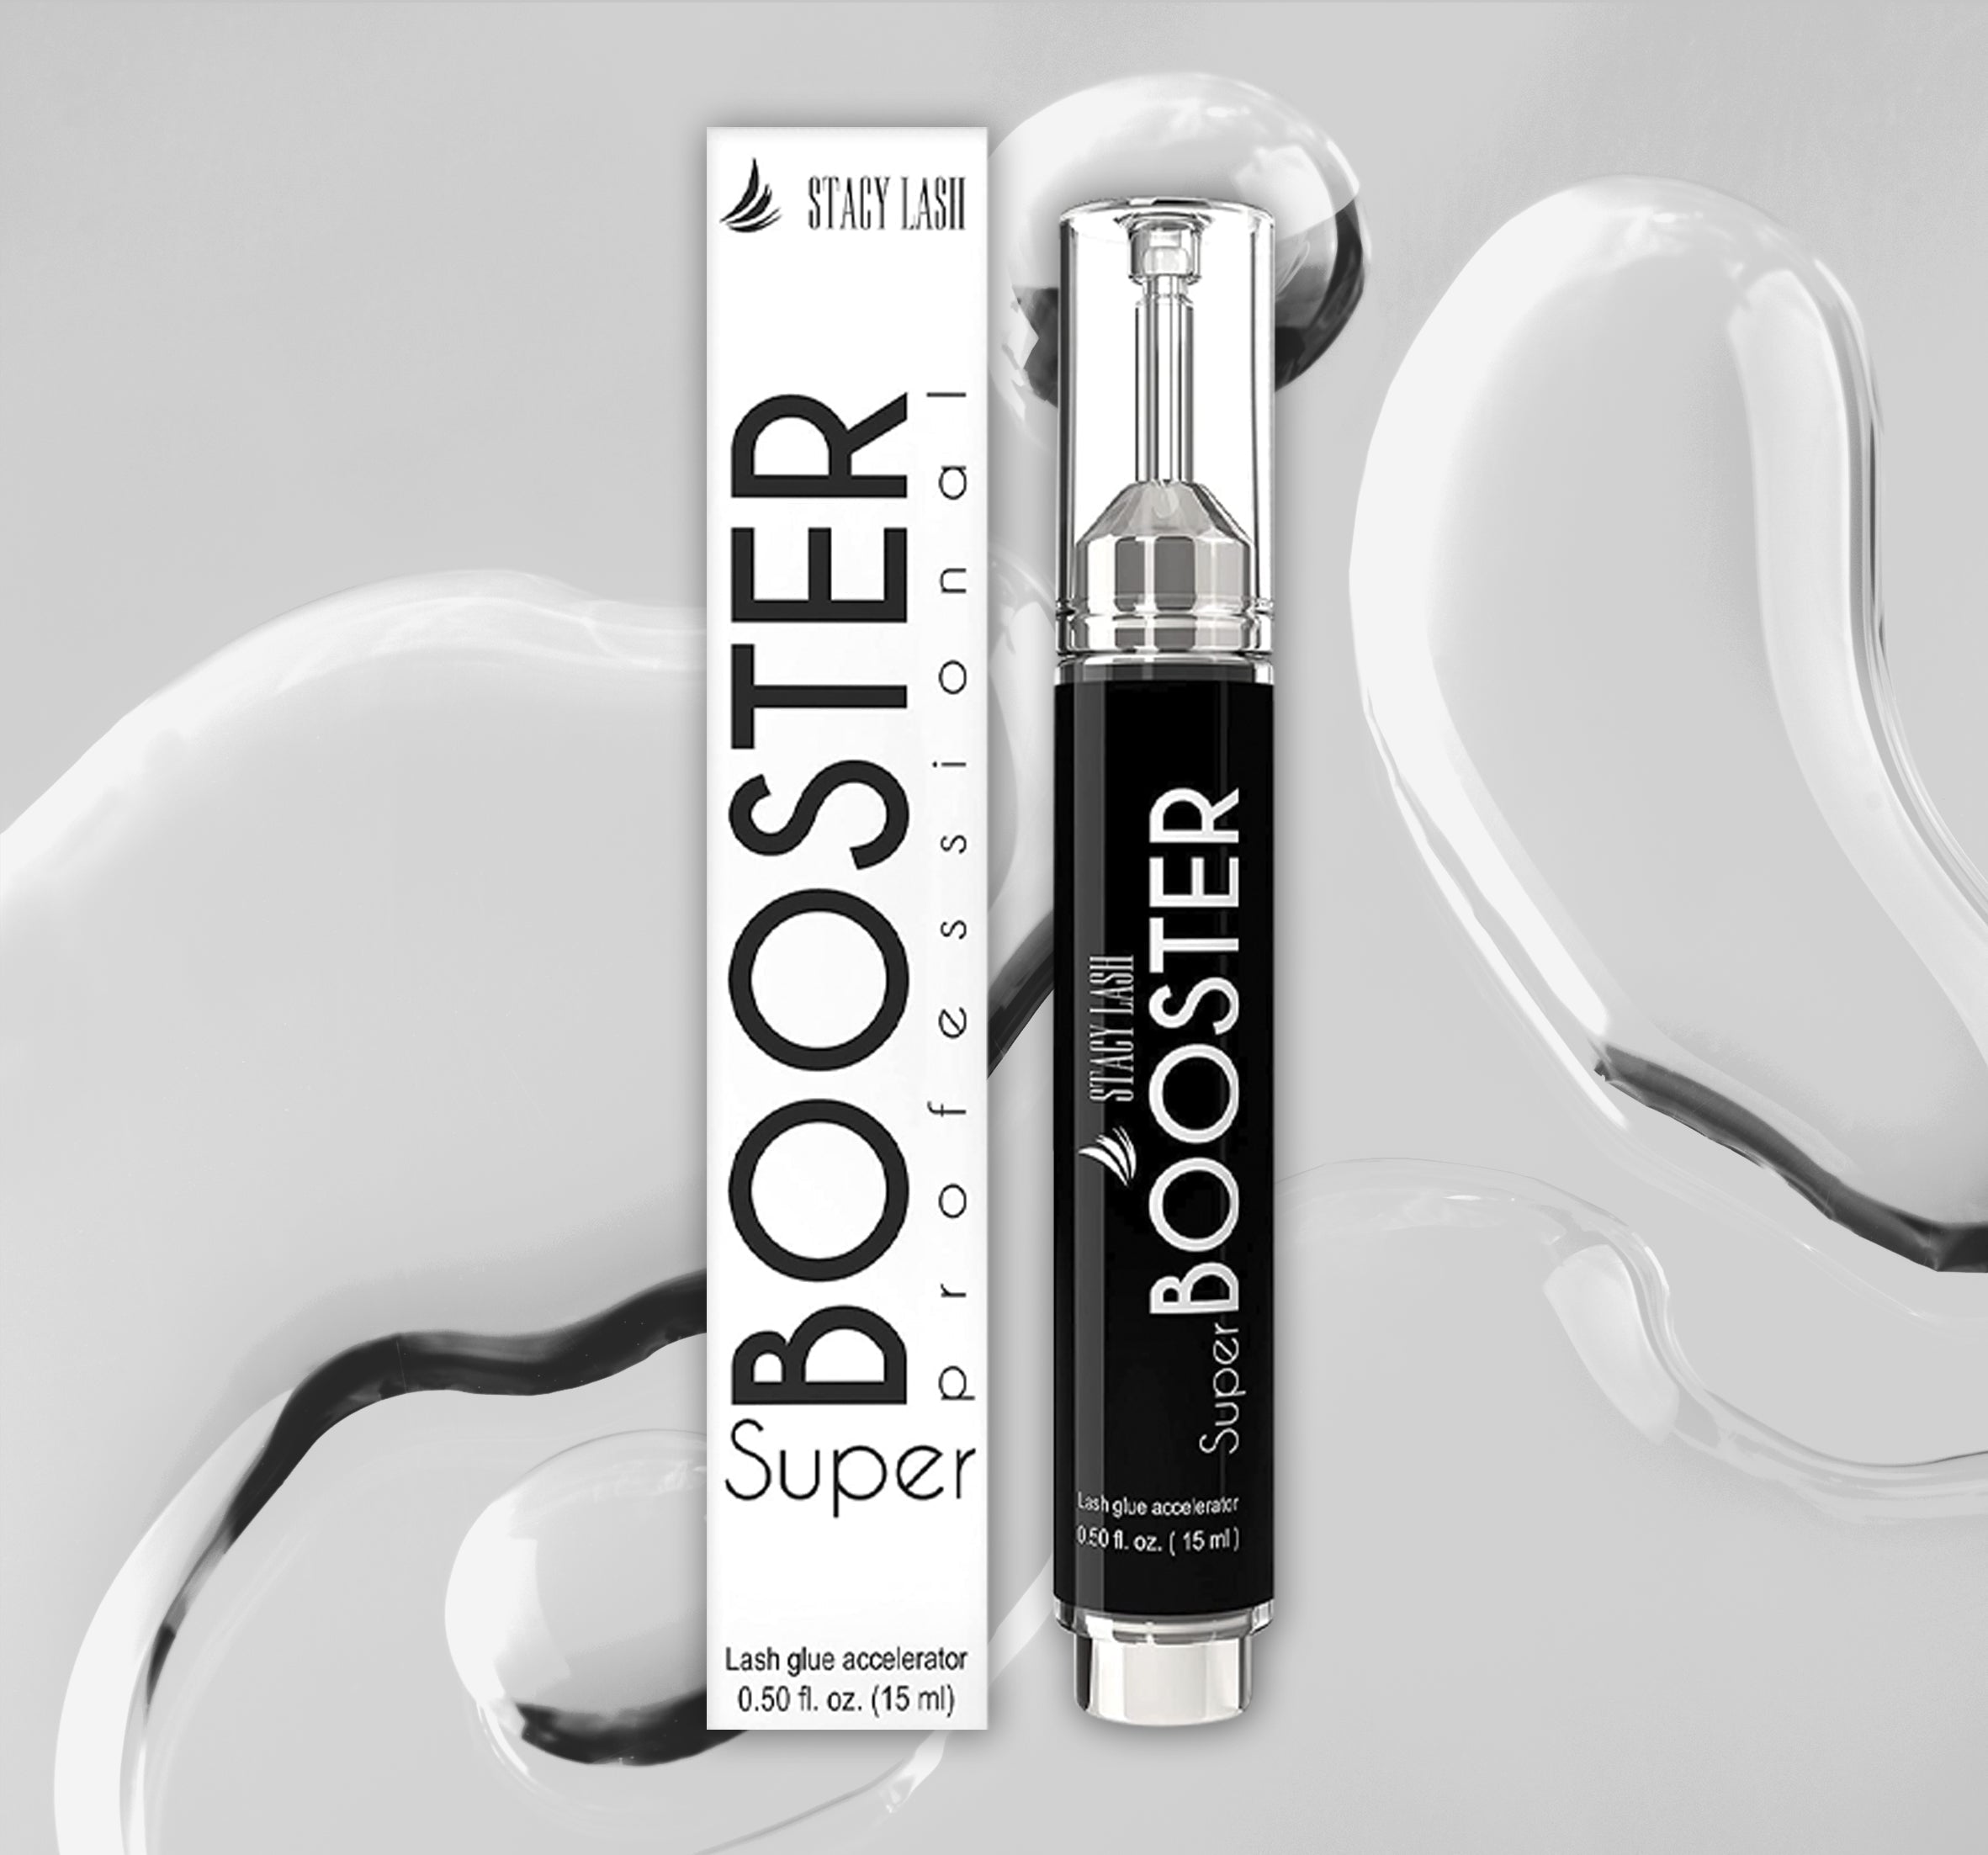
Step 5. Confidence boost with Super Booster
Booster is optional but highly recommended. Well, with this one you’ll definitely know how to keep things under control. It’s so satisfying when you are confident about your adhesive and its interaction with your lashing environment (temperature & humidity range). Admit it, you don’t want to break your head thinking if your temperature conditions are suitable for glue requirements or not, and Booster can do that for you. It adjusts the lashing environment to suit your adhesive, and all you have to do is just relax and proceed with those gorgeous lashes of yours (and your client of course). It also works as a glue accelerator, so when you are evolving and making progress your glue now can keep up, and dry faster. What a joy, isn’t it? Moreover, it doesn’t let your hand-made fans close on you after you have put so much effort into them. You can use it by applying a small amount of product on the client’s lashes with the help of a micro brush (or hand-made fans, if you perform Volume). It’s just simple and convenient.
To Sum Up
So now you know each step of a pre-treatment procedure, and even what comes before these preparations for lash extensions session. Each step is important and we advise taking each one into consideration. It will add some extra points to the client’s overall experience, needless to say to your experience bar, to achieve the next level of legendary retention. Lash fame is what we crave and it’s possible when all jigsaws are in their place (namely, the steps of a successful and pleasant procedure). Till next time!


Leave a comment
This site is protected by hCaptcha and the hCaptcha Privacy Policy and Terms of Service apply.